Introduction
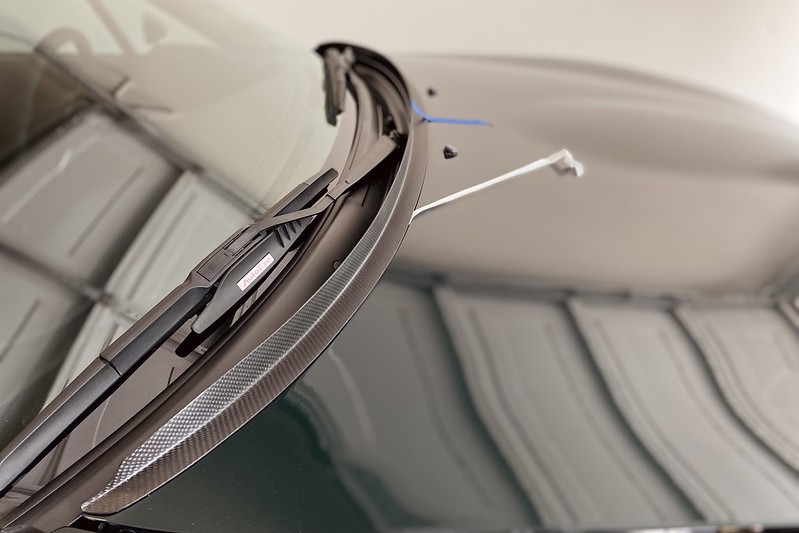
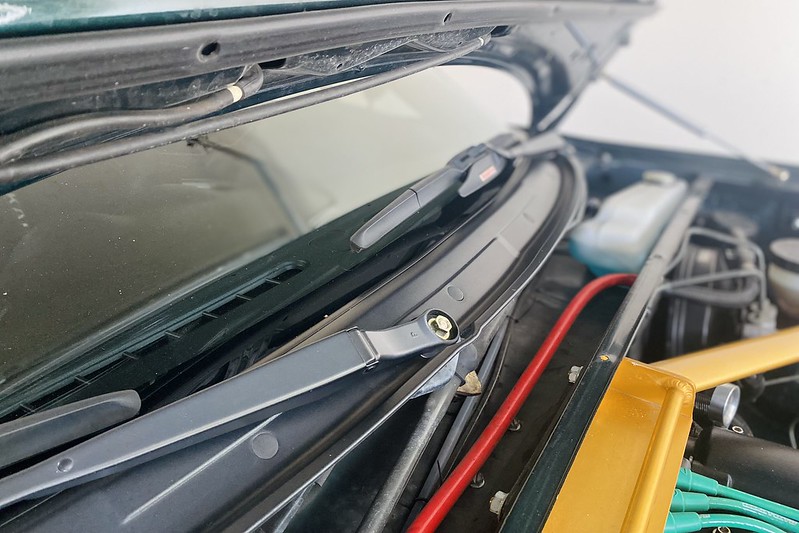
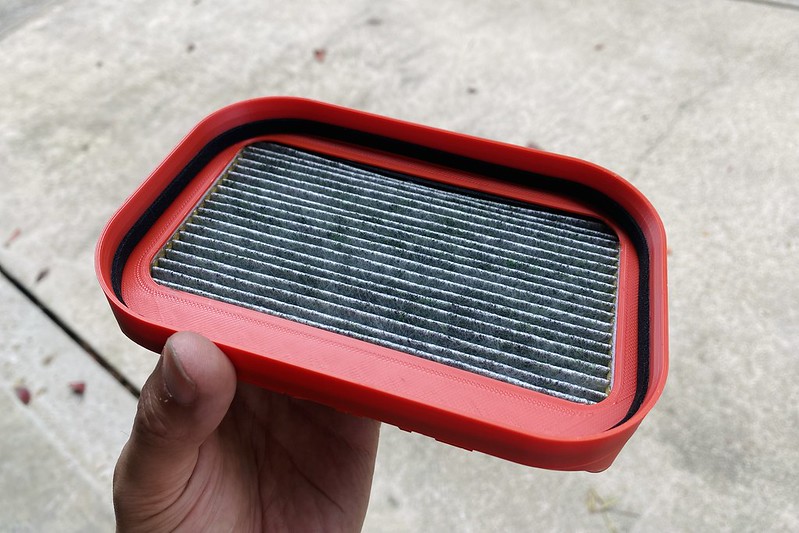
In this month’s product review, we’re installing and evaluating the Garage Vary Cam Gear Cover, designed for the BP (1.8L) NA/NB Miata engine. Available in either FRP or Carbon Fiber, this cover not only protects your exposed cam gears but also adds a clean, stylish touch to your engine bay.
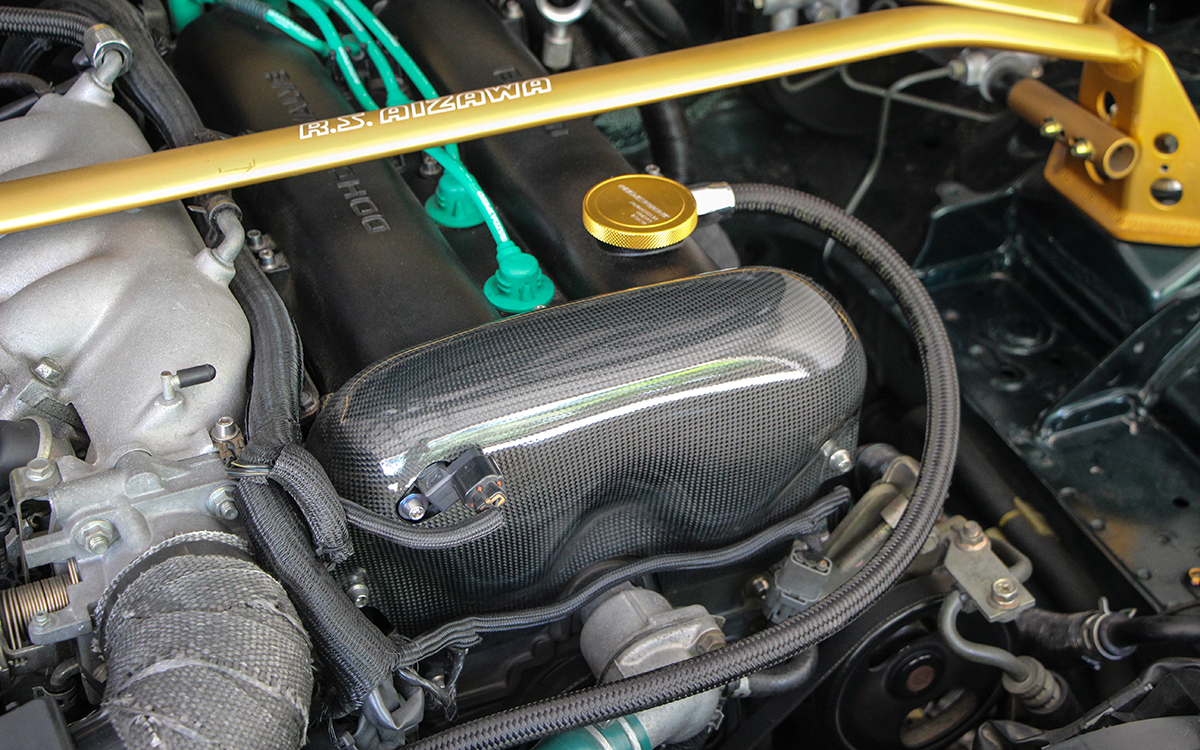
Unlike the Maruha cam cover—which requires trimming the OEM valve cover—the Garage Vary Cam Gear Cover installs over the OEM valve cover and upper timing belt cover, making it a more straightforward and reversible solution.
Installation Process : NB
On NB1 models, a few cuts and modifications are required to ensure proper fitment. Let’s walk through these delicate steps.
-
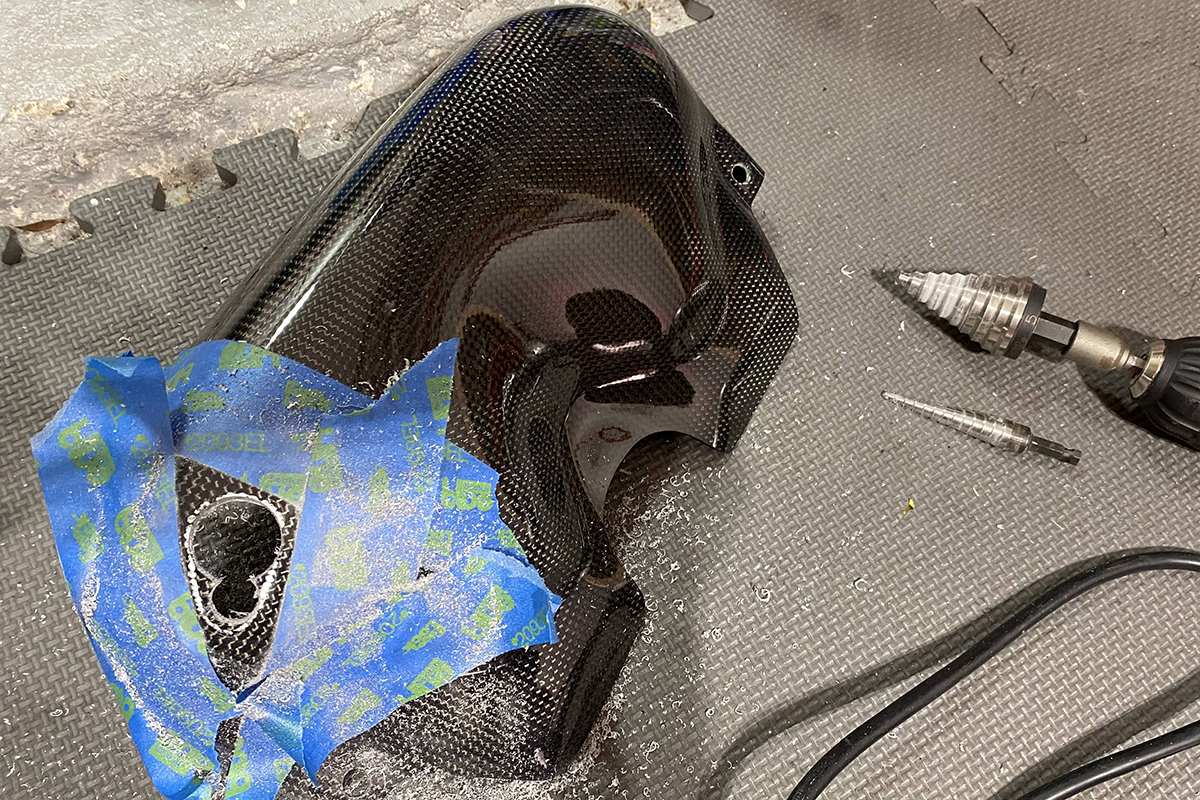
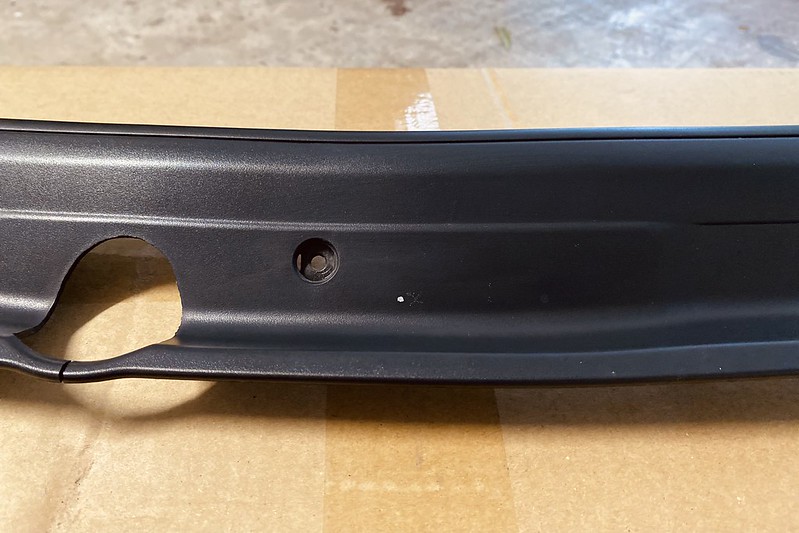
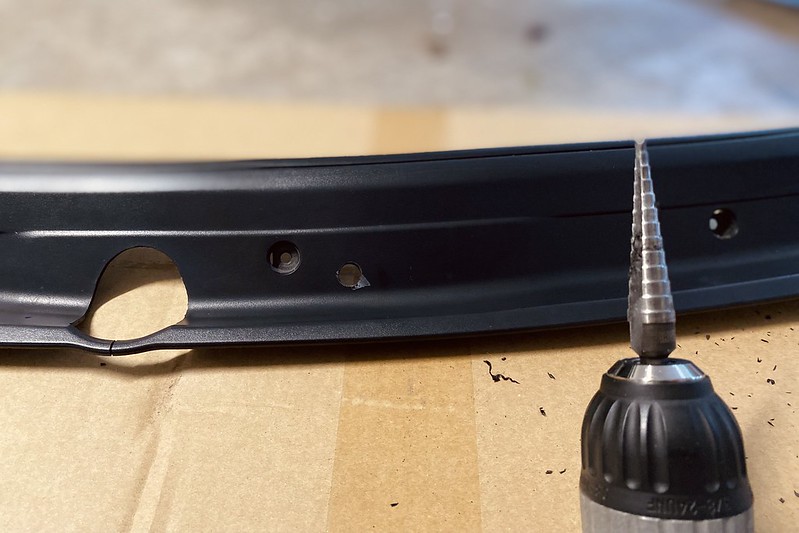
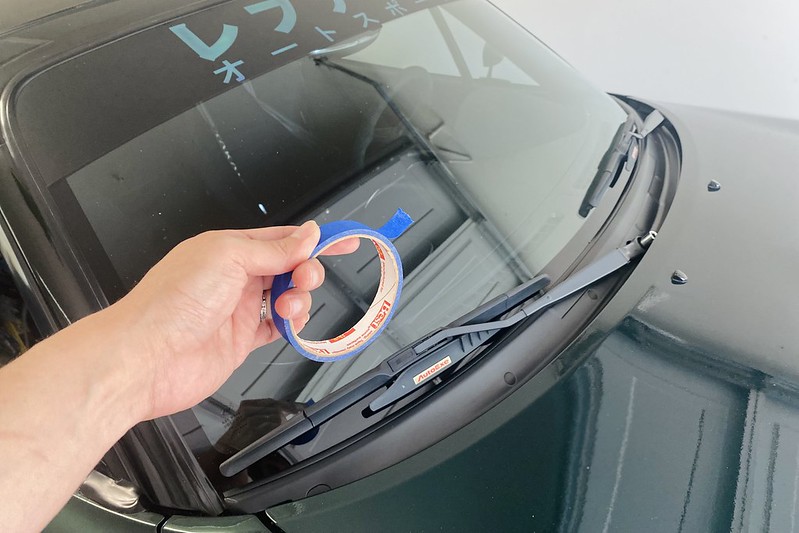
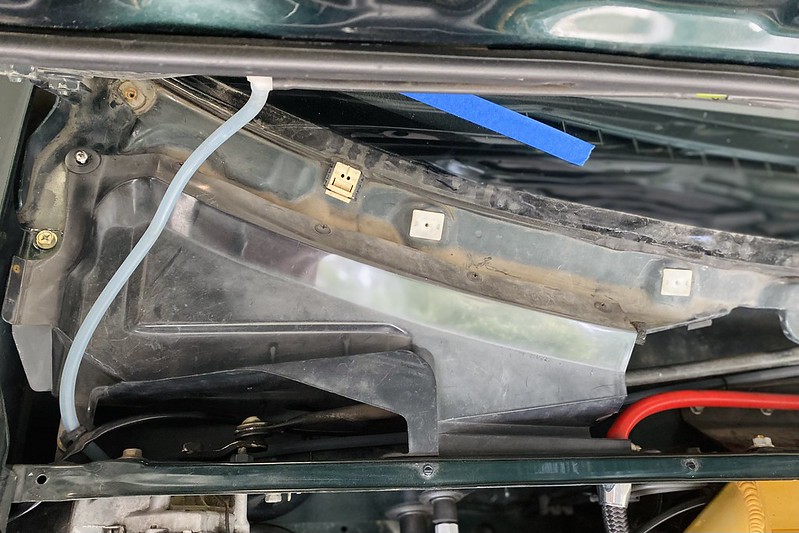
Mark the Cutting Areas
Begin by identifying the gel coat outlines molded into the part. These indicate the sections that need to be cut. To make them easier to see, I use a silver Sharpie to place dots along the inside of the gel coat lines.


-
Cut and Smooth
Using a combination of tools—a Dremel and a uni-bit on a drill—I carefully cut along the marked lines. After cutting, smooth the edges using fine-grit sandpaper to ensure a clean finish and proper fit.

-
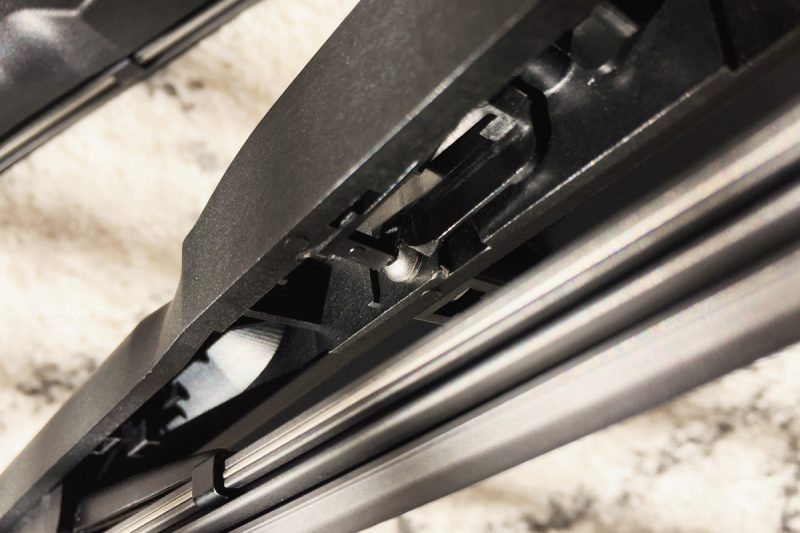
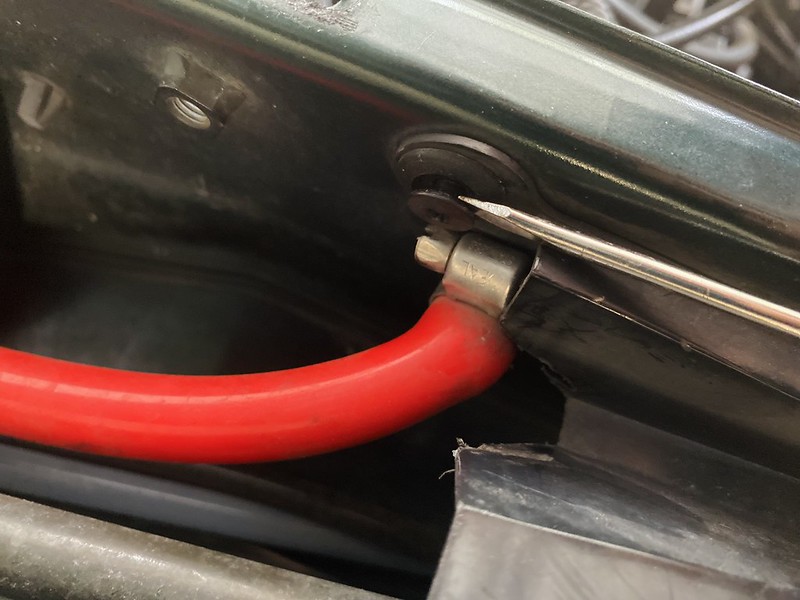
Intake Manifold Clearance
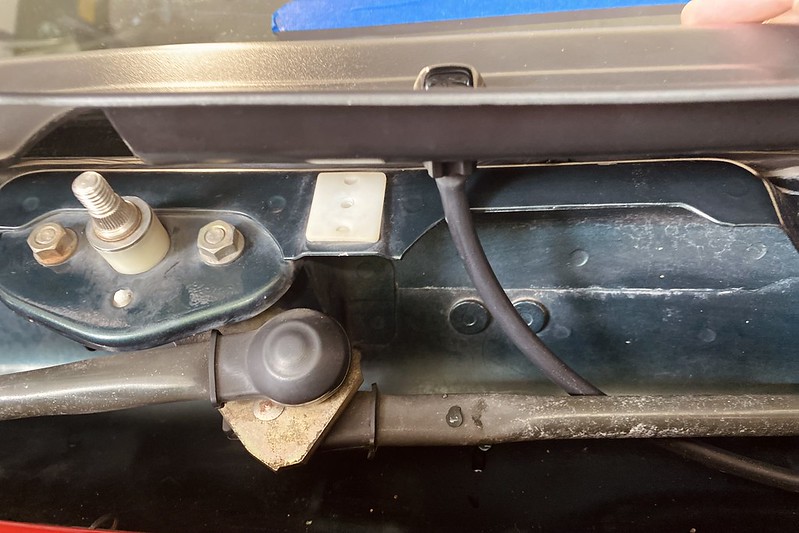
The bracket on the intake manifold that secures the engine harness needs to be slightly trimmed to clear the cam gear cover.


-
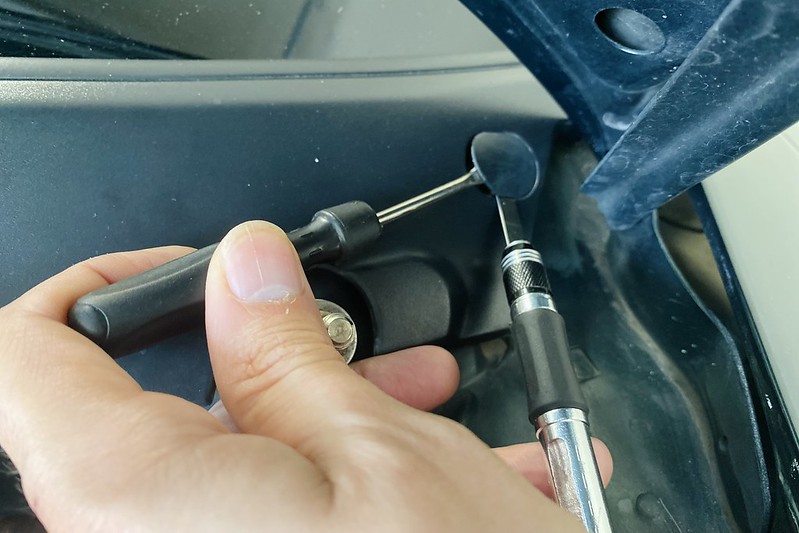
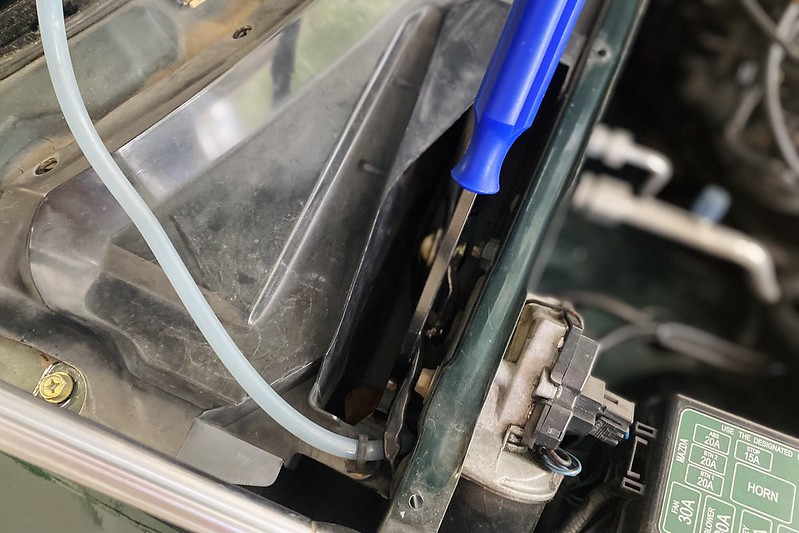
Optional: Lower Bracket Removal
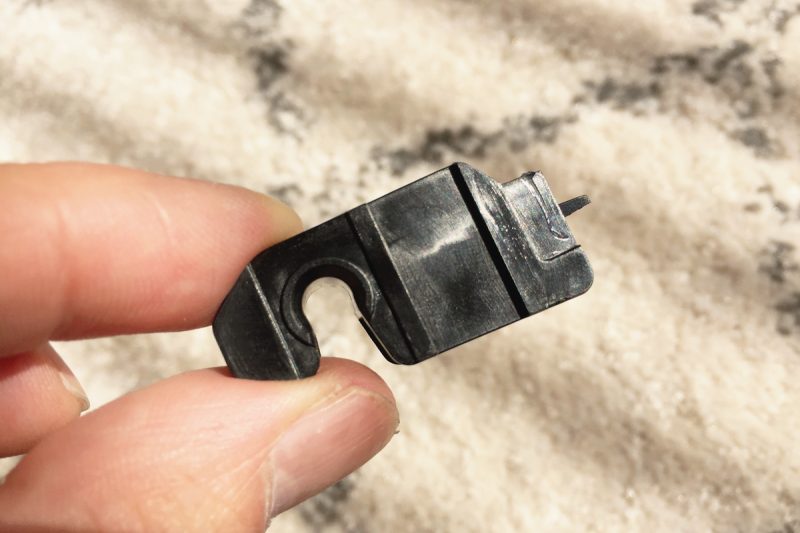
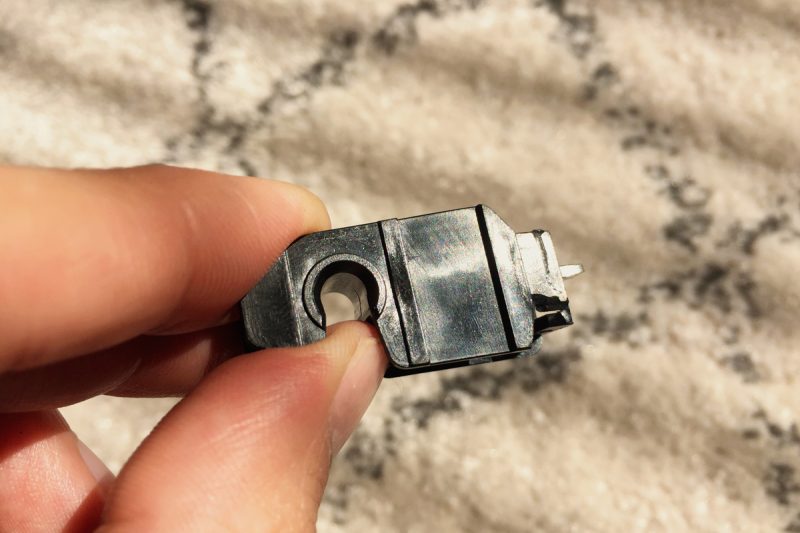
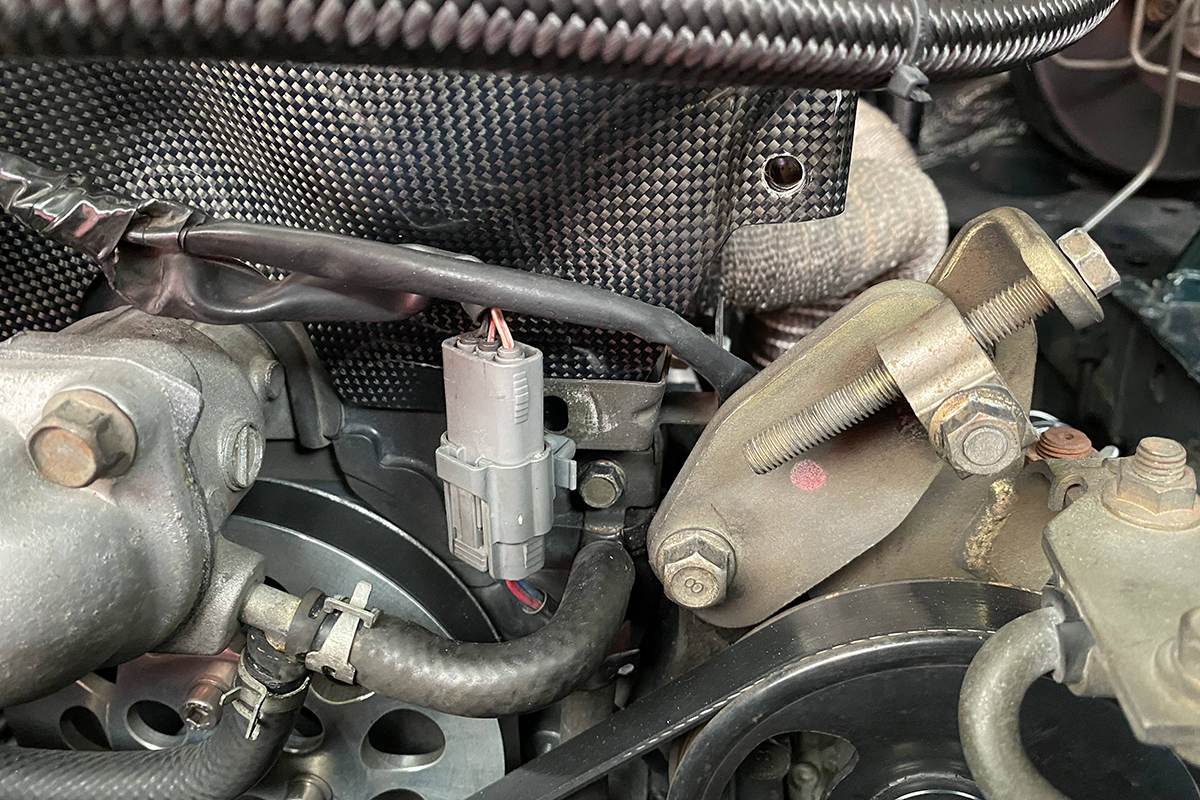
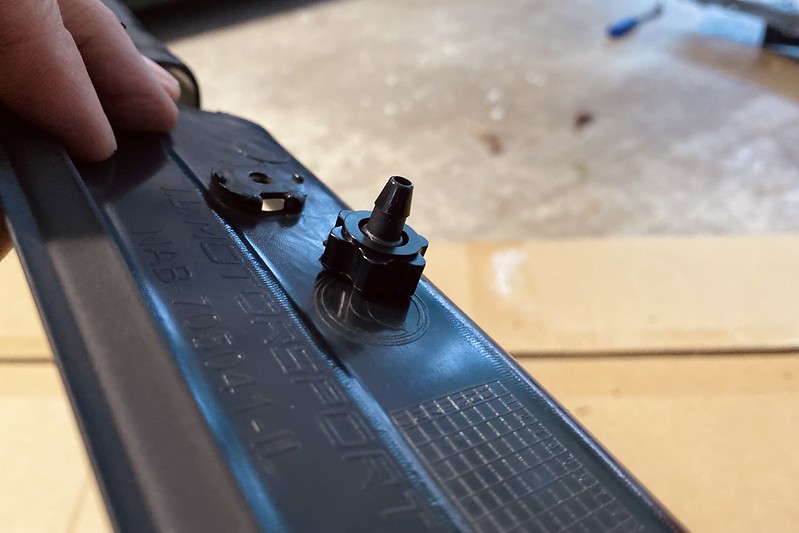
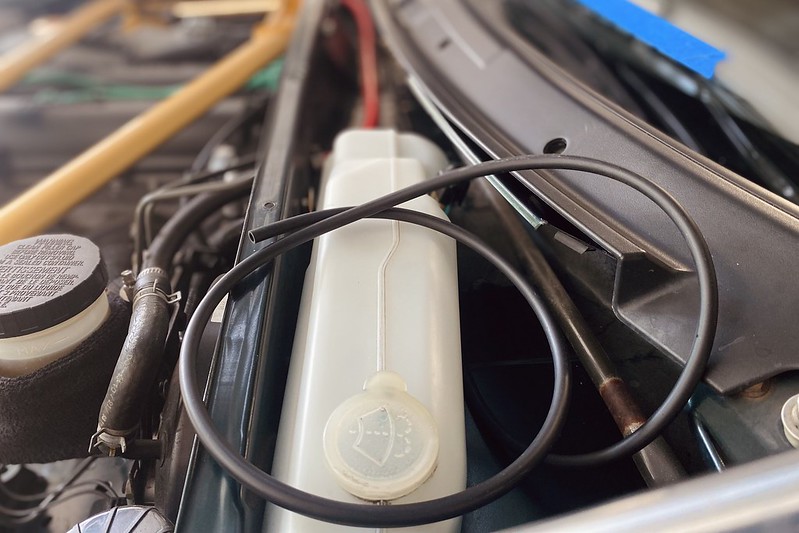
I also chose to remove the bracket located near the bottom of the timing belt cover, which supports additional wire harnesses. While this step is optional, if you do remove it, make sure to secure the harness bundle to the engine using zip ties. This prevents any interference with the belts or pulleys.

Lastly, this plug will be hard to reinsert in the bracket. A zip tie is recommended.
Conclusion
This product is a great way to enhance the look and protection of your engine bay, especially if you’re running exposed cam gears. The extra work on NB1 models is manageable with some care and attention to detail.


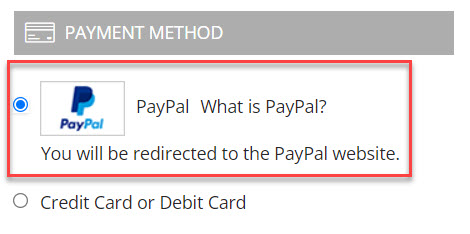
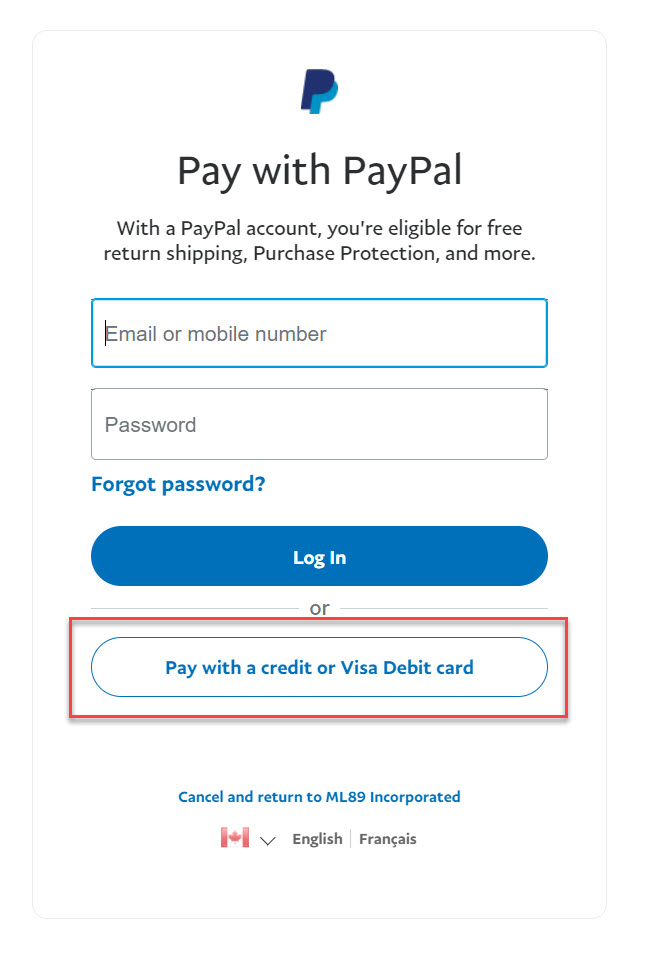
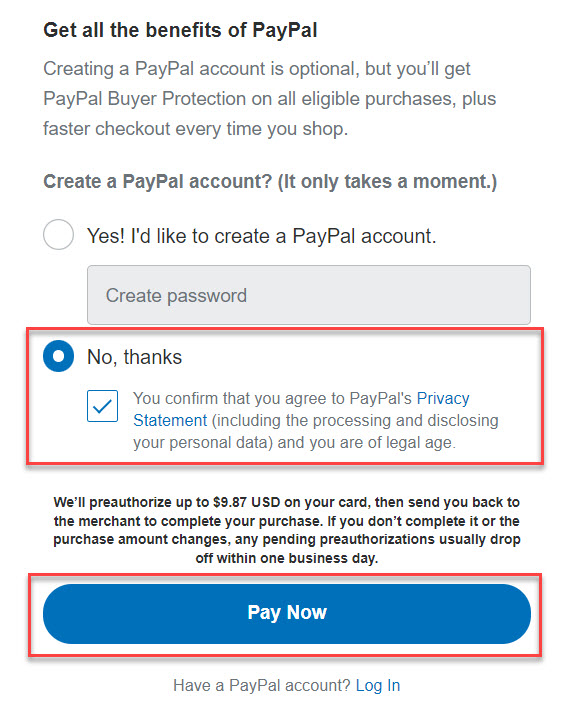
 We are very sorry about how complicated the process is, but sometimes banks/credit card issuers make it difficult to order from our website.