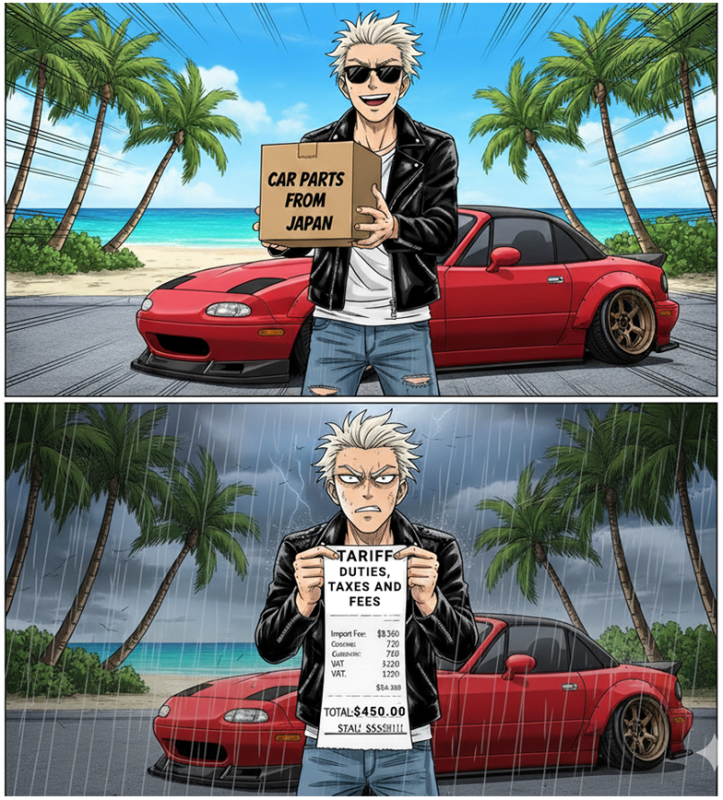
So you are from USA and ordered that perfect item from Japan – maybe some JDM car parts, limited edition anime merch, or cutting-edge electronics. Everything seemed great until you got slapped with a customs bill that made no sense. If you’re wondering what just happened and how to fix it, you’re not alone. Let’s break down exactly why this is happening more than ever in 2025 and what you can do about it.
Please note that all information below is related to any order shipping via UPS, DHL or Fedex from Japan to the United States.
The Perfect Storm: Why Customs Bills Are Skyrocketing Right Now
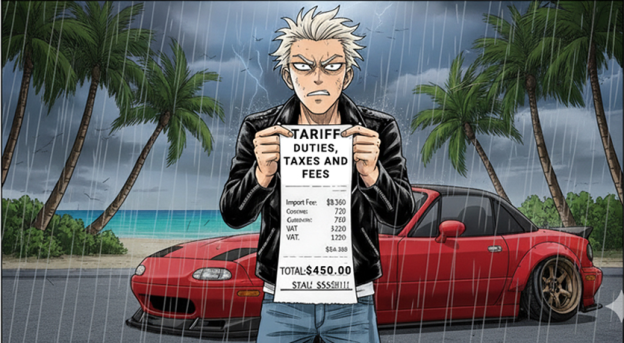
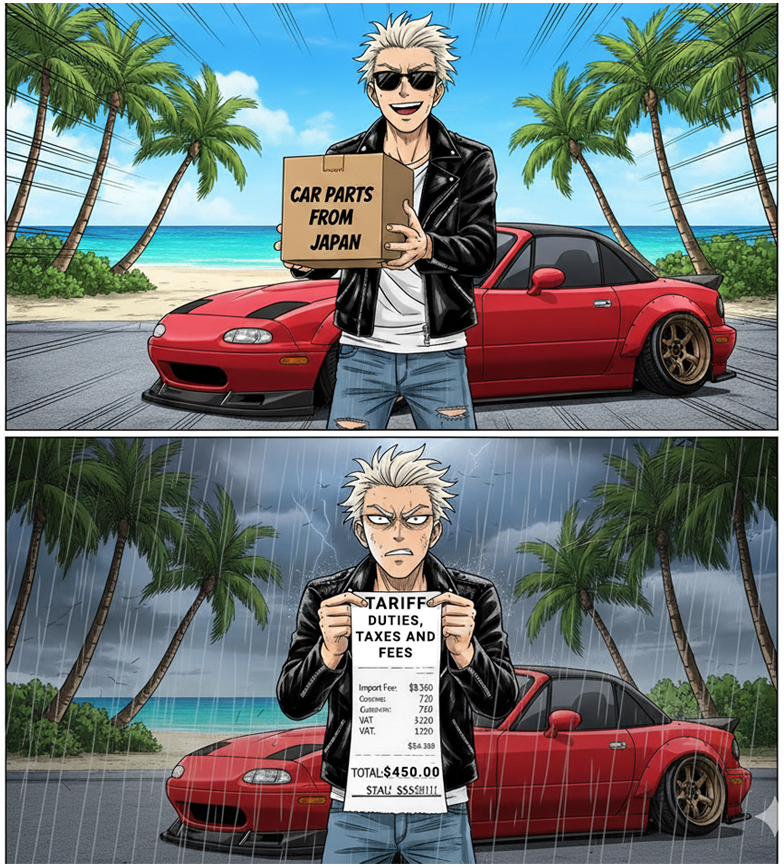
Here’s the thing – the U.S. completely eliminated its De Minimis exemption for all countries on August 29, 2025, which means that packages valued under $800 that previously entered the country duty-free are now subject to all applicable tariffs and fees. This isn’t just a minor policy tweak – it’s a seismic shift in how international shipping works.
The HS Code Mystery: Where Things Go Wrong
Let’s talk about what causes your customs nightmare: the Harmonized System (HS) code. Think of it as a global language for describing products – a 6 to 10-digit code that tells customs exactly what your item is and how much tax you should pay. Sounds simple, right? Well, not so fast.
How HS Codes Actually Work
HS codes are 6-10 digit codes that customs authorities use to classify goods and determine applicable duties and taxes. Every product that crosses international borders needs one, and getting it wrong can be expensive. Really expensive.
The code breaks down like this:
- First 2 digits: Chapter (broad category)
- Next 2 digits: Heading (product group)
- Next 2 digits: Subheading (specific product type)
- Final digits: Country-specific details
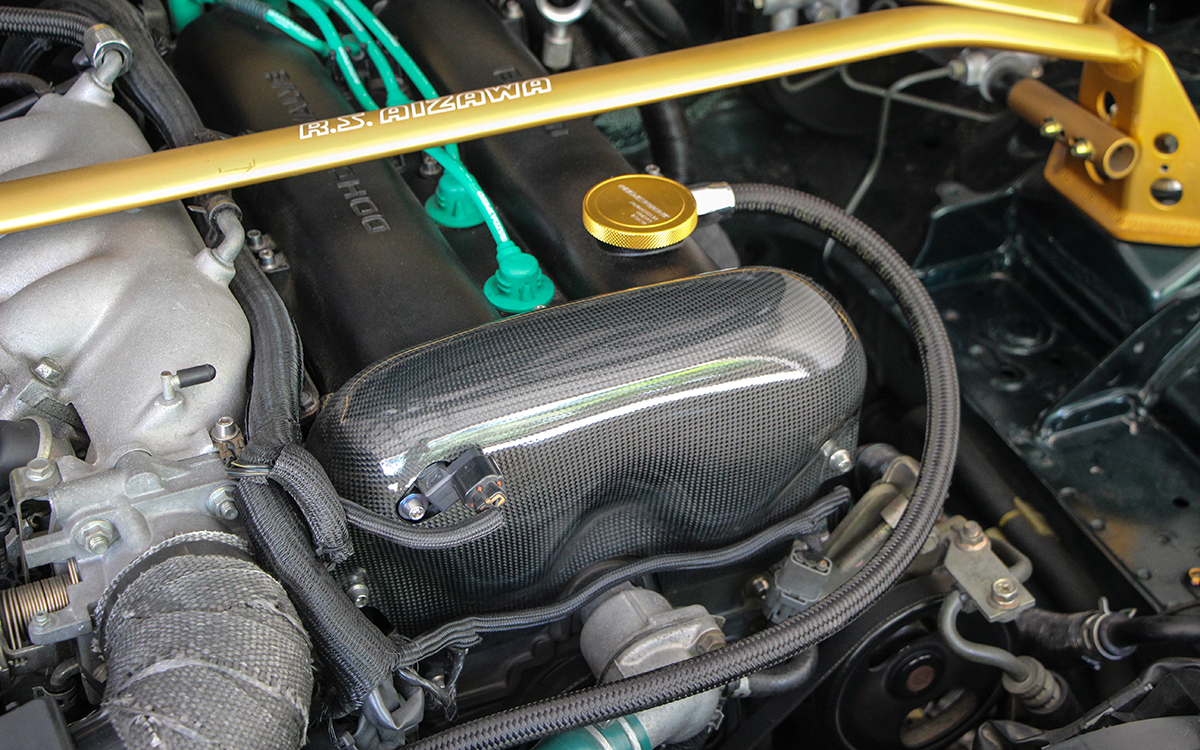
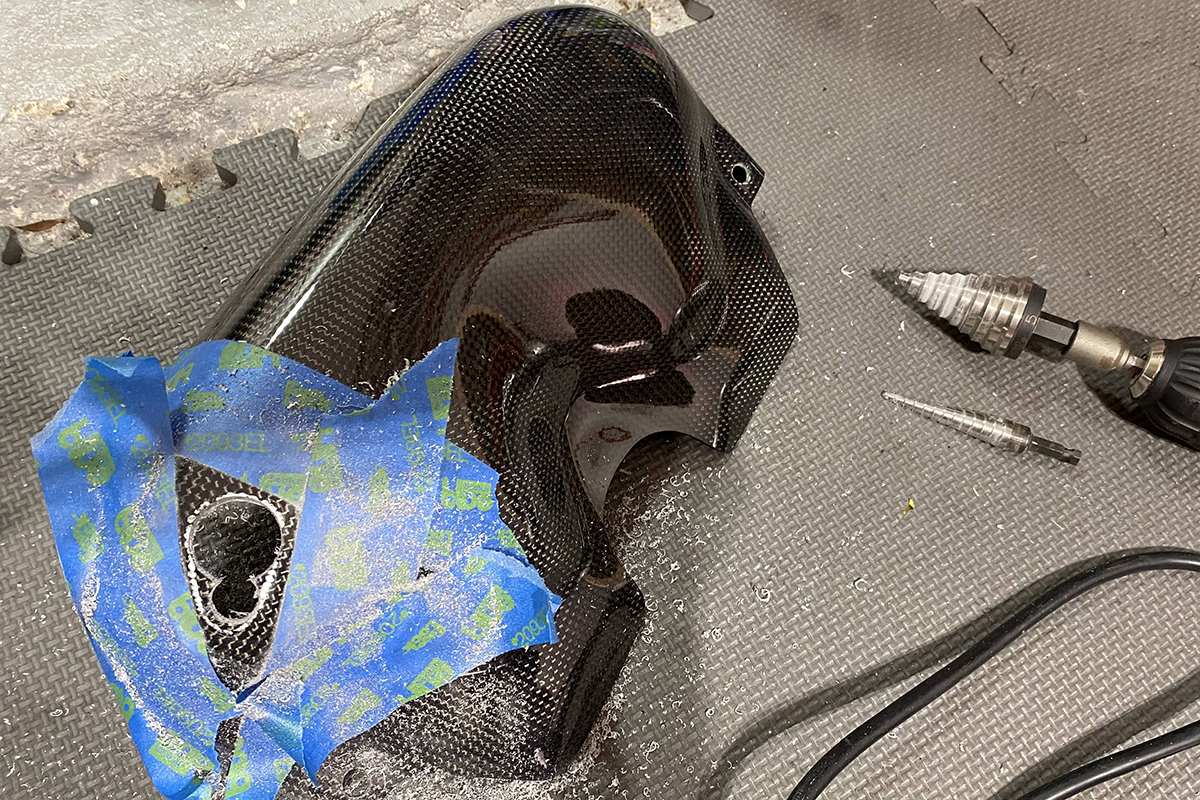
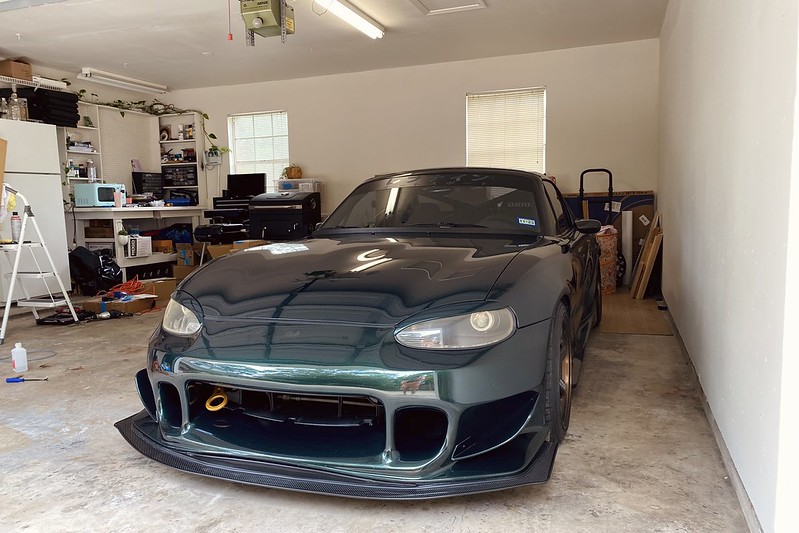
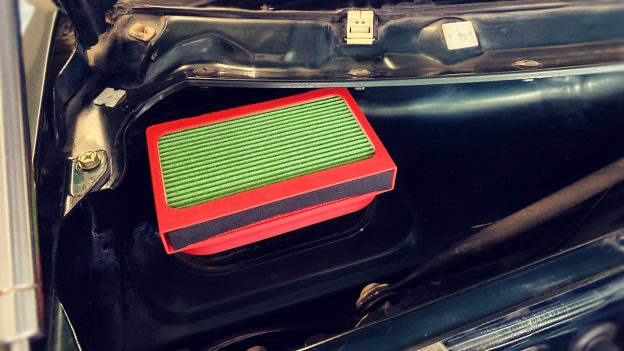
For example, a carbon fiber hood for your Roadster might be classified completely differently than a regular aluminum hood, even though they serve the same function. One digit off, and suddenly you’re paying raw material tariffs instead of auto parts rates.
How AI is Making Things Worse (and Better)
Here’s where it gets interesting. Modern customs authorities are increasingly using AI-powered classification systems to handle the massive volume of packages, with some systems achieving over 85% accuracy in tariff classifications. That sounds great until you’re in that 15% getting the wrong classification.
Why AI Classification Goes Wrong
The rush to automate customs processing has created new problems:
- Vague Product Descriptions: Importers may provide missing or inaccurate information about product specifications, making it difficult for authorities and AI systems to classify goods accurately
- Material Confusion: Your seller writes “racing seat” but doesn’t specify if it’s leather, fabric, or carbon fiber – each with different tariff rates
- Translation Errors: Japanese product descriptions run through Google Translate can create classification nightmares
- Outdated Training Data: HS codes and customs regulations are updated periodically, usually every five years, but AI systems may not always be current
- Exchange Rate Errors: Some shipments have value declared in Japanese Yen and end up being 1 to 1 in USA which makes your JPY10,000 (~$70.00) item declared at USD$10,000!
The result? AI classification errors can lead to overpayment or underpayment of taxes, generating fines and penalties, with goods potentially being detained or seized by customs authorities.
Your Action Plan: 3 Solutions to Fix That Customs Bill
Alright, enough doom and gloom. Let’s fix your problem:
First of all, you need to have access to your Entry Summary (from customs, scroll down to see what it looks like). If you don’t have it, request it from your seller. This process can take a few days to a few weeks. Then, follow these steps :
Solution 1: Contact Your Seller About HS Code Correction
If you suspect the HS code is wrong (and there’s a good chance it is):
- Email your Japanese seller immediately
- Request they review the HS code assigned to your shipment
- Ask them to work with the shipping company to submit a correction
- Provide them with the specific product details that might have been missed
Pro tip: Use simple English and be super specific. Instead of “car part,” say “aluminum alloy wheel, 18 inches, for passenger vehicle, aftermarket replacement part.”
Delays: A few weeks to a few months.
Solution 2: Dispute the Product Description
Often, the product description doesn’t match what you actually bought:
- Contact your seller to verify the exact description submitted to customs
- Request they dispute any inaccuracies with the shipping carrier
- Provide photos and specifications of the actual product
- Get documentation showing the correct product category
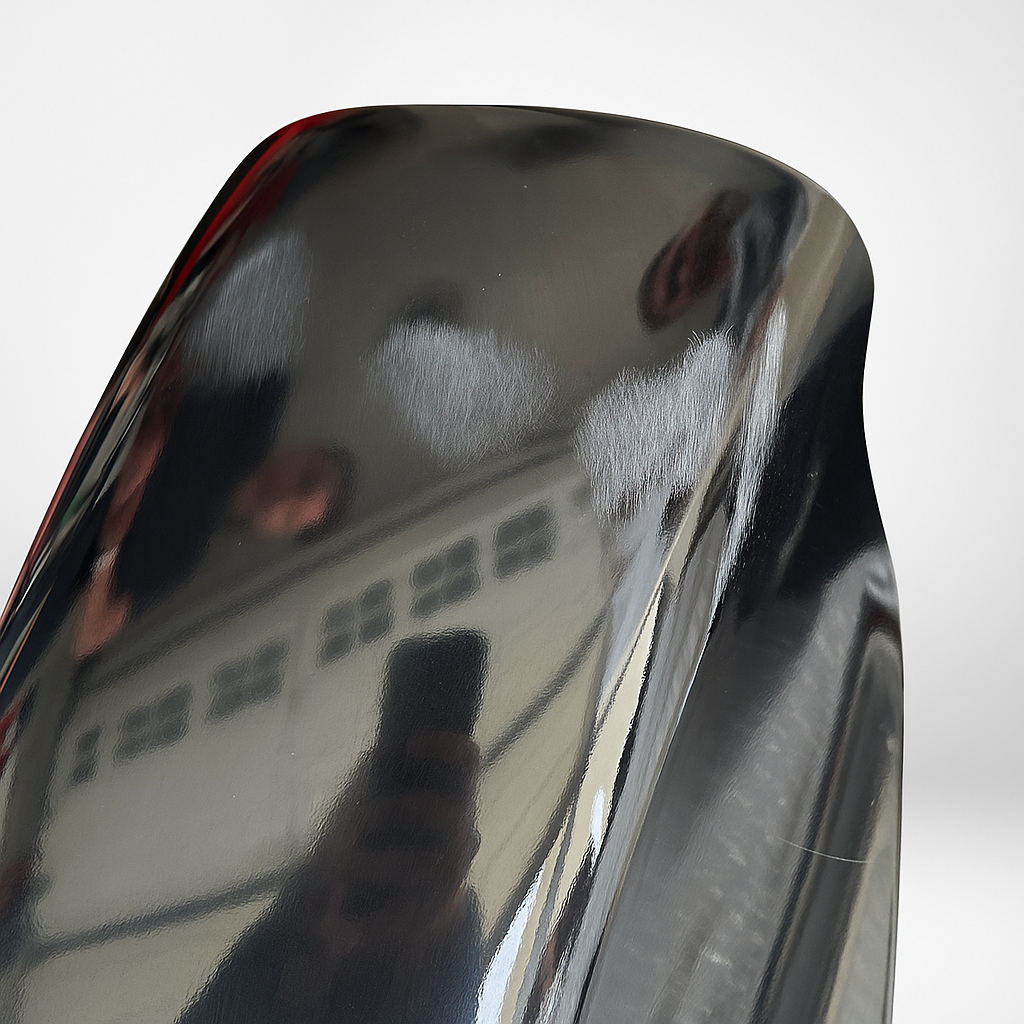
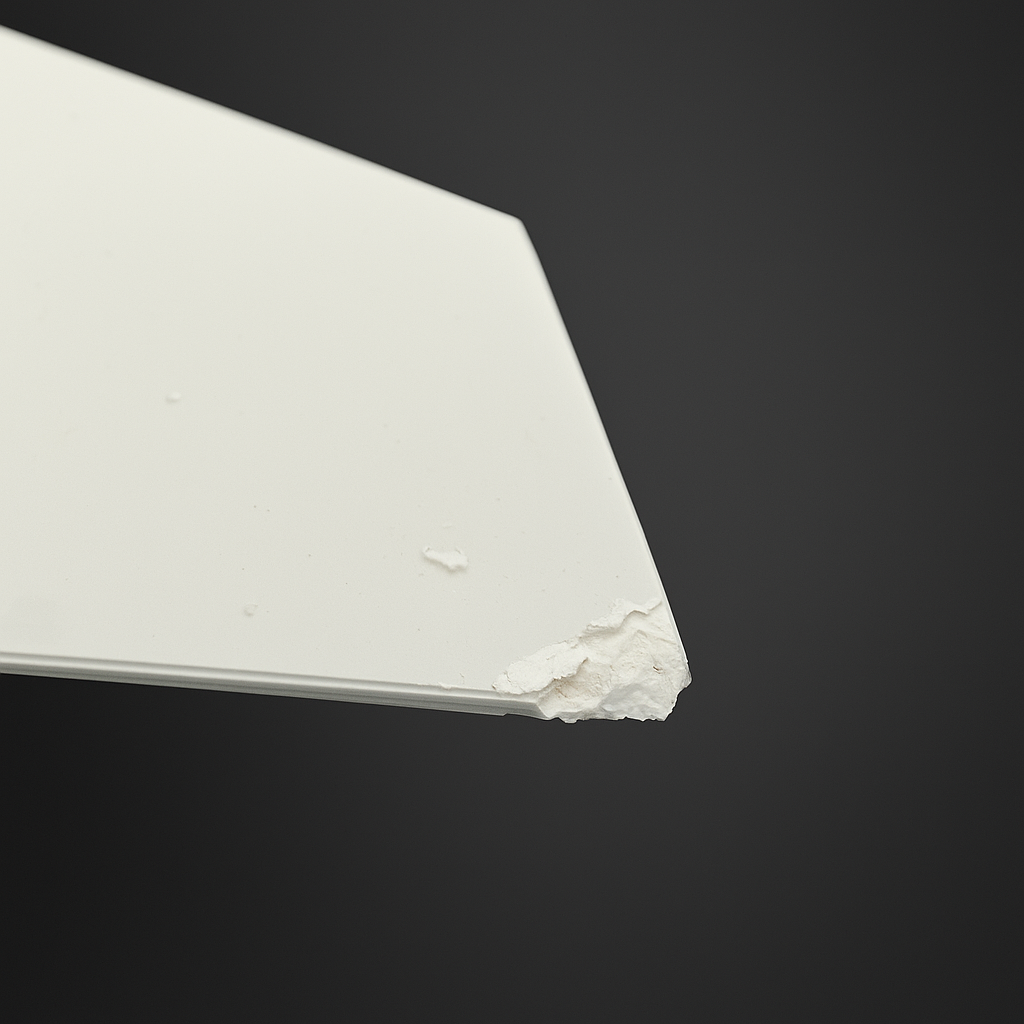
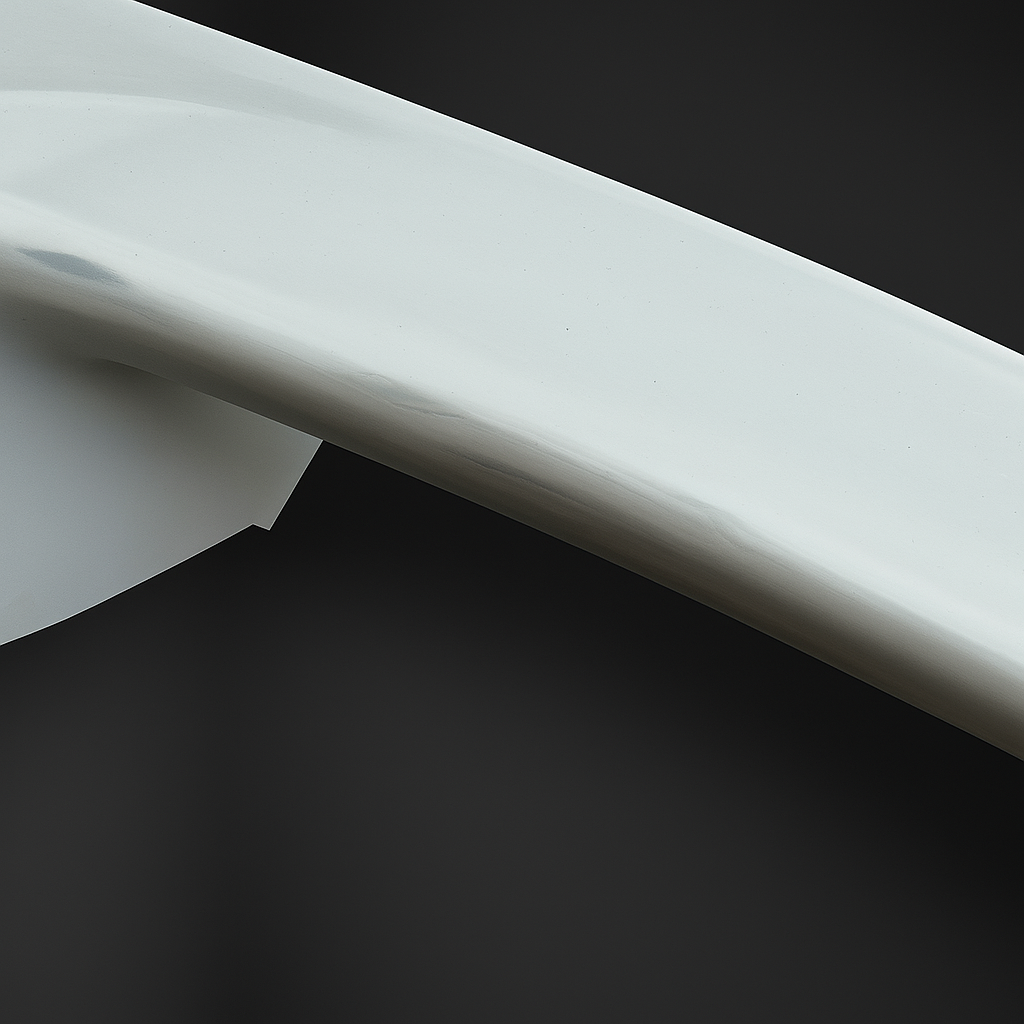
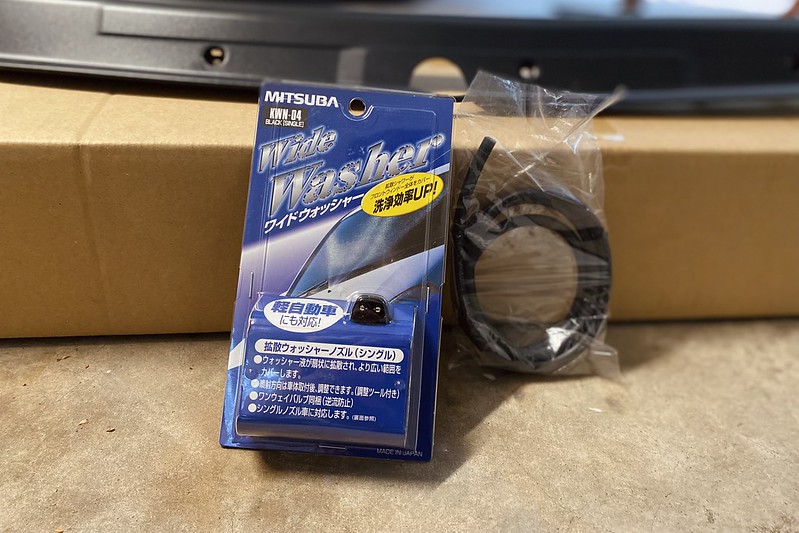
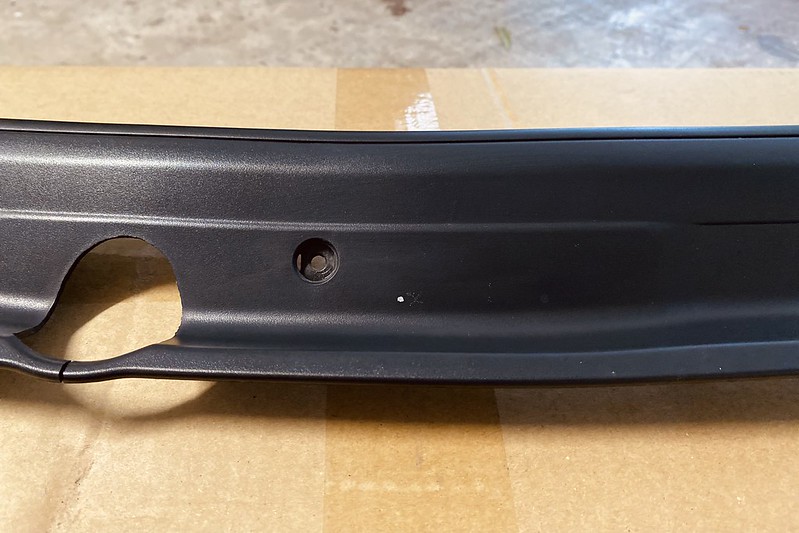
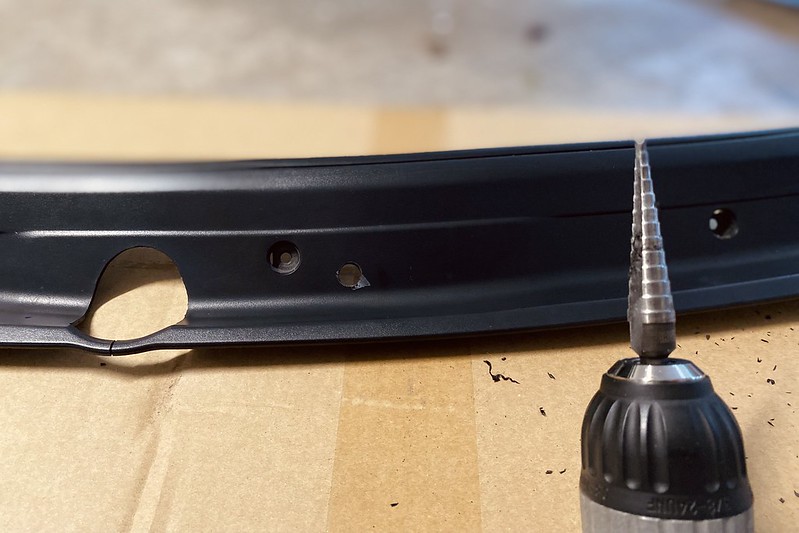
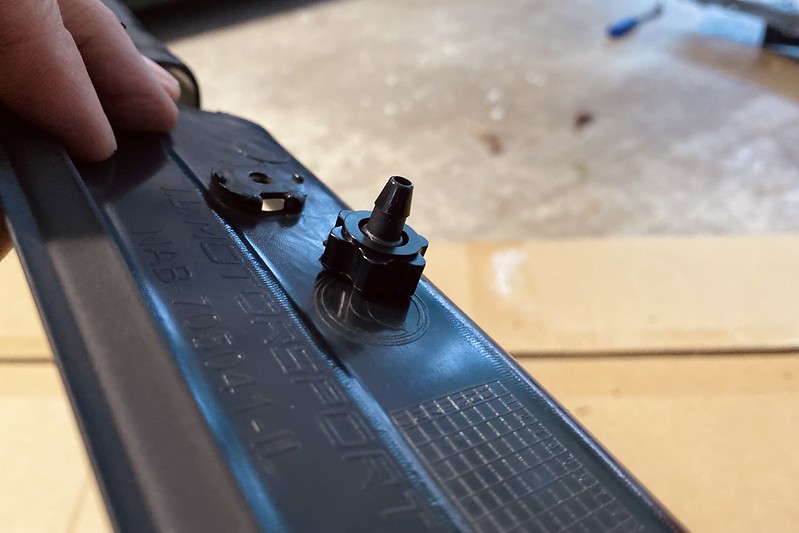
This is especially important for items that could be classified multiple ways. Those side skirts? Make sure it’s not classified as “women skirt (cloting)” when it should be “car parts.” Below image is a real case we just had :

Delays: A few weeks to a few months.
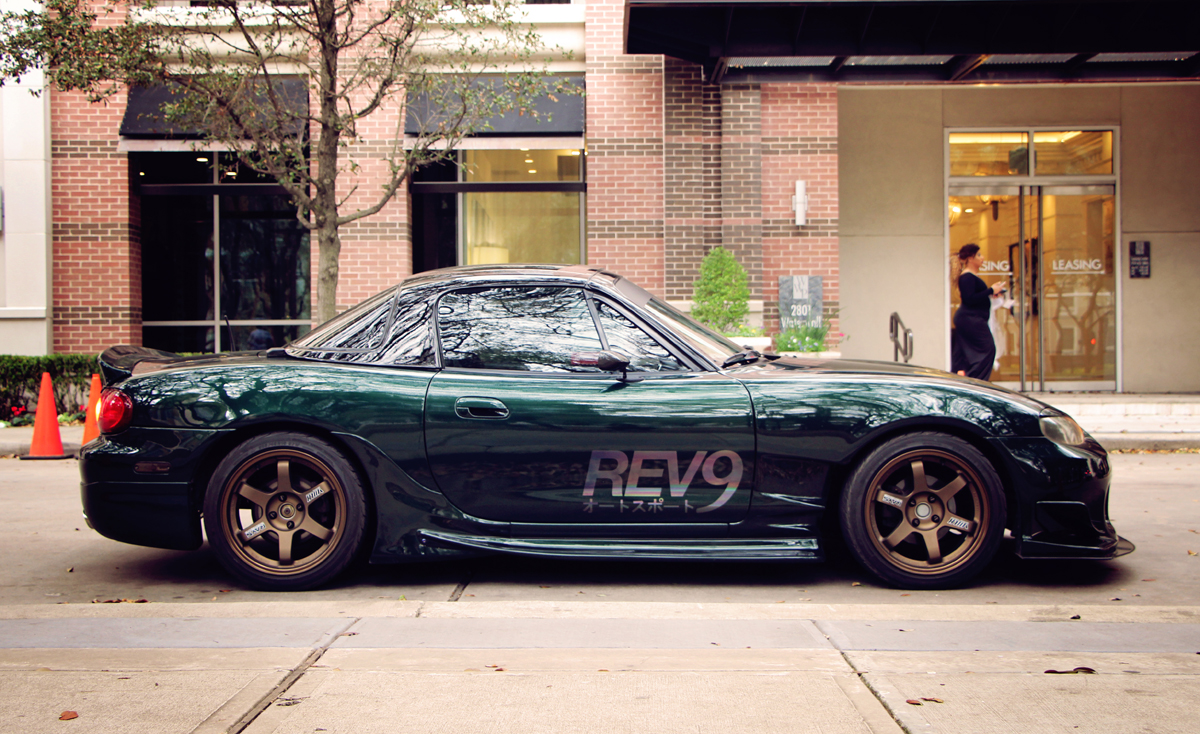
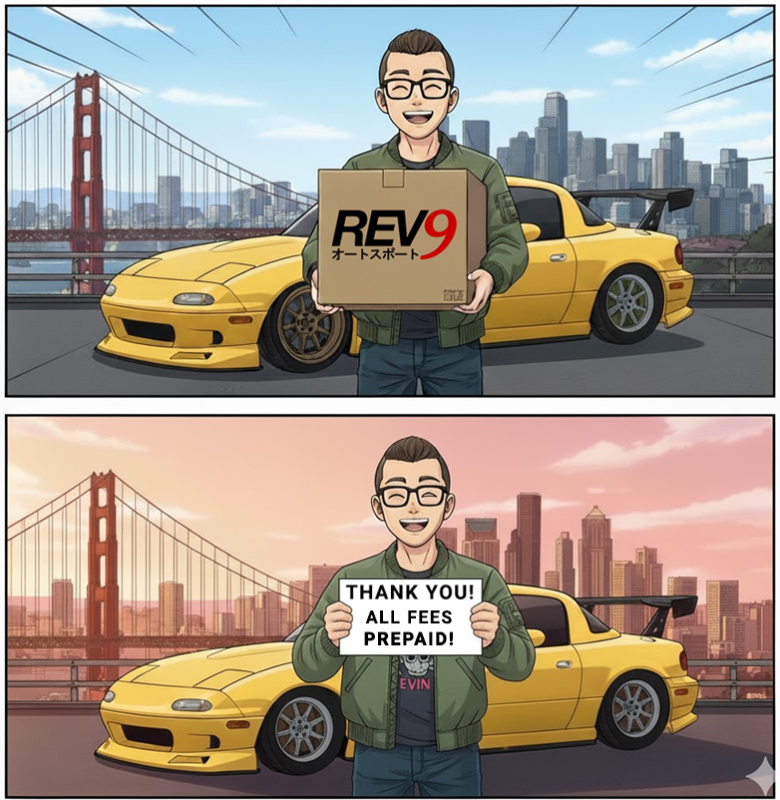
Solution 3: The REV9 Autosport Solution (Your Stress-Free Option)
Look, we get it. Dealing with customs is about as fun as a root canal. That’s why at REV9 Autosport, we’ve completely eliminated this headache for our customers in USA by combining forces with logistics companies, our existing warehouses and tariff specialists.
When you order from us, we handle EVERYTHING:
- ✅ All packages going to USA ship with tariffs, taxes & duties included – zero surprise bills
- ✅ We take care of any customs errors or issues – that’s our problem, not yours
- ✅ Professional HS code classification for every single item
- ✅ Direct relationships with shipping carriers for dispute resolution
- ✅ One price at checkout – no hidden fees, no customs drama, no stress
Think of it this way: Would you rather spend hours arguing with customs about why your turbo kit isn’t a “jet engine component,” or would you rather just… not? We vote for option B. We’ve been in this game long enough to know that peace of mind is worth its weight in gold and our company has been long enough in business that you can let us take care of your build.
Delays: No delay, just enjoy!
The Bottom Line
The elimination of De Minimis has created a perfect storm of customs complications. Between AI classification errors, massive backlogs, and confusing new regulations, getting hit with unexpected customs bills has become the norm rather than the exception.
But you don’t have to accept it. Whether you work with your current seller to fix classification errors, dispute incorrect descriptions, or switch to a seller like REV9 Autosport that handles all the customs hassles for you, you have options.
The international shipping landscape has fundamentally changed in 2025. The question isn’t whether you’ll encounter customs issues – it’s how prepared you’ll be when you do (or leave it to us and live a peaceful life).