Introducing the Garage HRS Filter
One of the most exciting advancements in automotive accessories over the past year has been the introduction of cabin filters for our beloved Roadsters. Thanks to the wonders of 3D printing, finding a solution for this long-awaited upgrade has become a breeze.
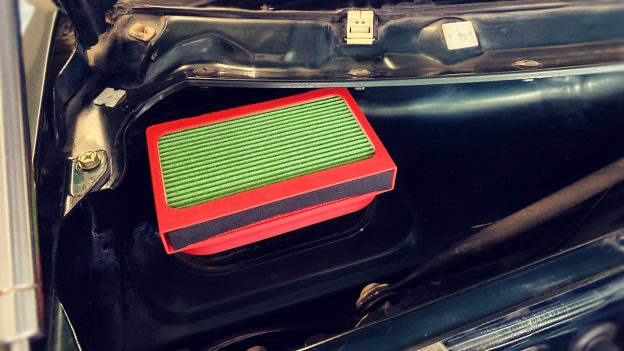
Enter the Garage HRS Filter: a beautifully designed 3D-printed product that not only looks the part straight out of the box but also feels impressively good.
Installation Process
Now, let’s dive into the installation process. Prepare your toolbox with essentials like a Phillips screwdriver, masking tape, and a 12mm socket and ratchet. Additionally, having a pry tool on hand will prove invaluable.
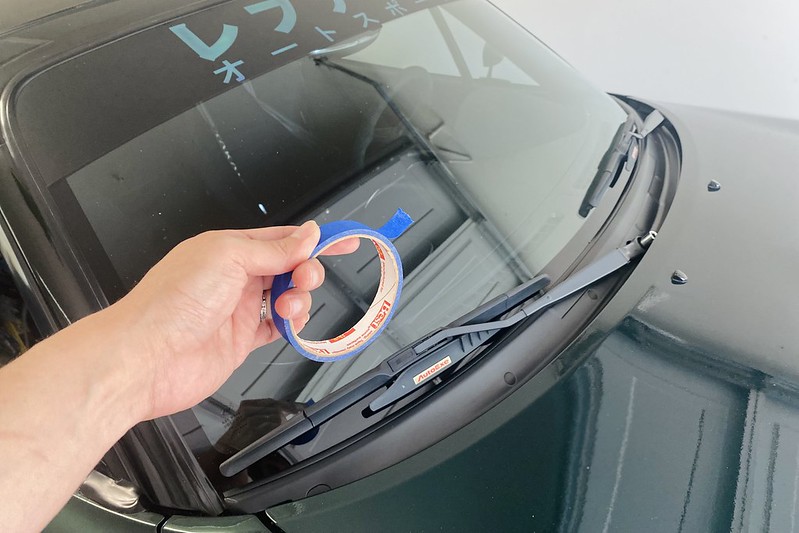
Pro tip: Use a piece of masking tape to mark the glass where the wiper blades rest to ensure they’re aligned upon reinstallation.
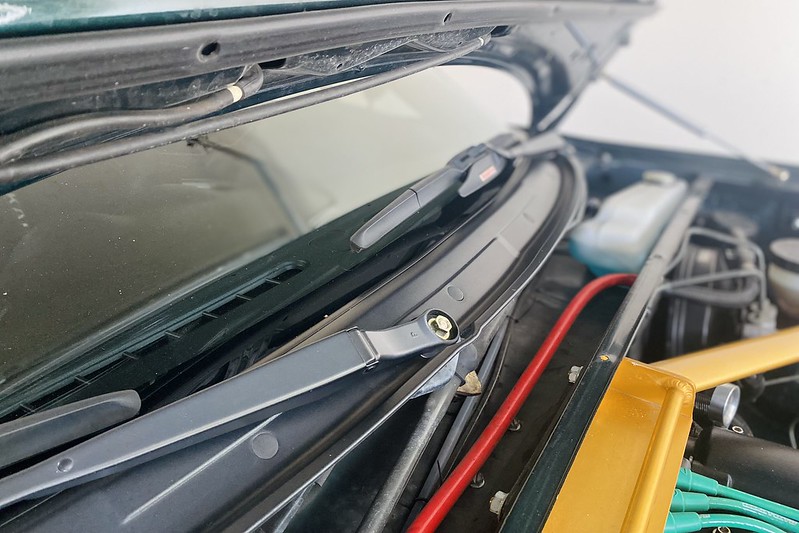
Removing the wiper arms involves removing the rubber cap and loosening the 12mm nut before gently pulling the arm upwards. Be prepared to apply some force, especially if it’s the first time the arm has been removed.
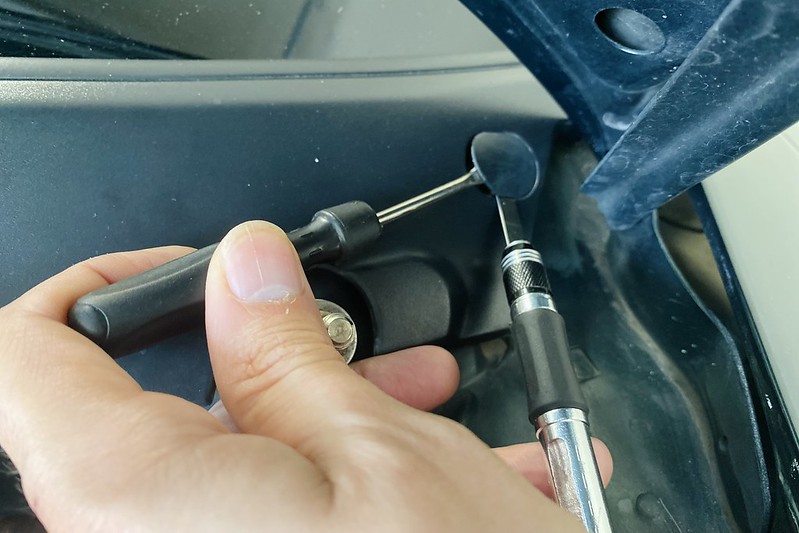
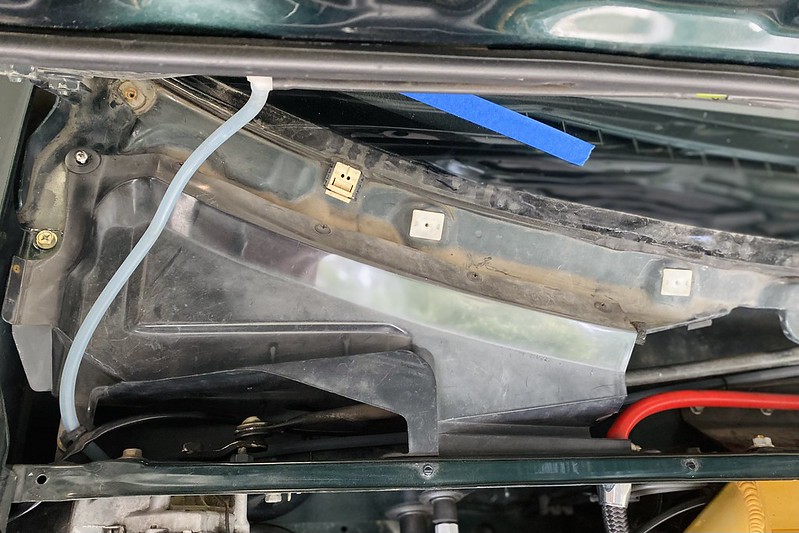
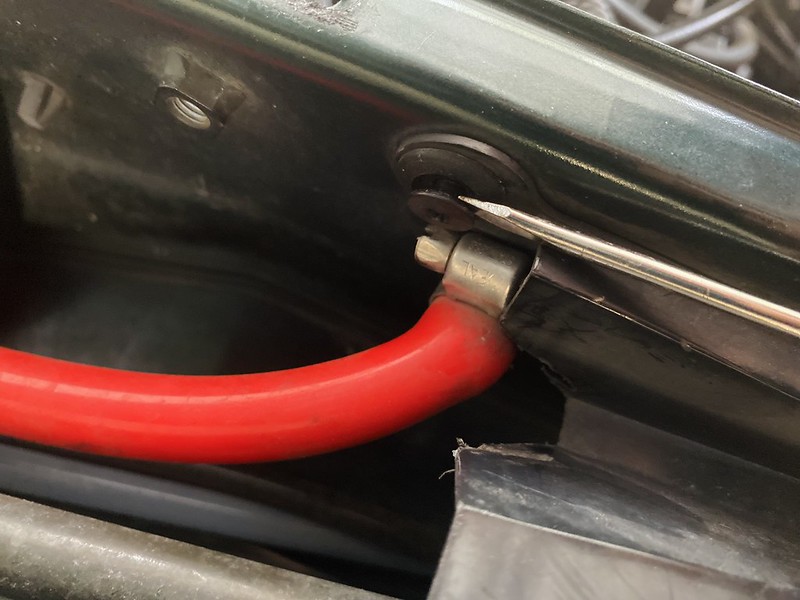
Next, the wiper cowl, held in place by six screws hidden beneath plastic cap covers. Carefully pry these covers off using a scalpel or small flat-head screwdriver, exercising caution to avoid damaging the plastic.
Finally, the rain/water diverter panel, secured with five screws and three plastic clips.
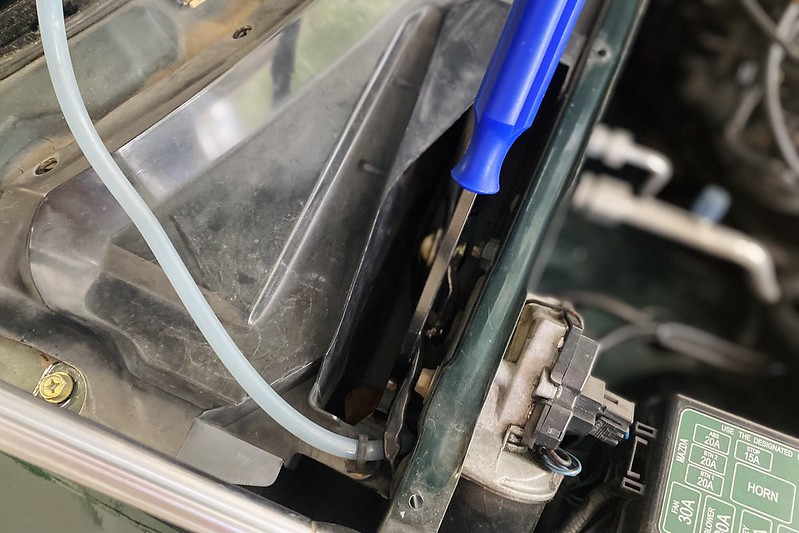
Pay special attention to the clips on the firewall, ensuring you pry the inner piece first before rotating it off like a regular screw.
A clip/pry tool will come in handy for the third clip.
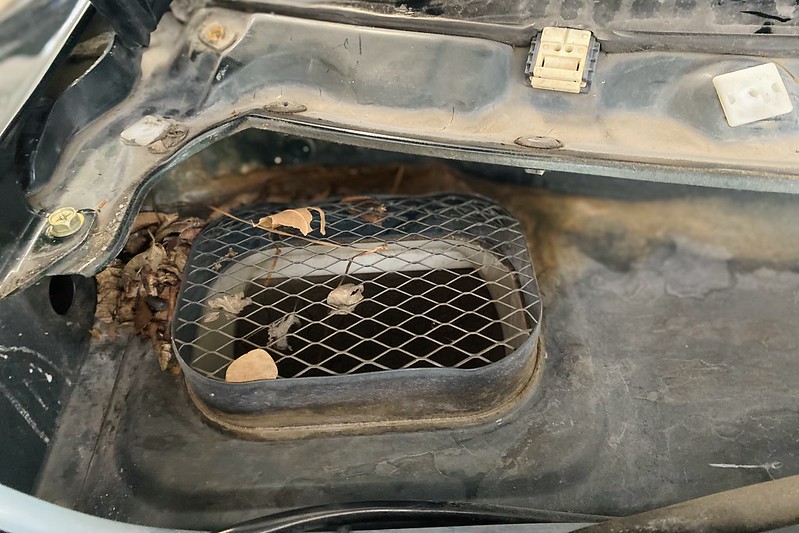
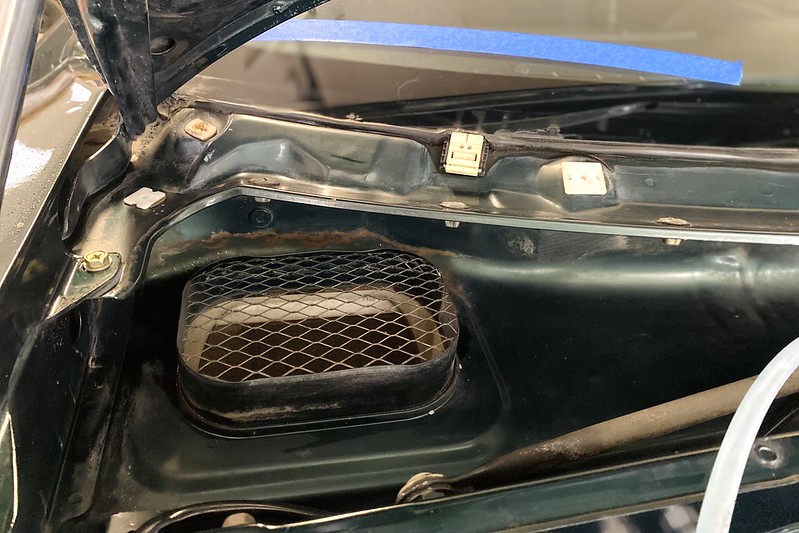
With those hurdles cleared, it’s time to address the AC air intake. For NB Roadsters like mine, the existing metal mesh offers limited protection against debris entering the AC blower, making a cabin filter a welcomed addition.
Take advantage of this opportunity to give the area a thorough clean, promoting fresher air circulation within the cabin.
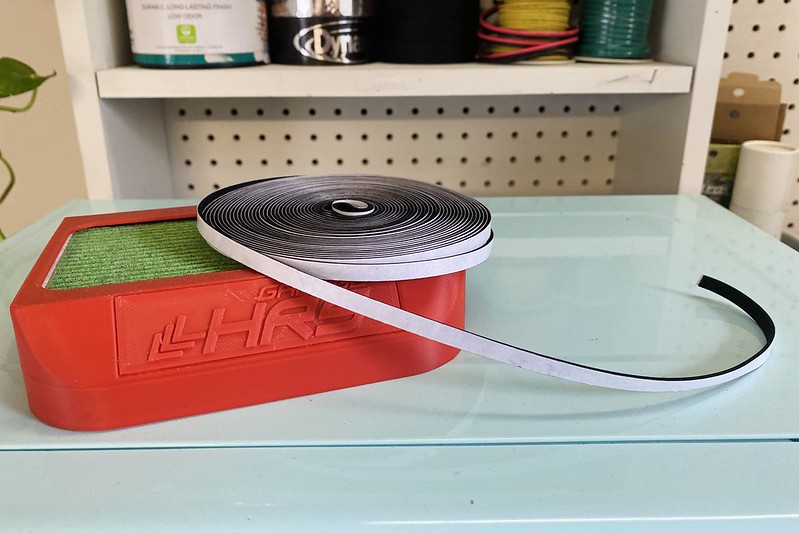
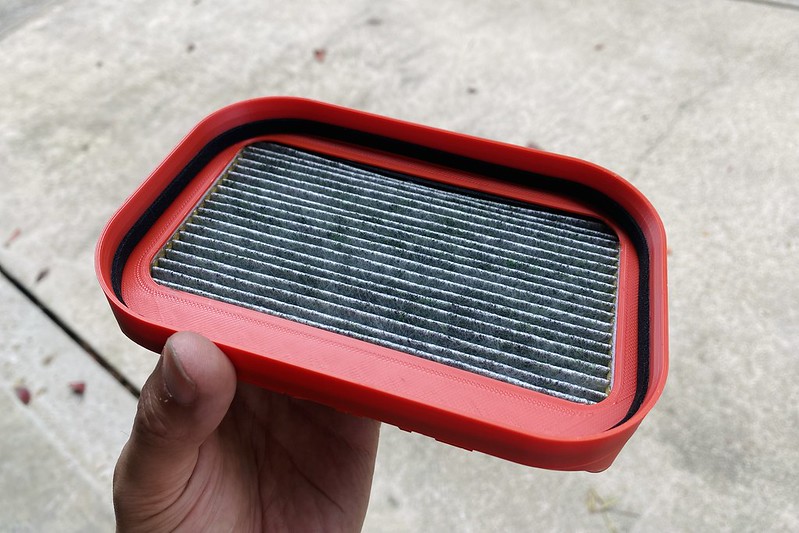
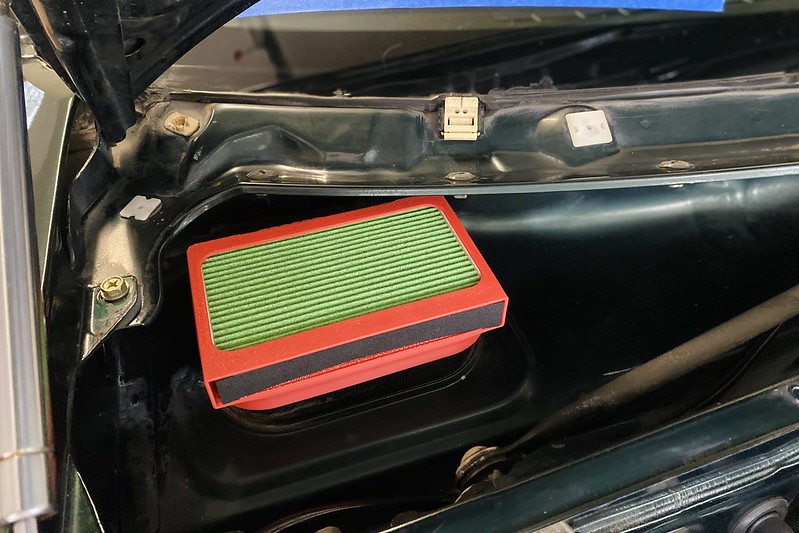
While the Garage HRS Filter boasts impressive design, one flaw surfaced during installation: a less-than-secure fit within the rectangular intake. My simple yet effective solution involved adding a 1/16th-inch weather seal tape to the filter housing’s inner edge.
This minor adjustment significantly enhanced the housing’s stability and sealing, resulting in a snugger fit and improved performance. Curious to replicate this solution? Here’s a link to the weather seal tape. https://a.co/d/iOWnzlu
So far, my experience with the filter has been nothing short of delightful. Not a hint of strong odors from the outside world has infiltrated my sanctuary on wheels.
In conclusion, installing a cabin filter in our Roadsters not only enhances air quality but also adds a touch of innovation to our driving experience. Here’s to many more miles of fresh, exhilarating adventures ahead!
