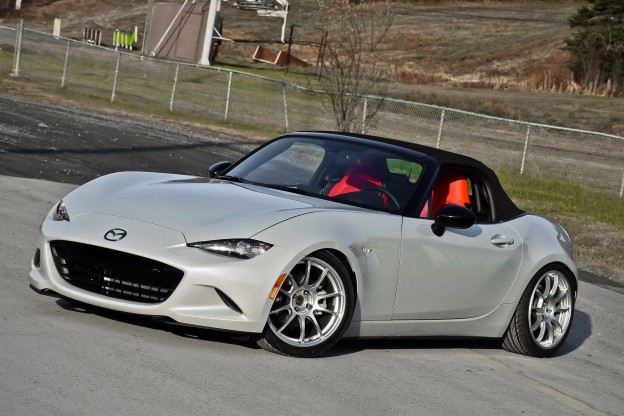
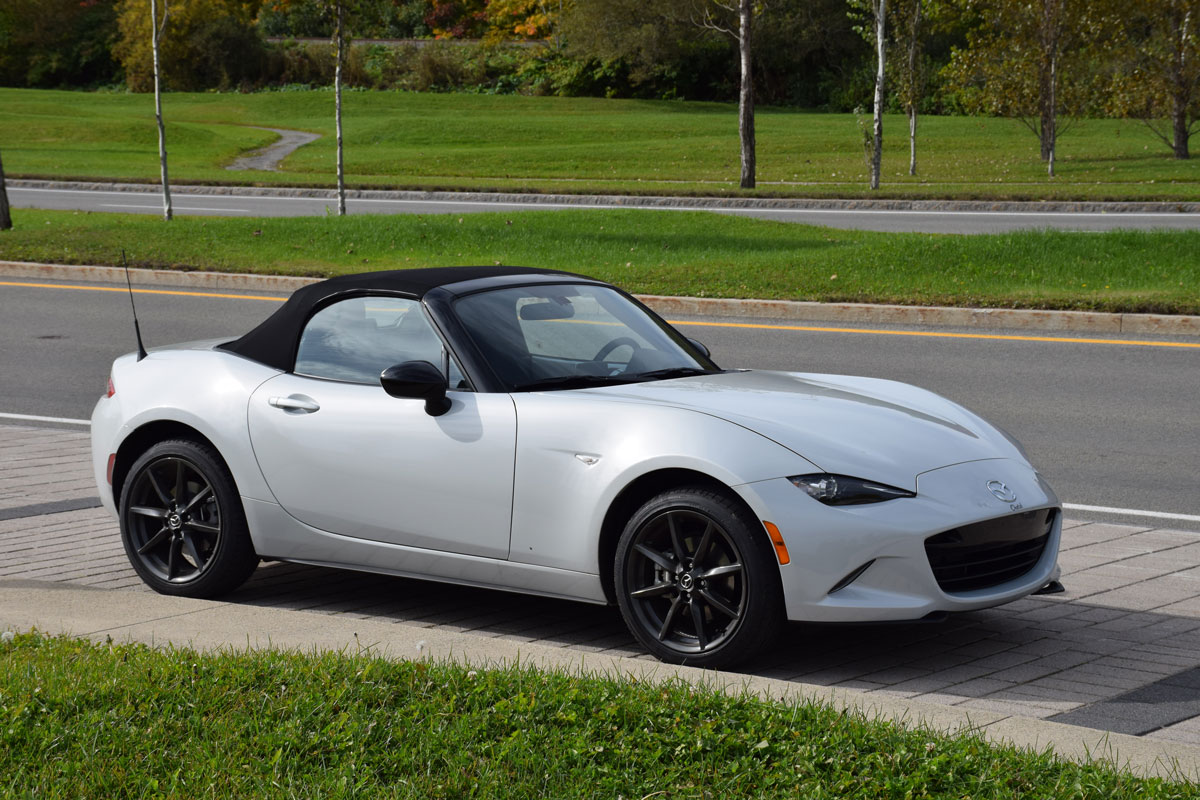
After I ordered my 2016 ND MX-5 Shop Car, I immediately knew that I would change the suspension on it because I didn’t like the huge wheel gap from factory.

As much as it was easy to drive it everywhere and not care about clearance over bumps and driving fast over bad roads, I just thought it looked bad.
It became even worse when I installed my 17×8 Advan RZ coupled with 215/40R17 tires :
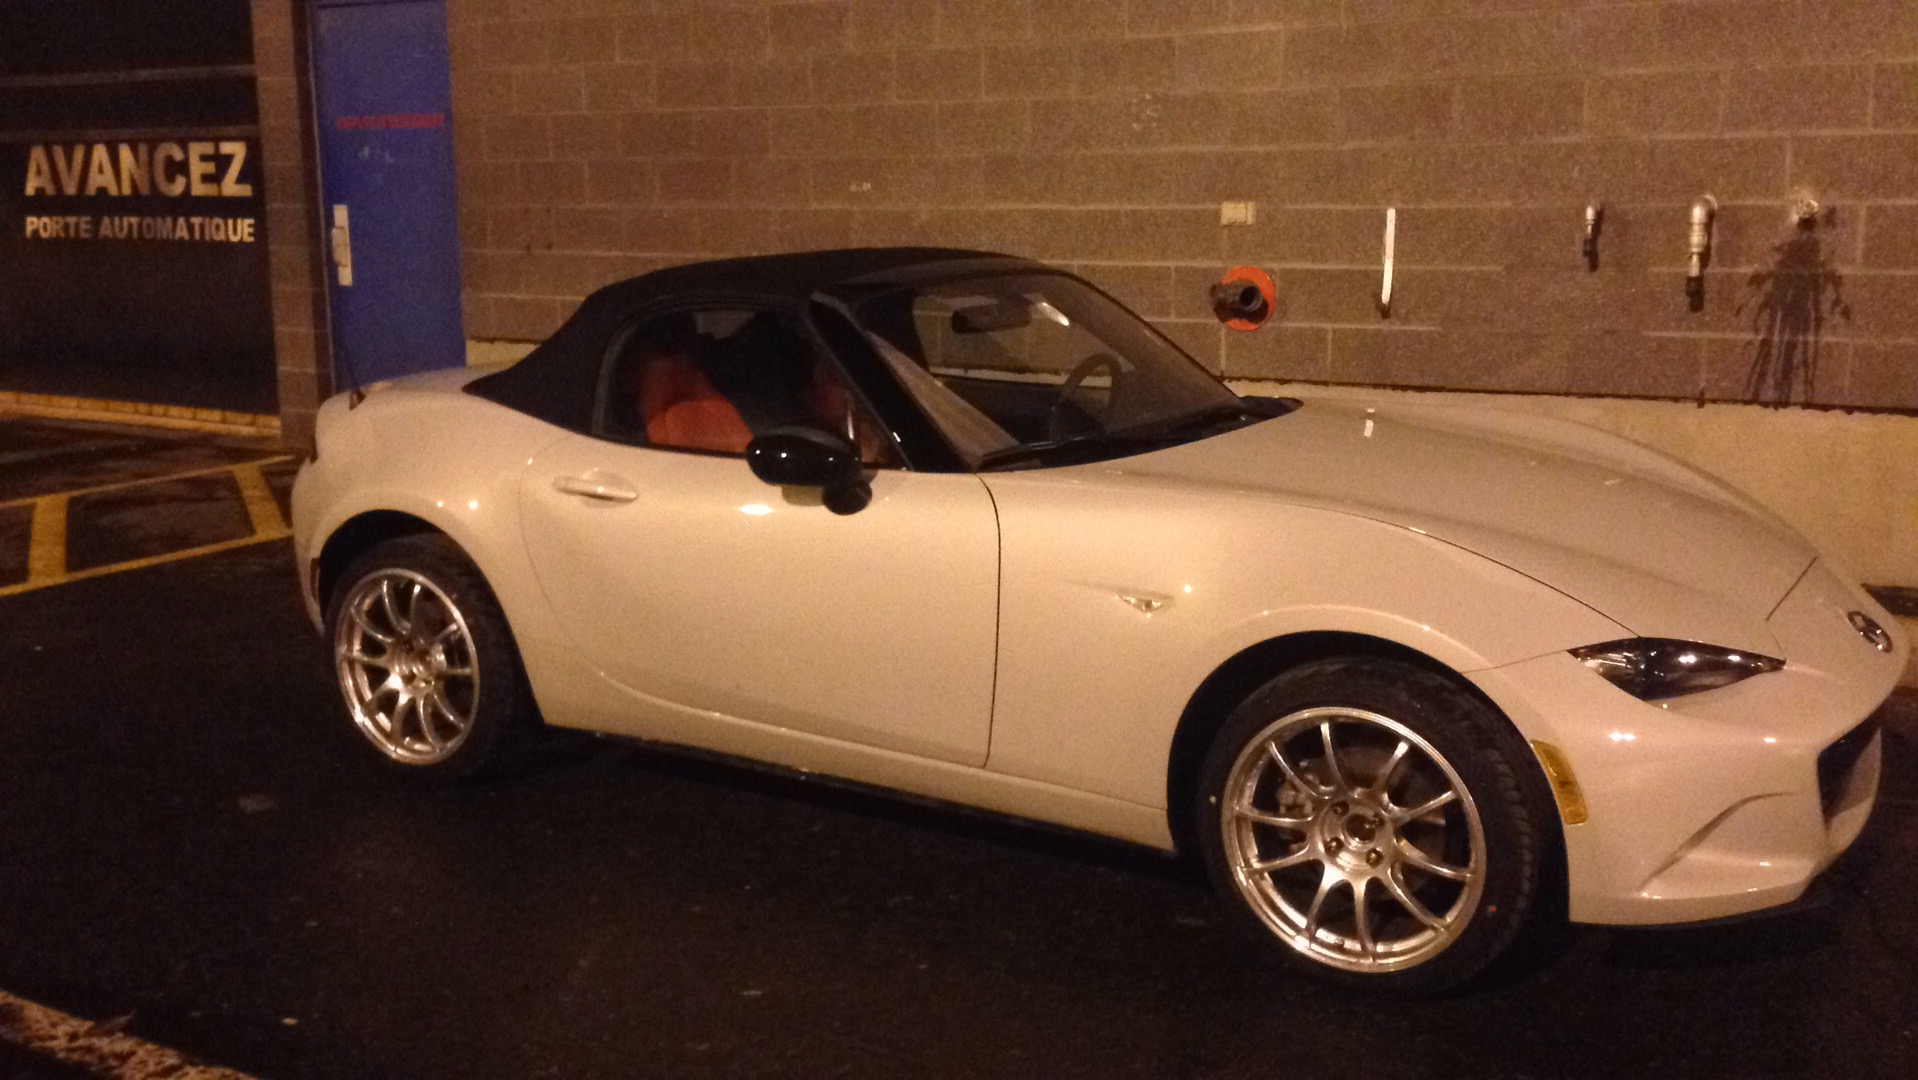
(I only took one picture right after the installation. I didn’t take other as it just looked goofy.)
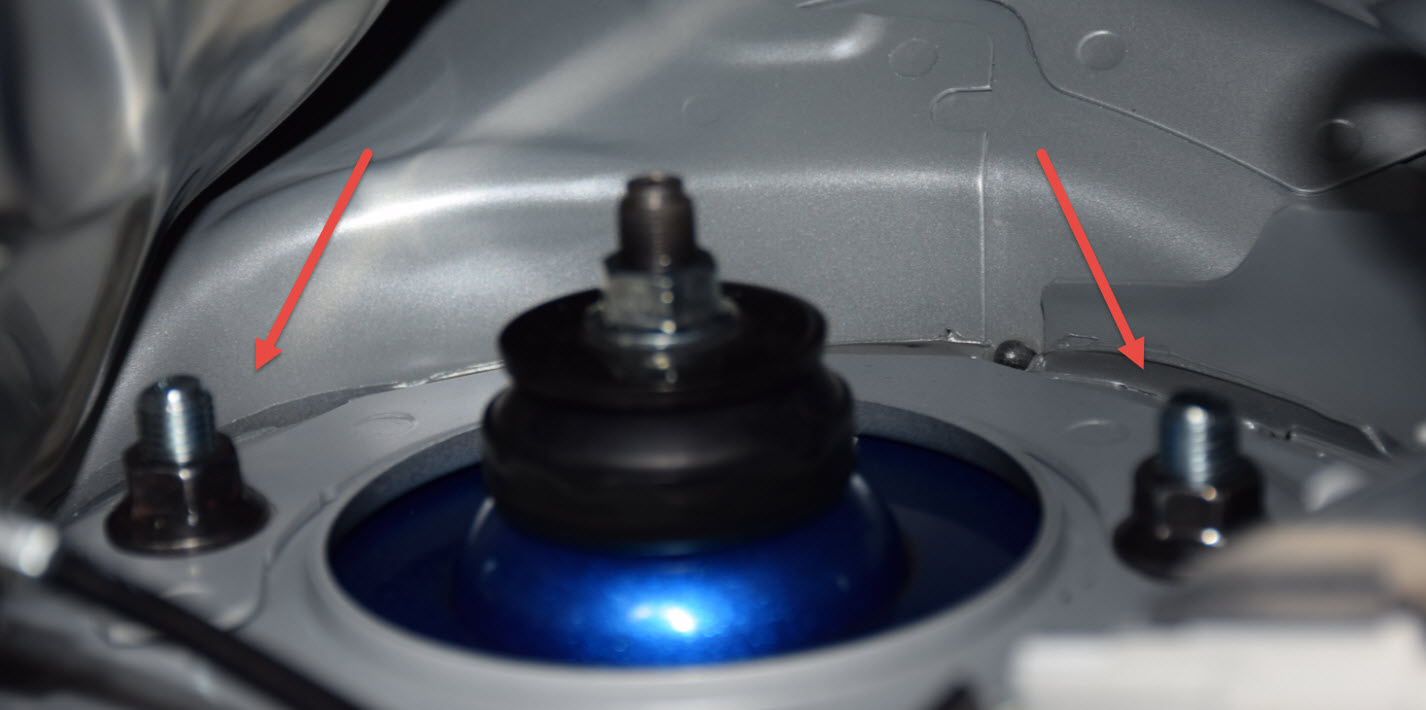
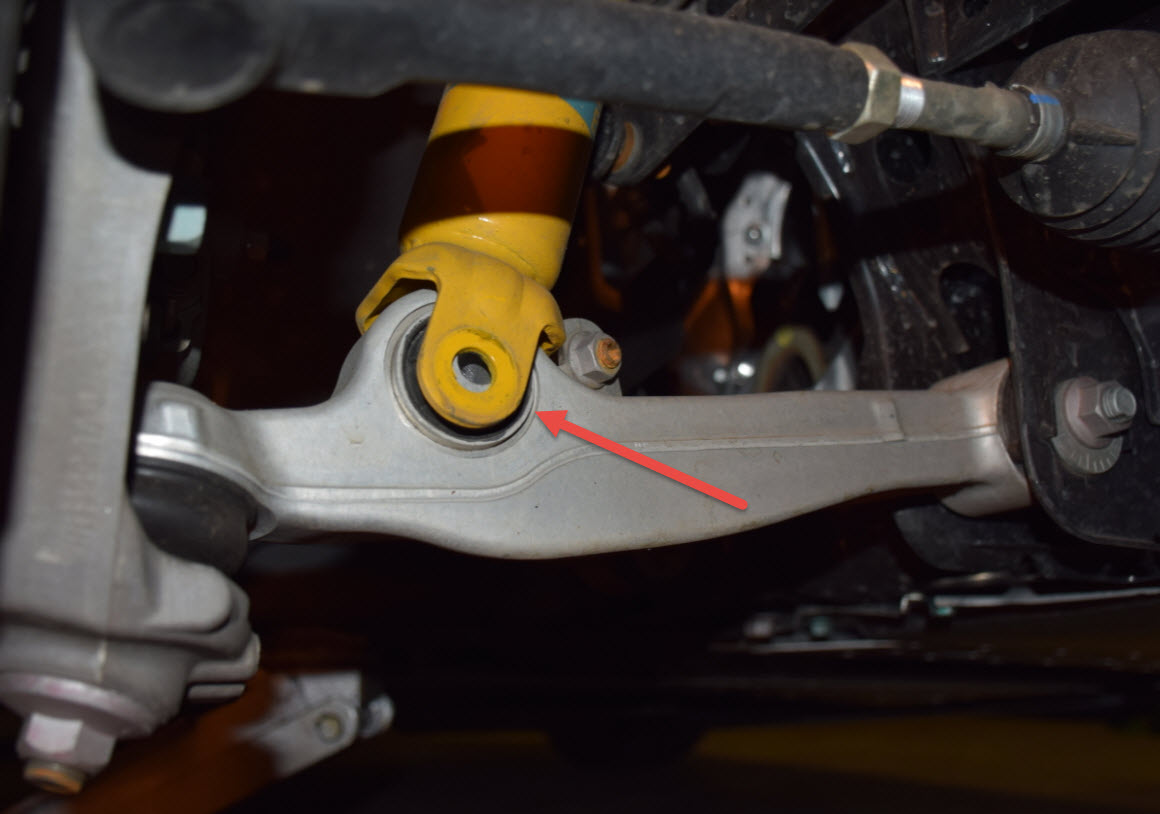
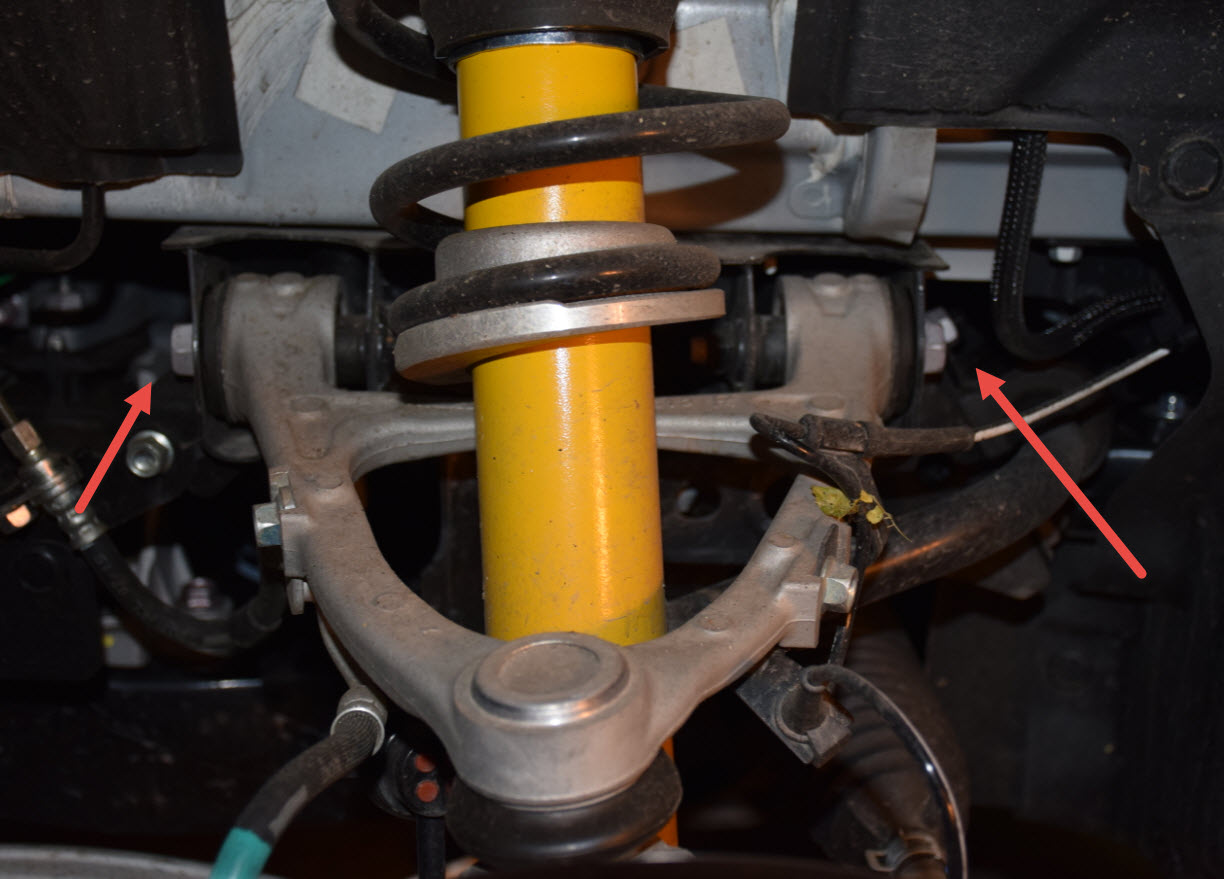
Installing coilovers on the 2016 ND Roadster is really a piece of cake. Get a friend who has power tools, follow these instructions and you’ll be done within a few hours. Adjustment takes a bit longer, but that depends on everyone. Unfortunately, I did not take any pictures of my OEM wheels with the lowered suspension, but it’s easy to imagine. The wheels won’t stick out and will be very narrow inside the fenders; not the look I was aiming for.
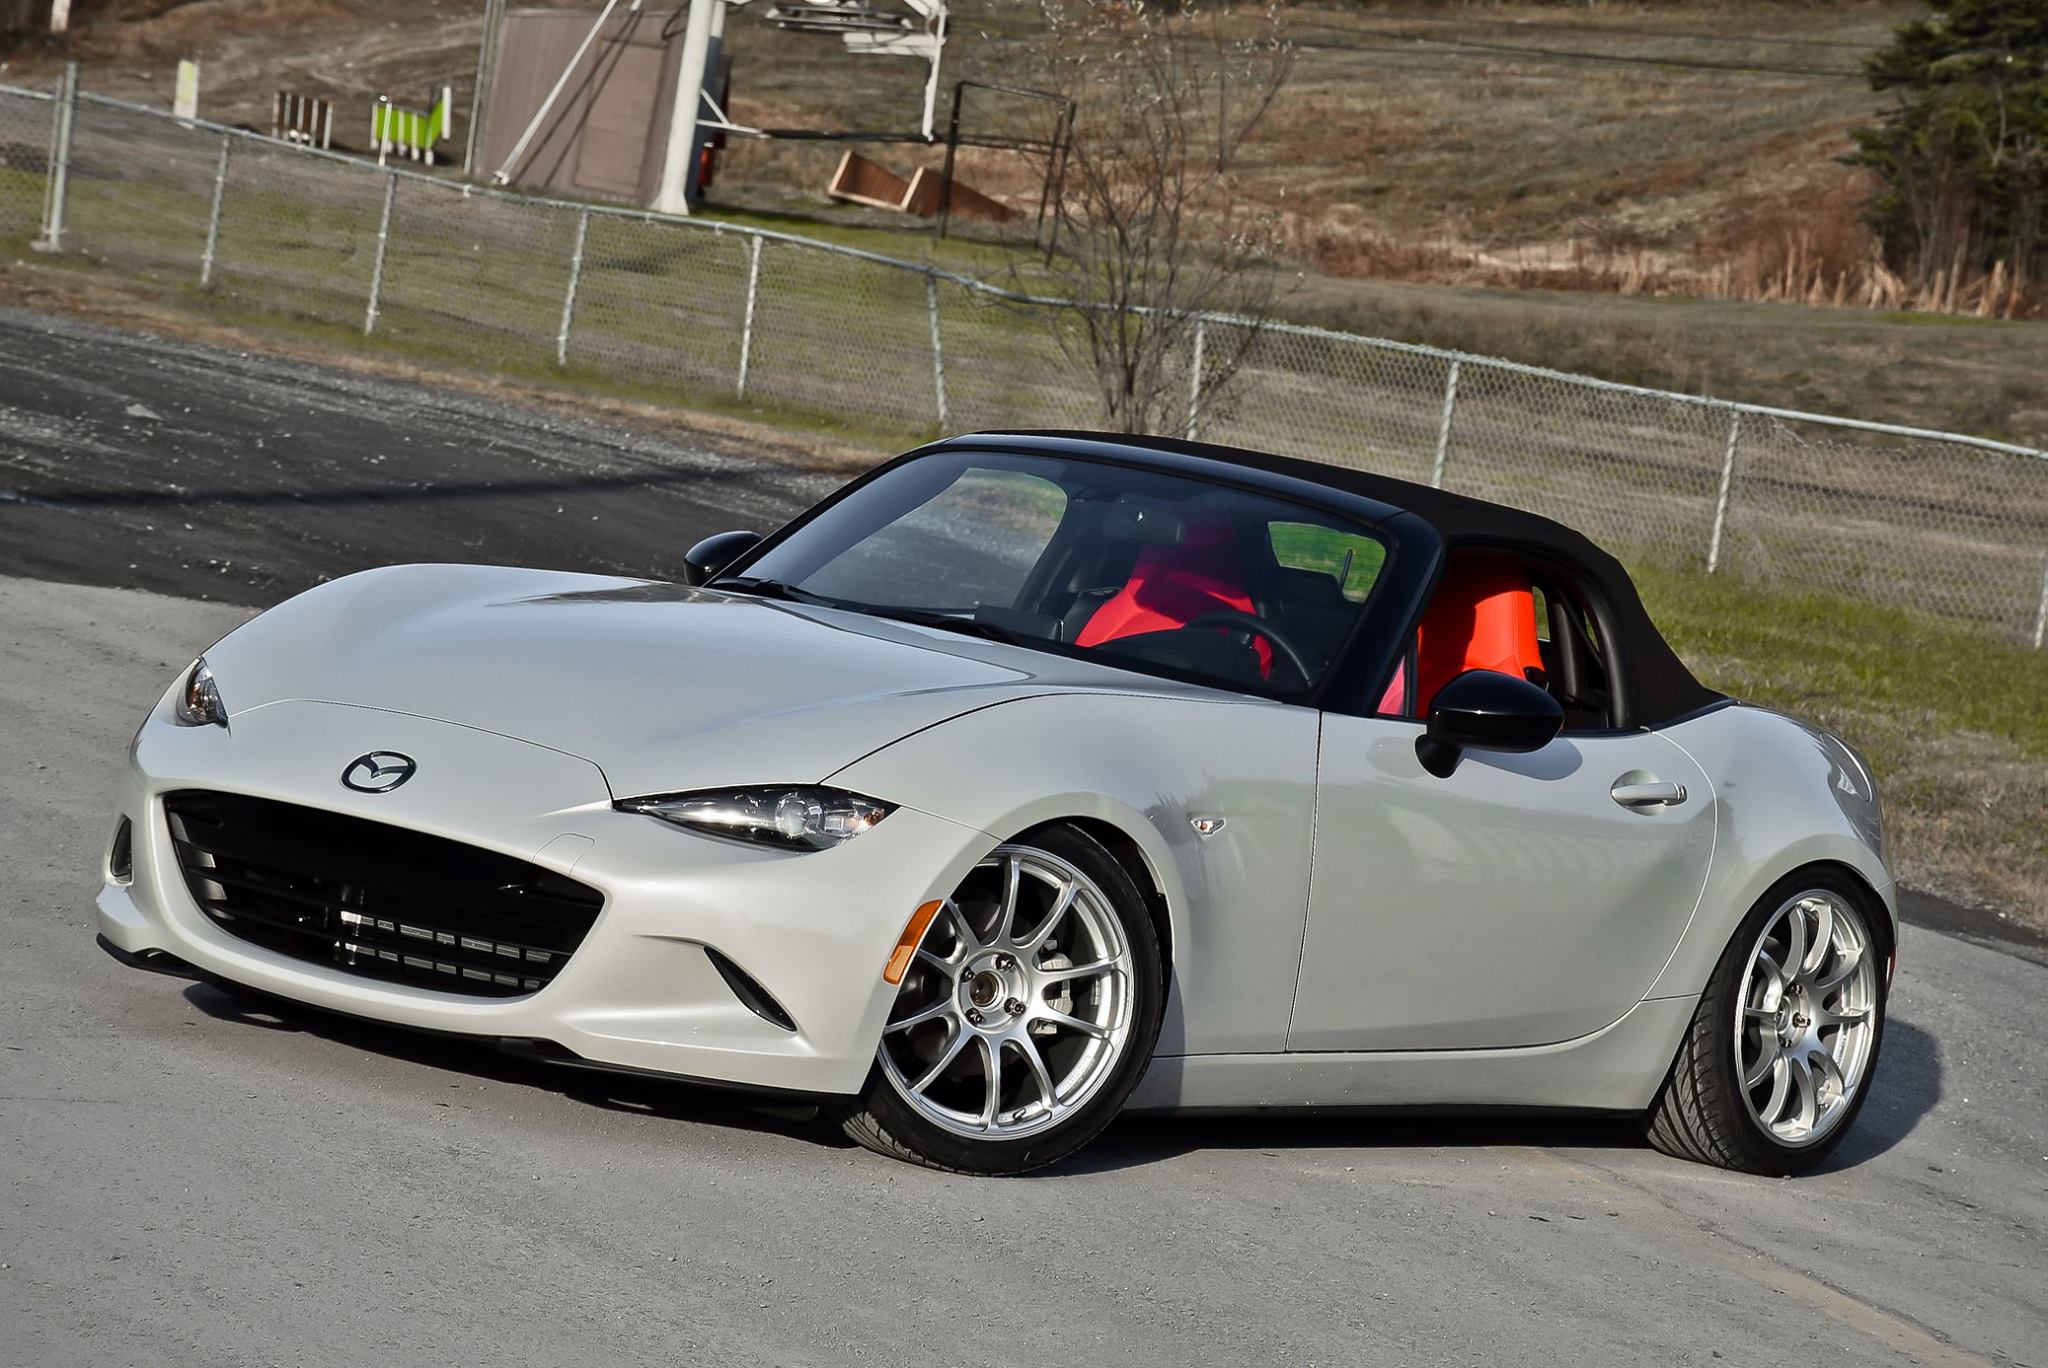
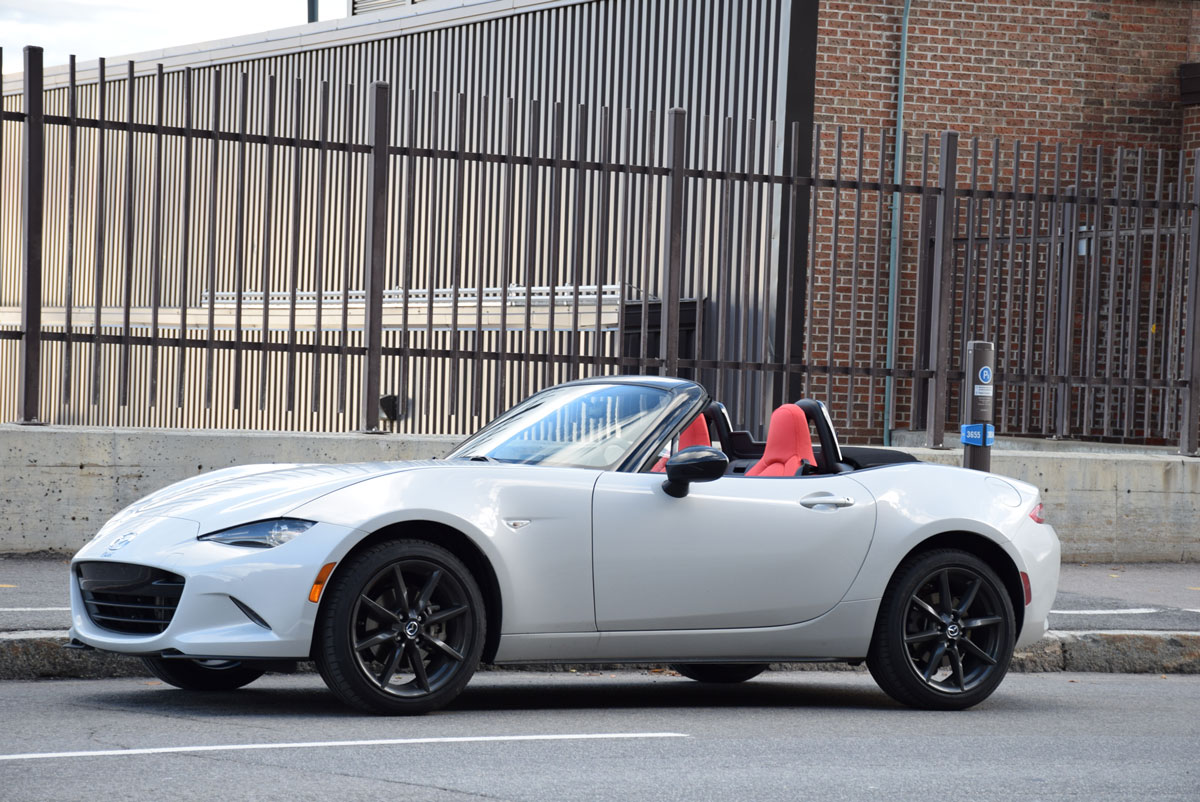
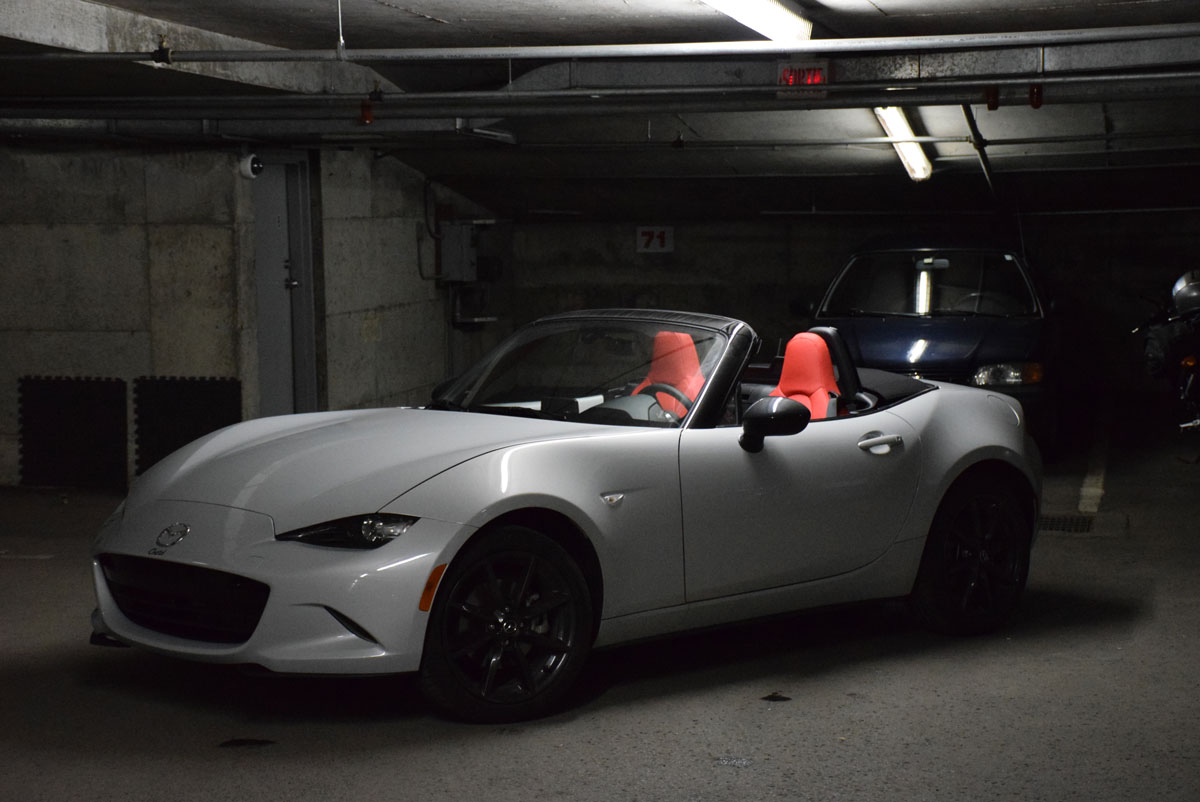
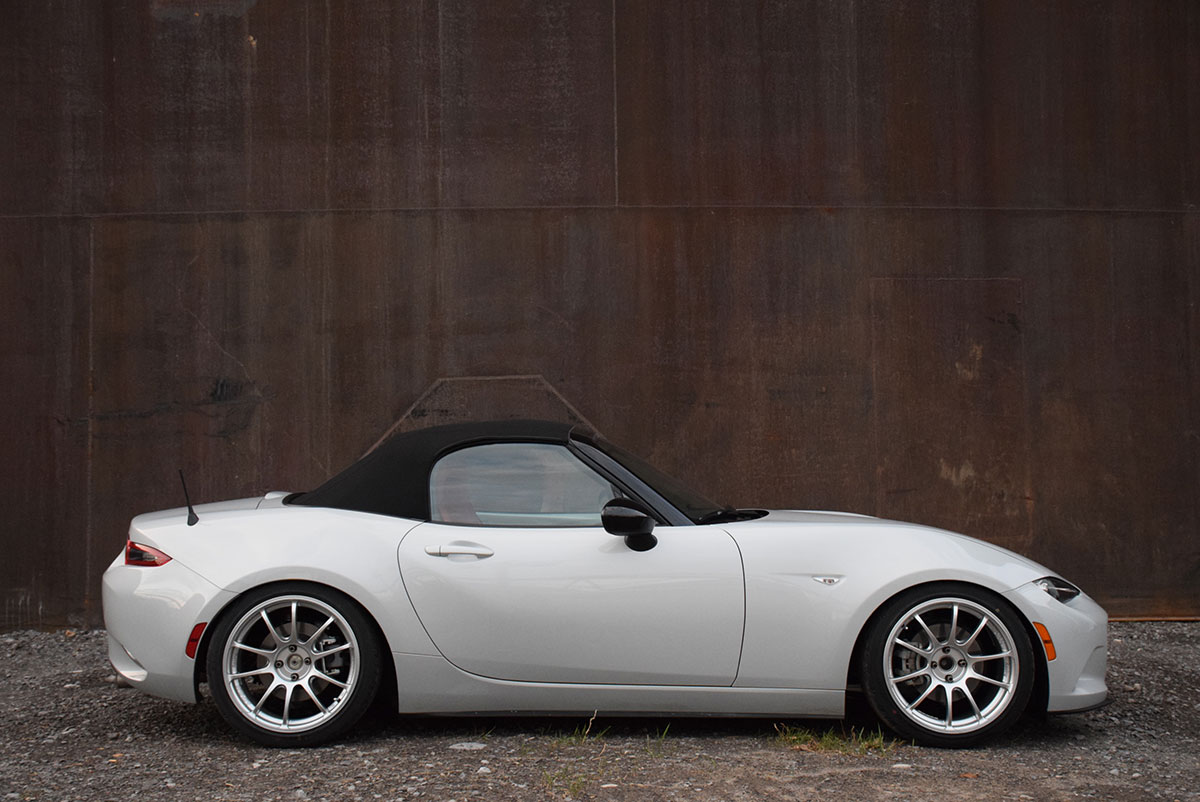
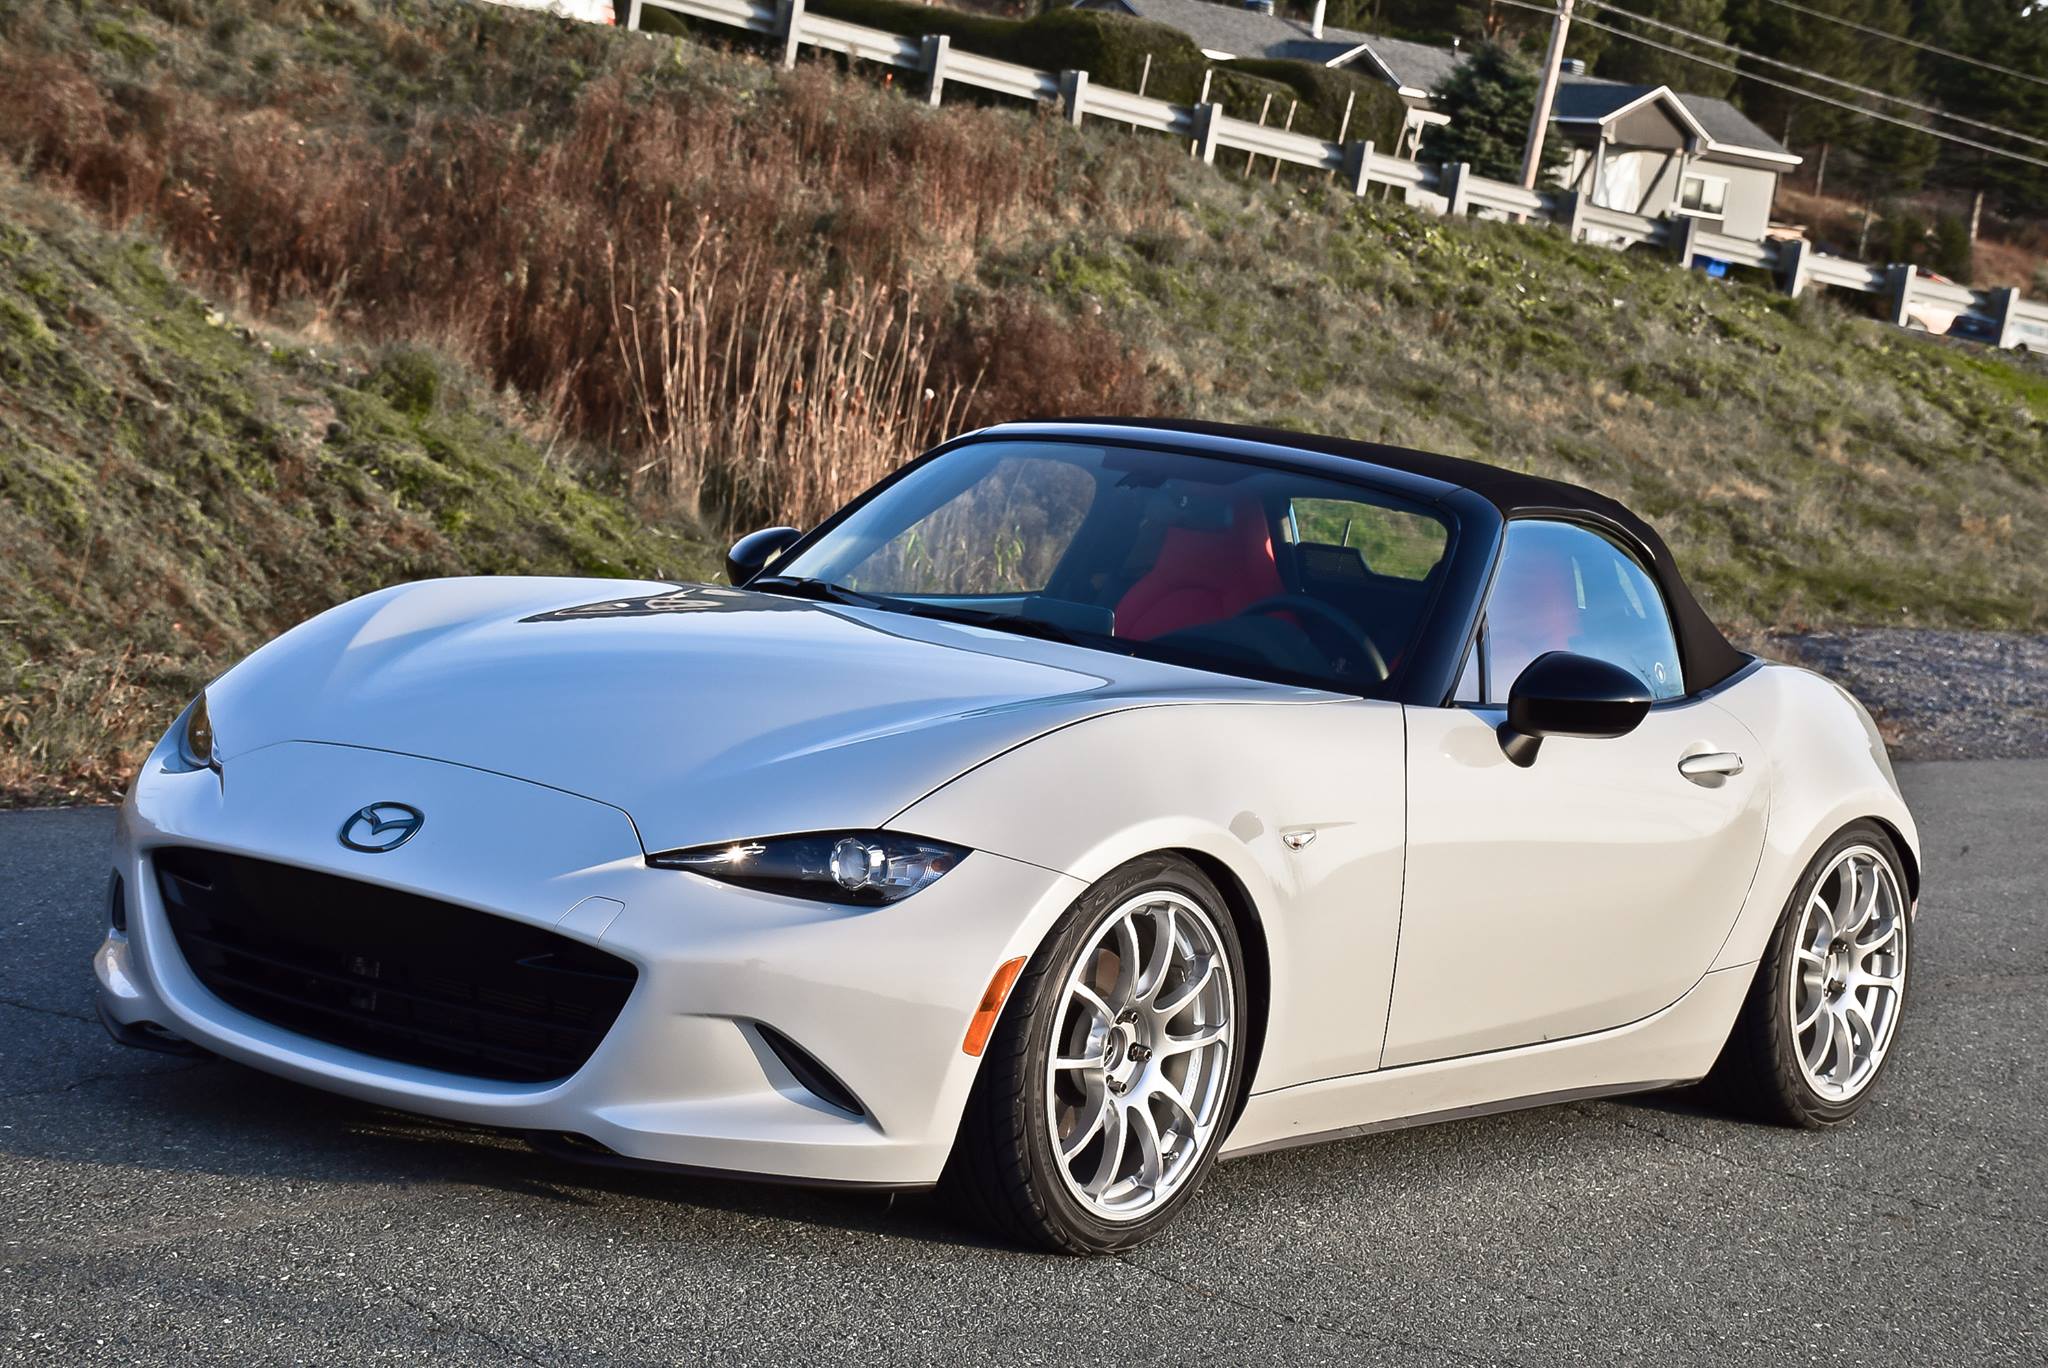
After installing the Cusco Street Zero Coilovers, everyone who saw my car first and then were just AMAZED. Holy moly, they couldn’t believe how great the car was looking now!
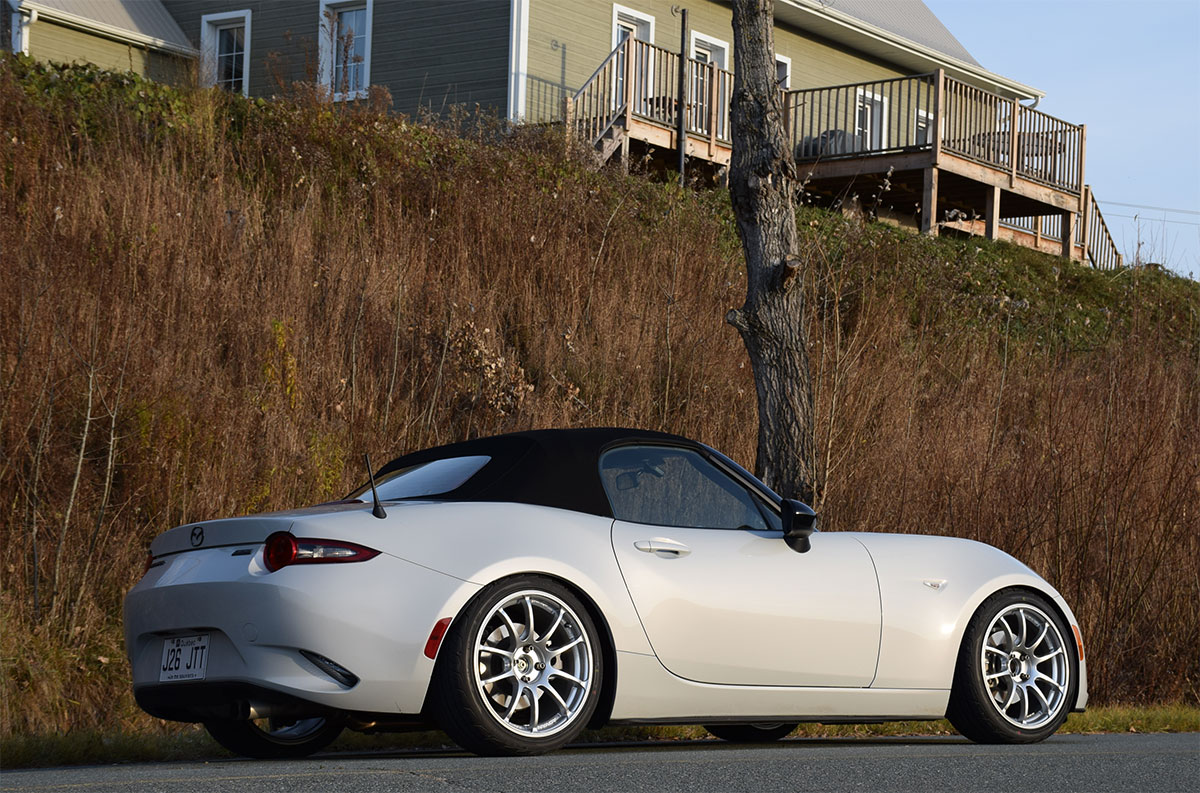
 (I can’t believe how aggressive the car now looks!)
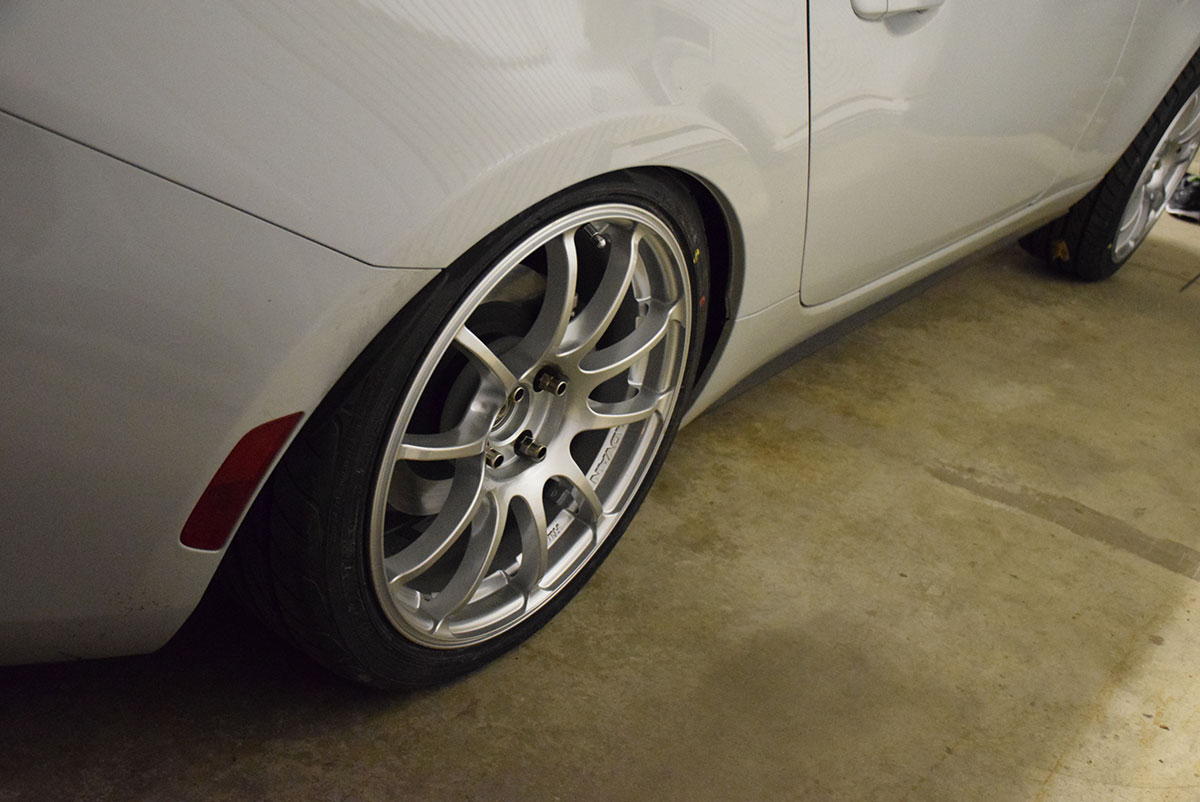
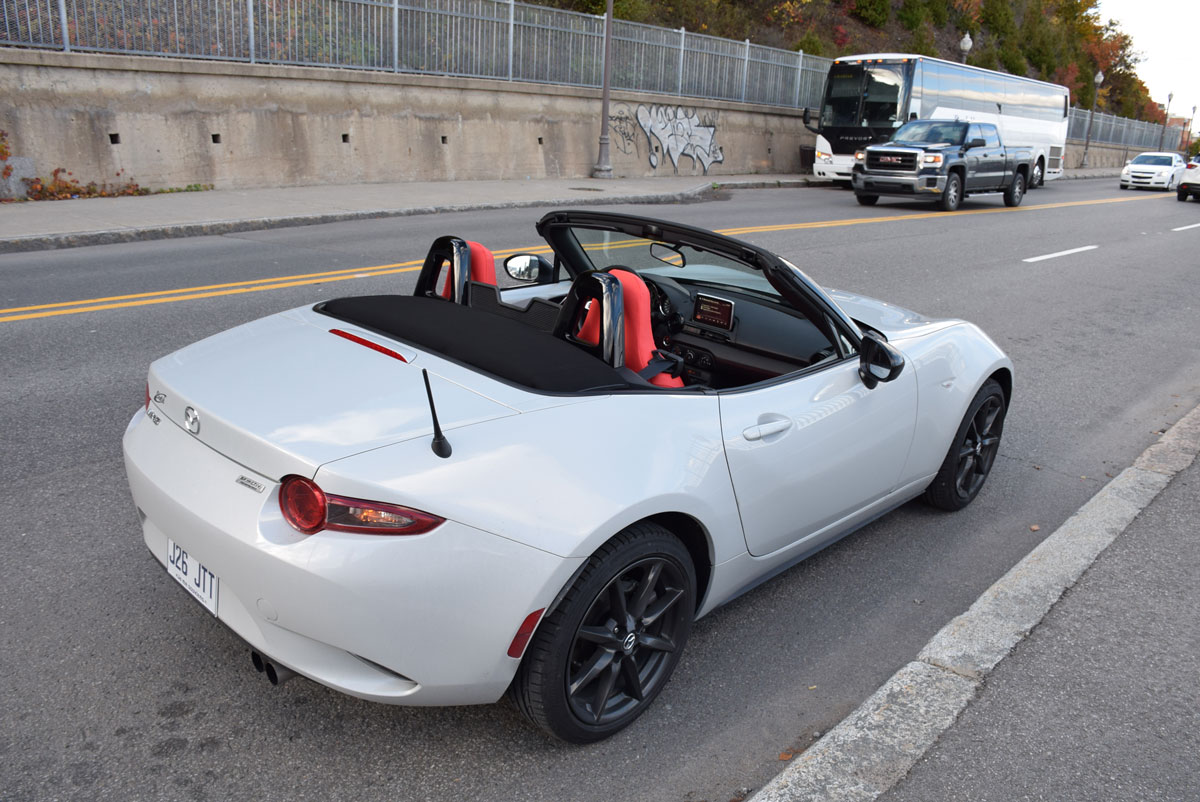
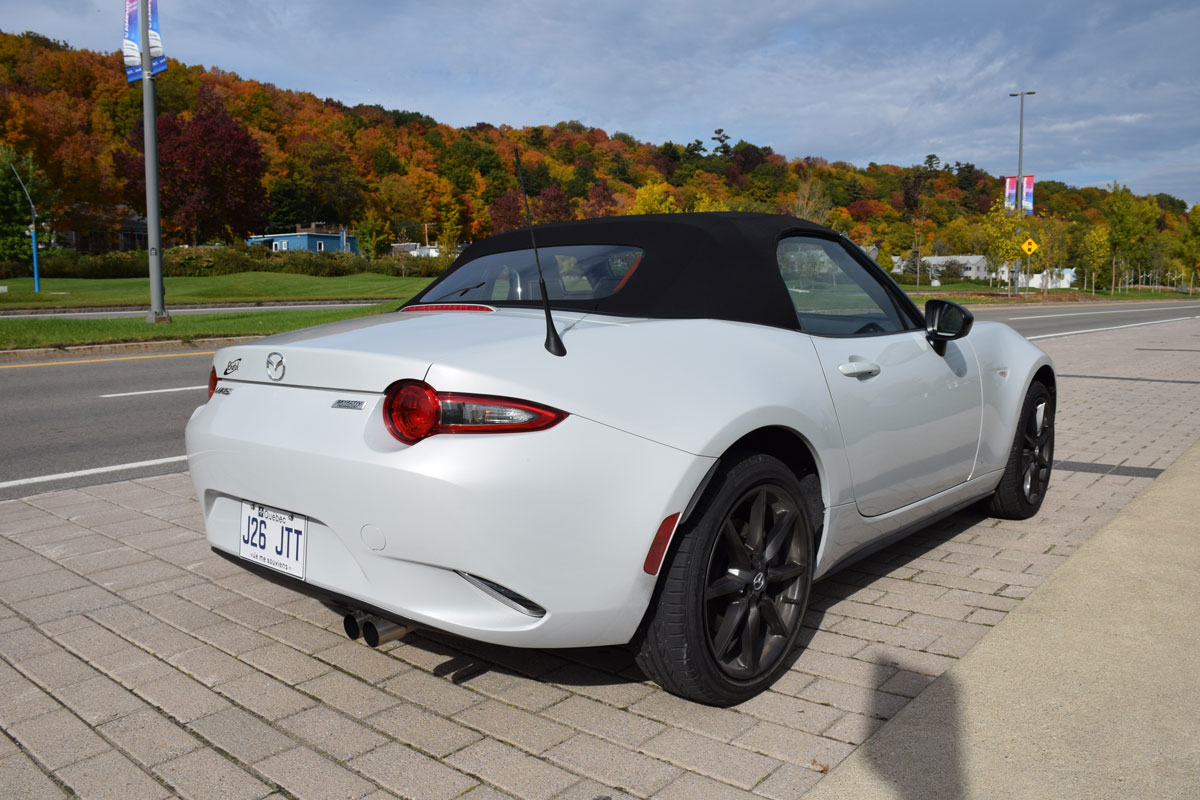
I was also pretty happy to notice that the 17×8 +35 Advan RZ & Yokohama S.Drive 215/40R17 don’t have any stretch and don’t even rub inside the fenders or anywhere during hard cornering! The wheels also sit perfectly flush with the fenders:
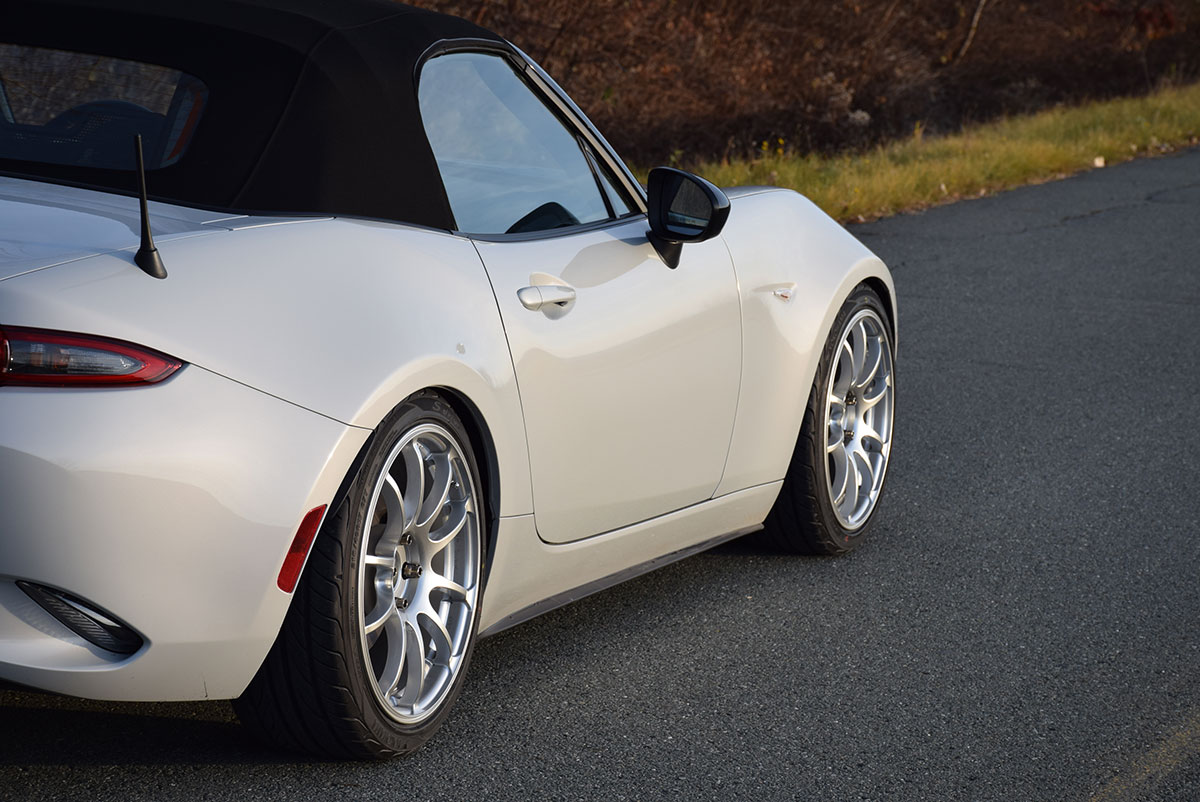
 (It did not require any fender work, it just sits within a safe distance of the inner fender and fender “lip”.)
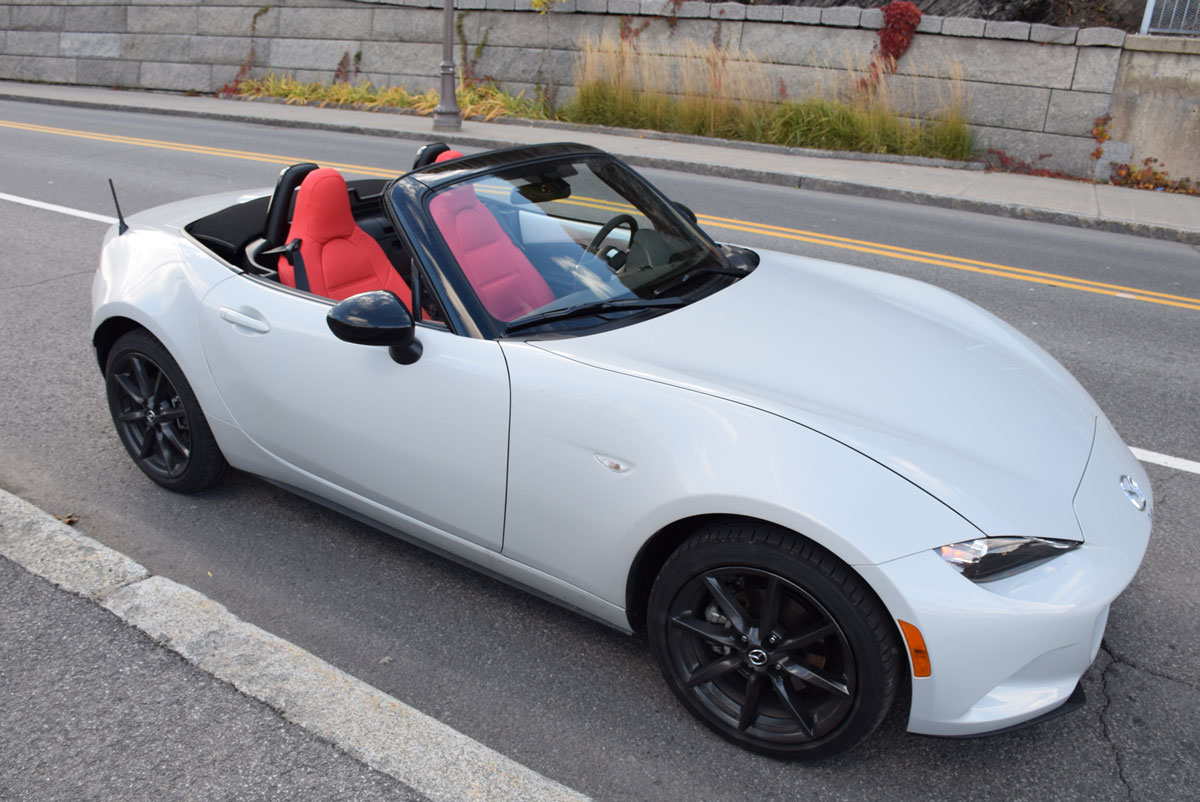
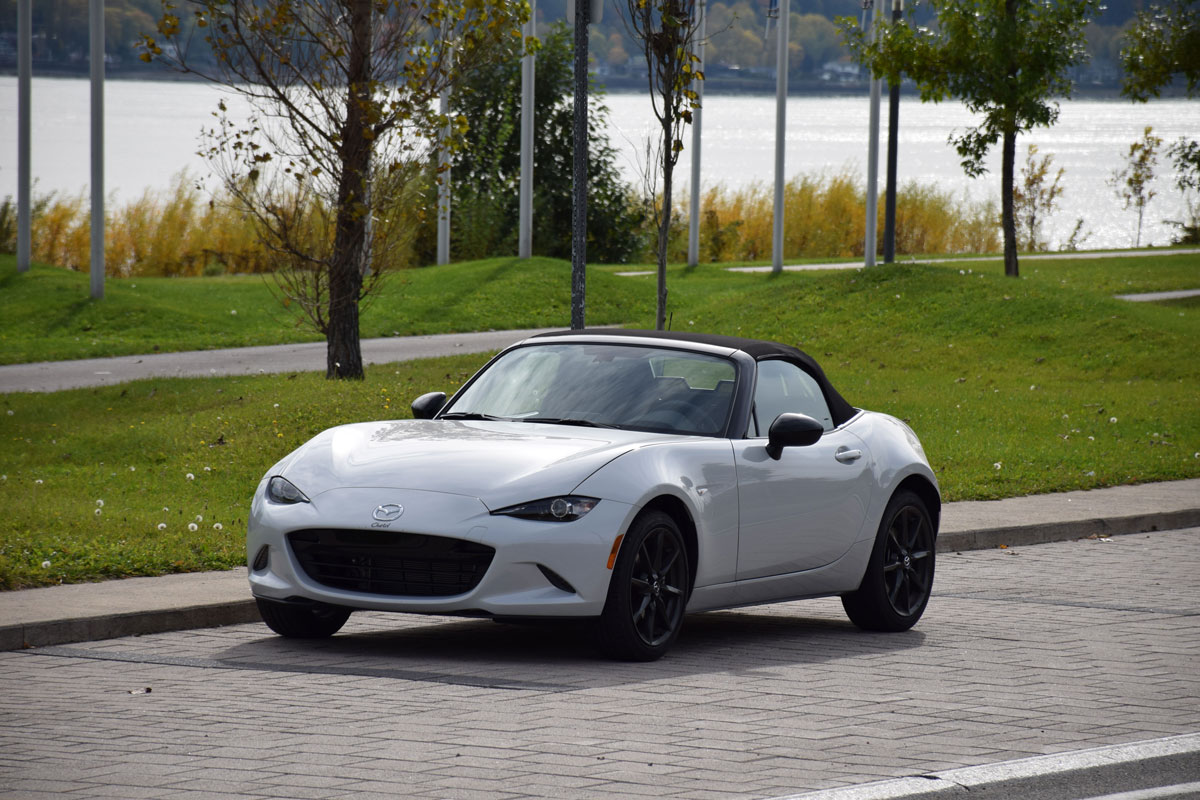
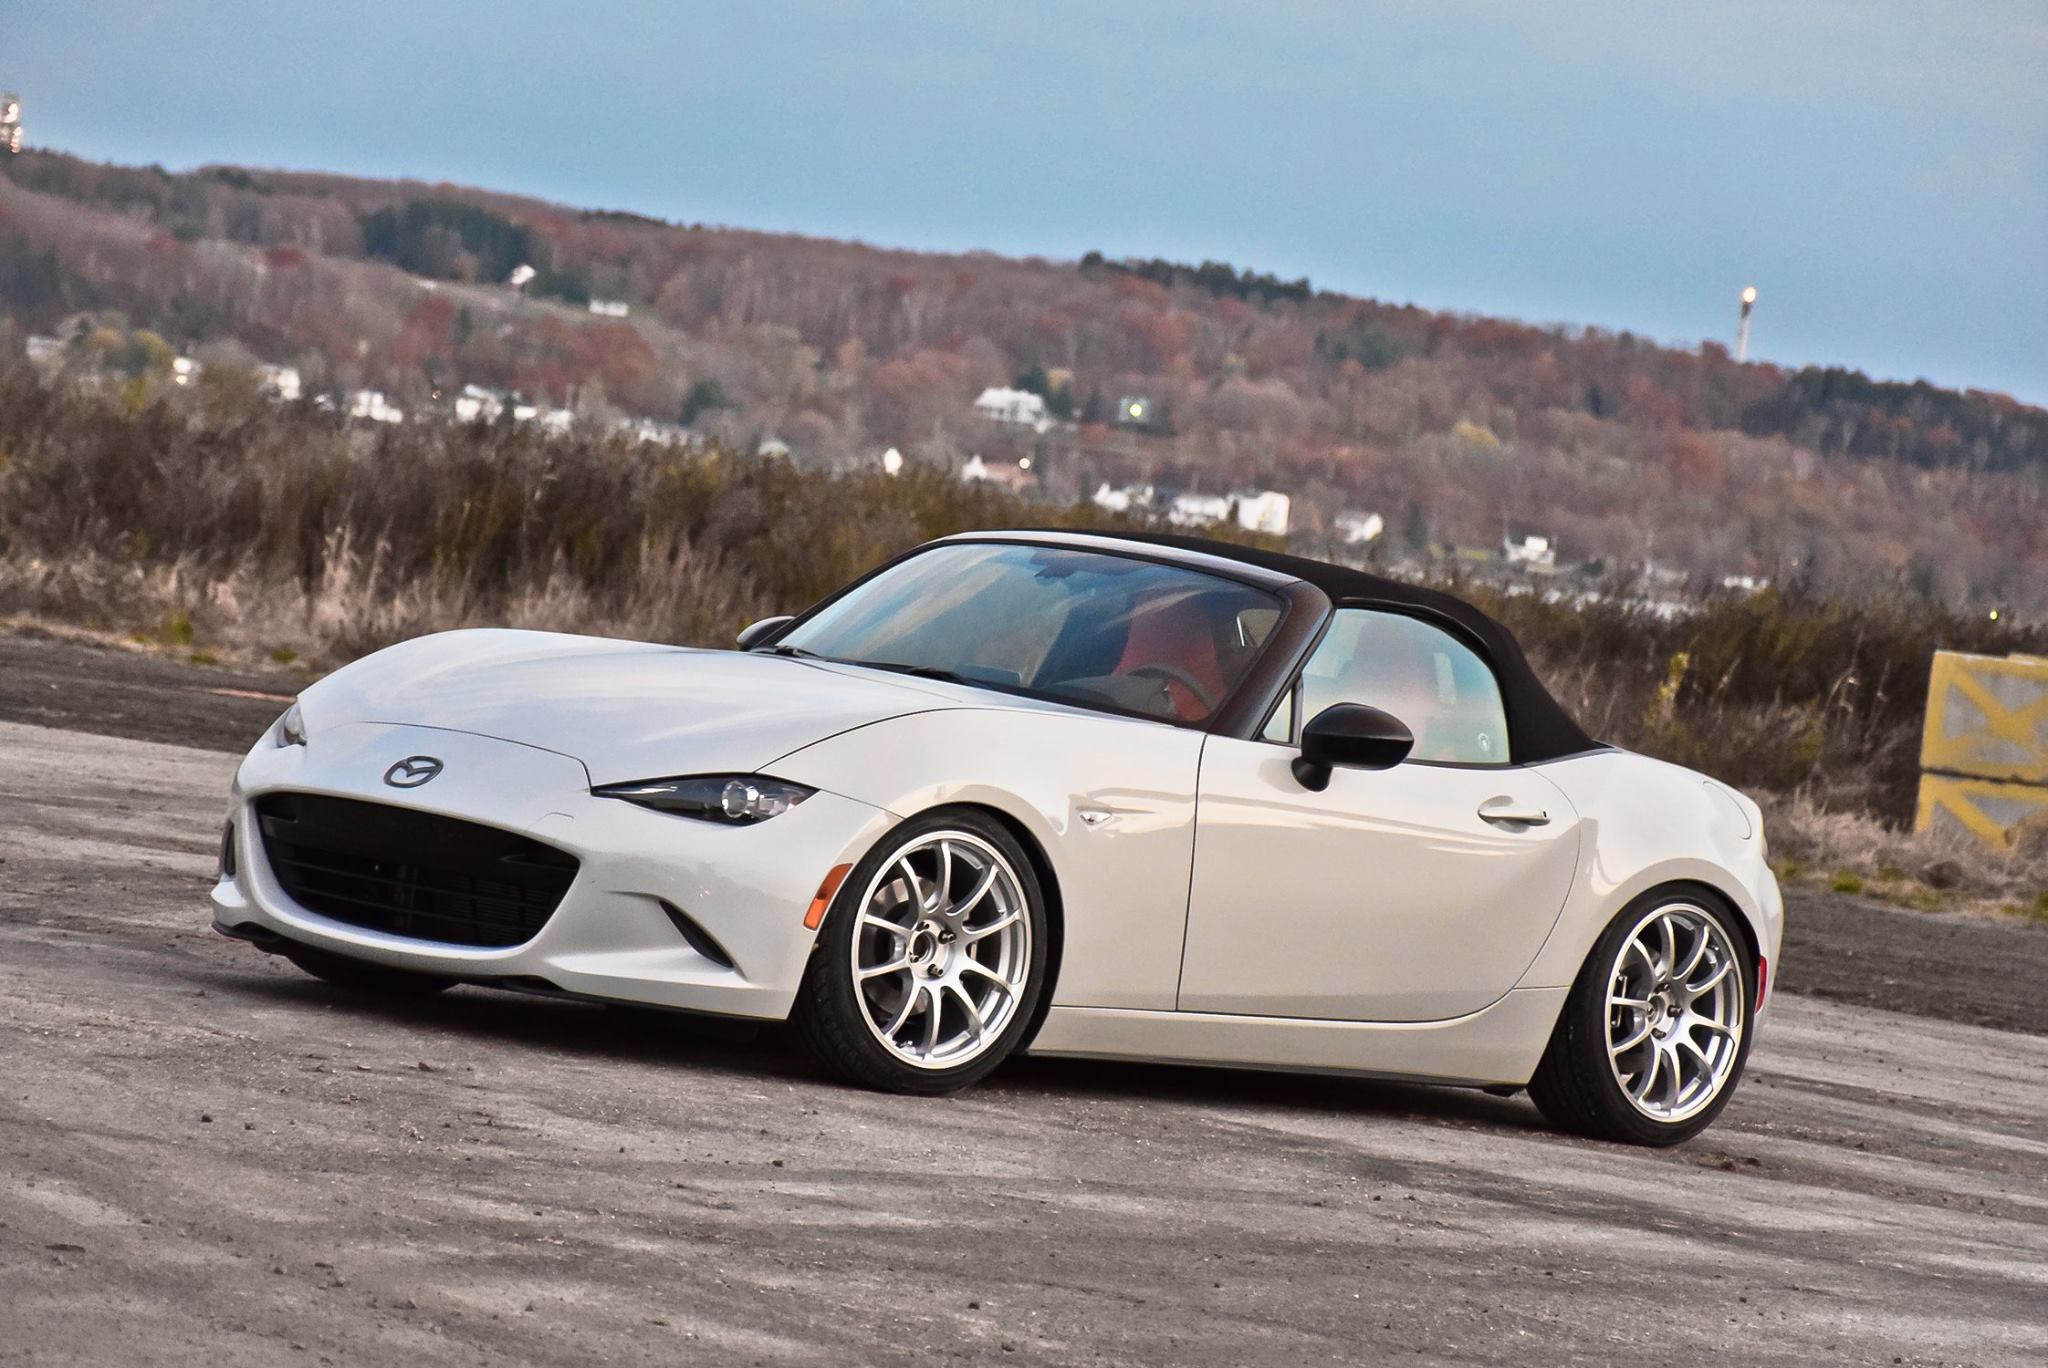
The car now looks much less narrow than it was :
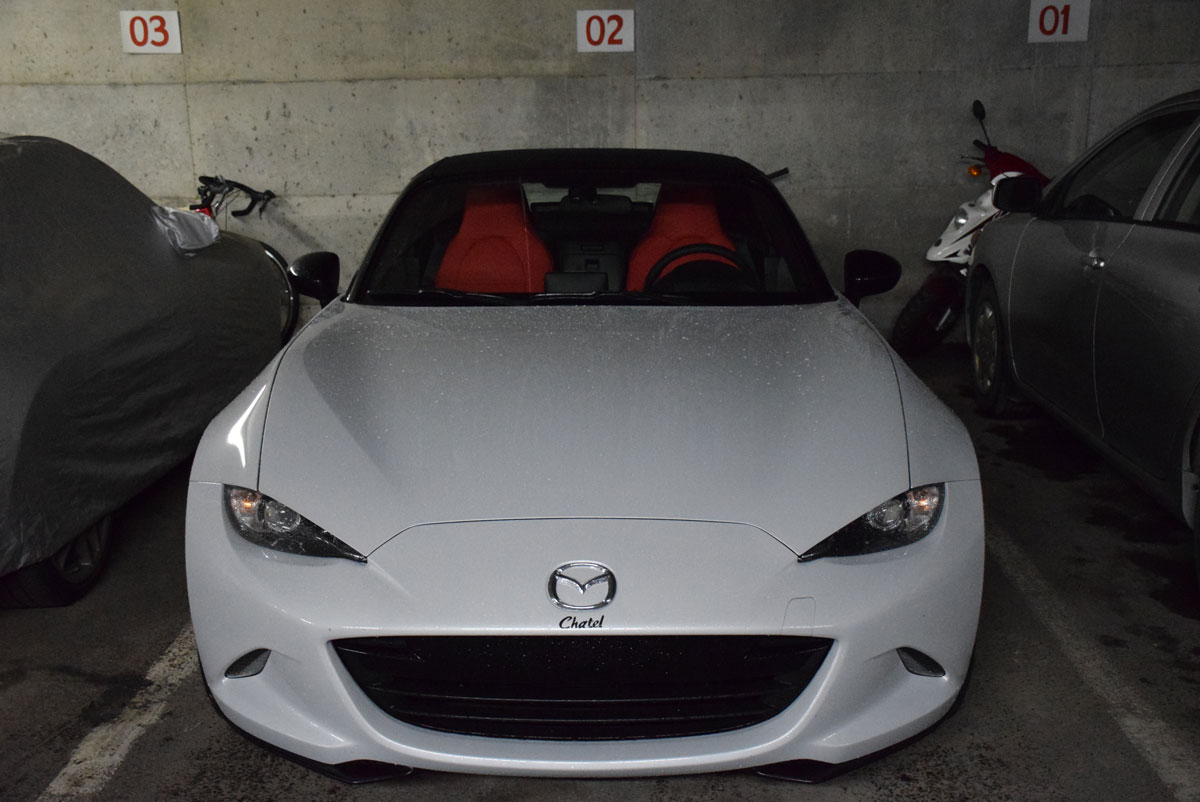
Before: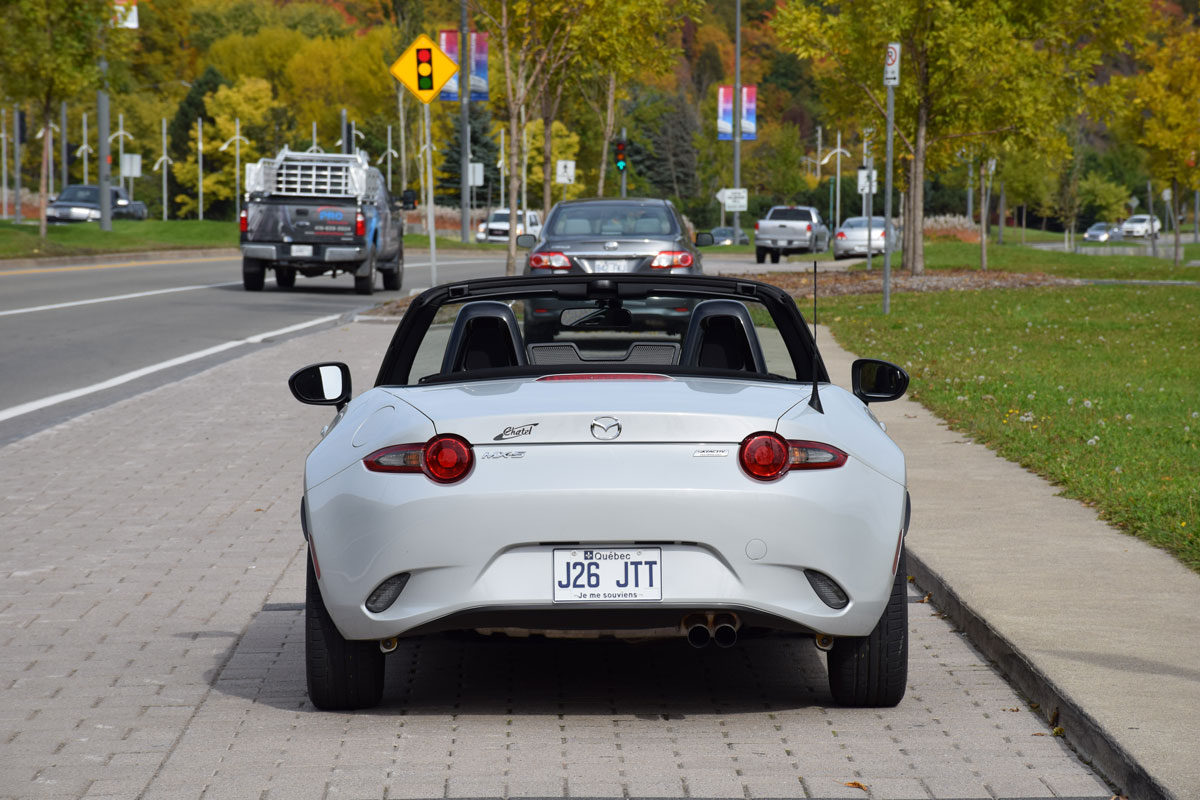
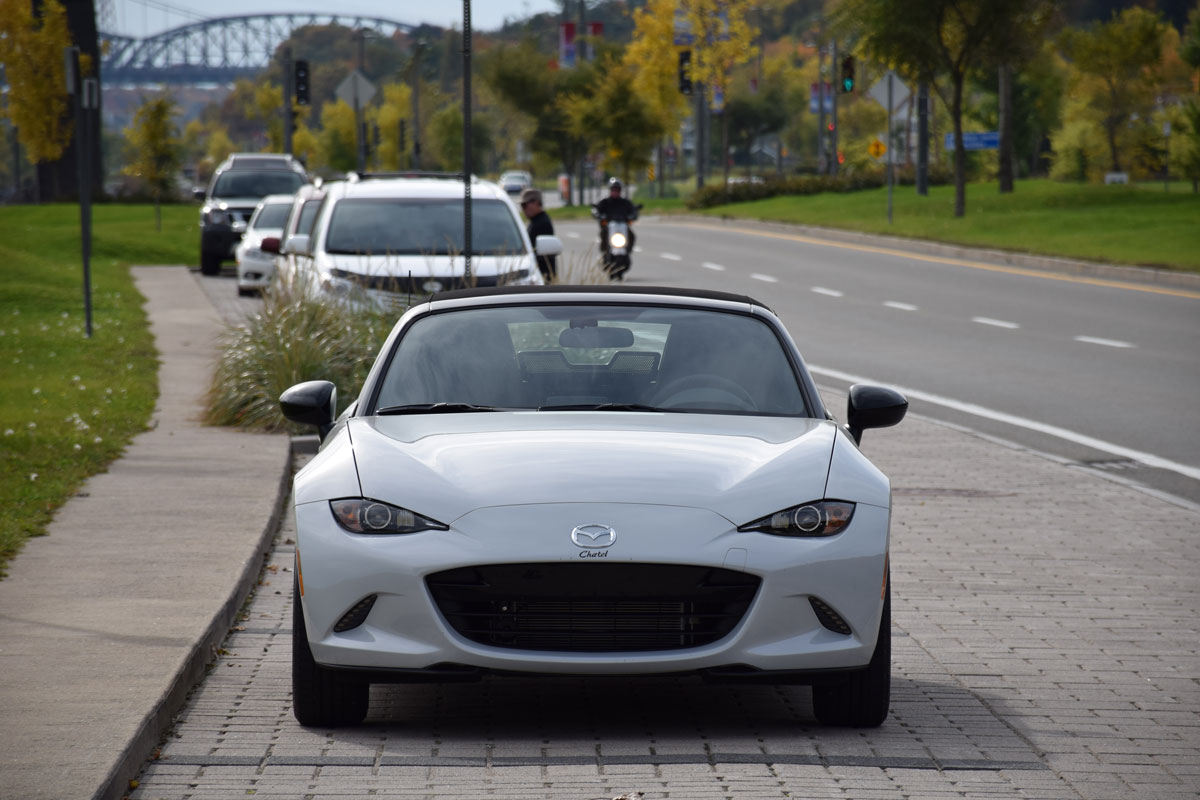
After: (I gotta love the wide tires look with no stretch and low rear end.)
Also, I parked it next to my neighbor 2010 911 Carrera and you can see that I’m now a bit lower than he is;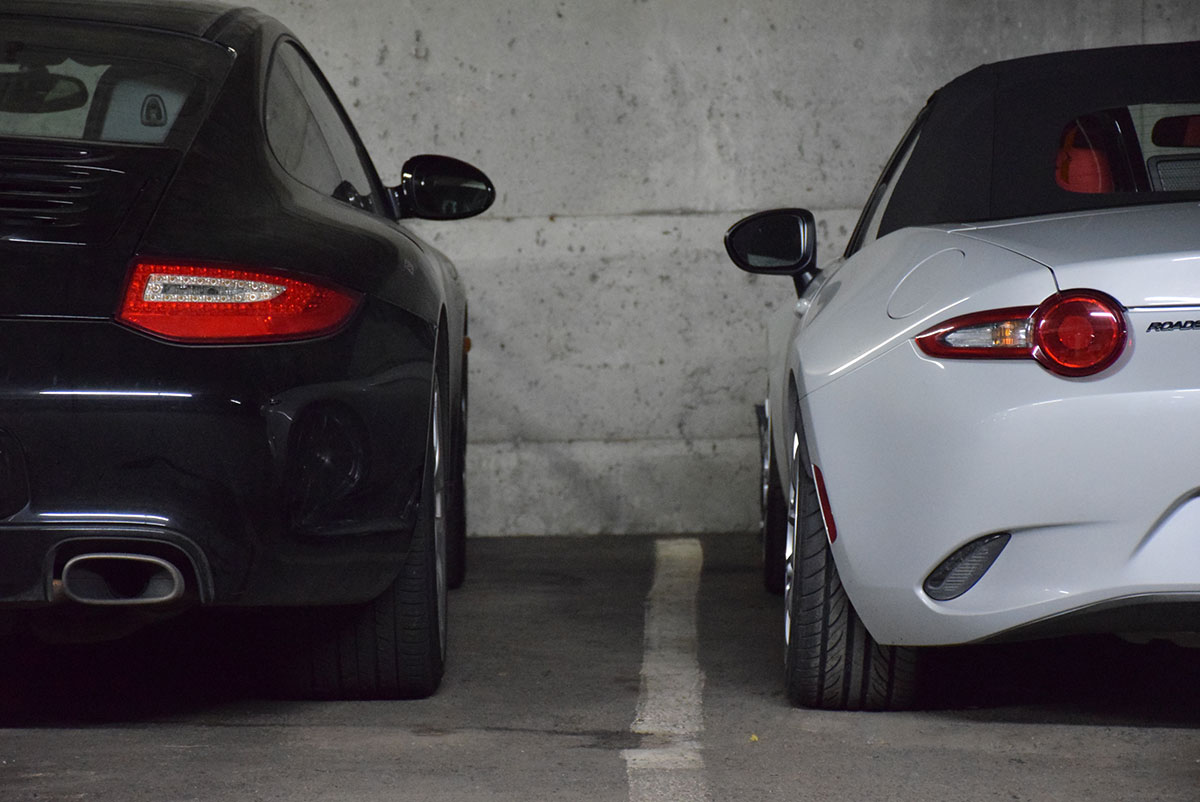
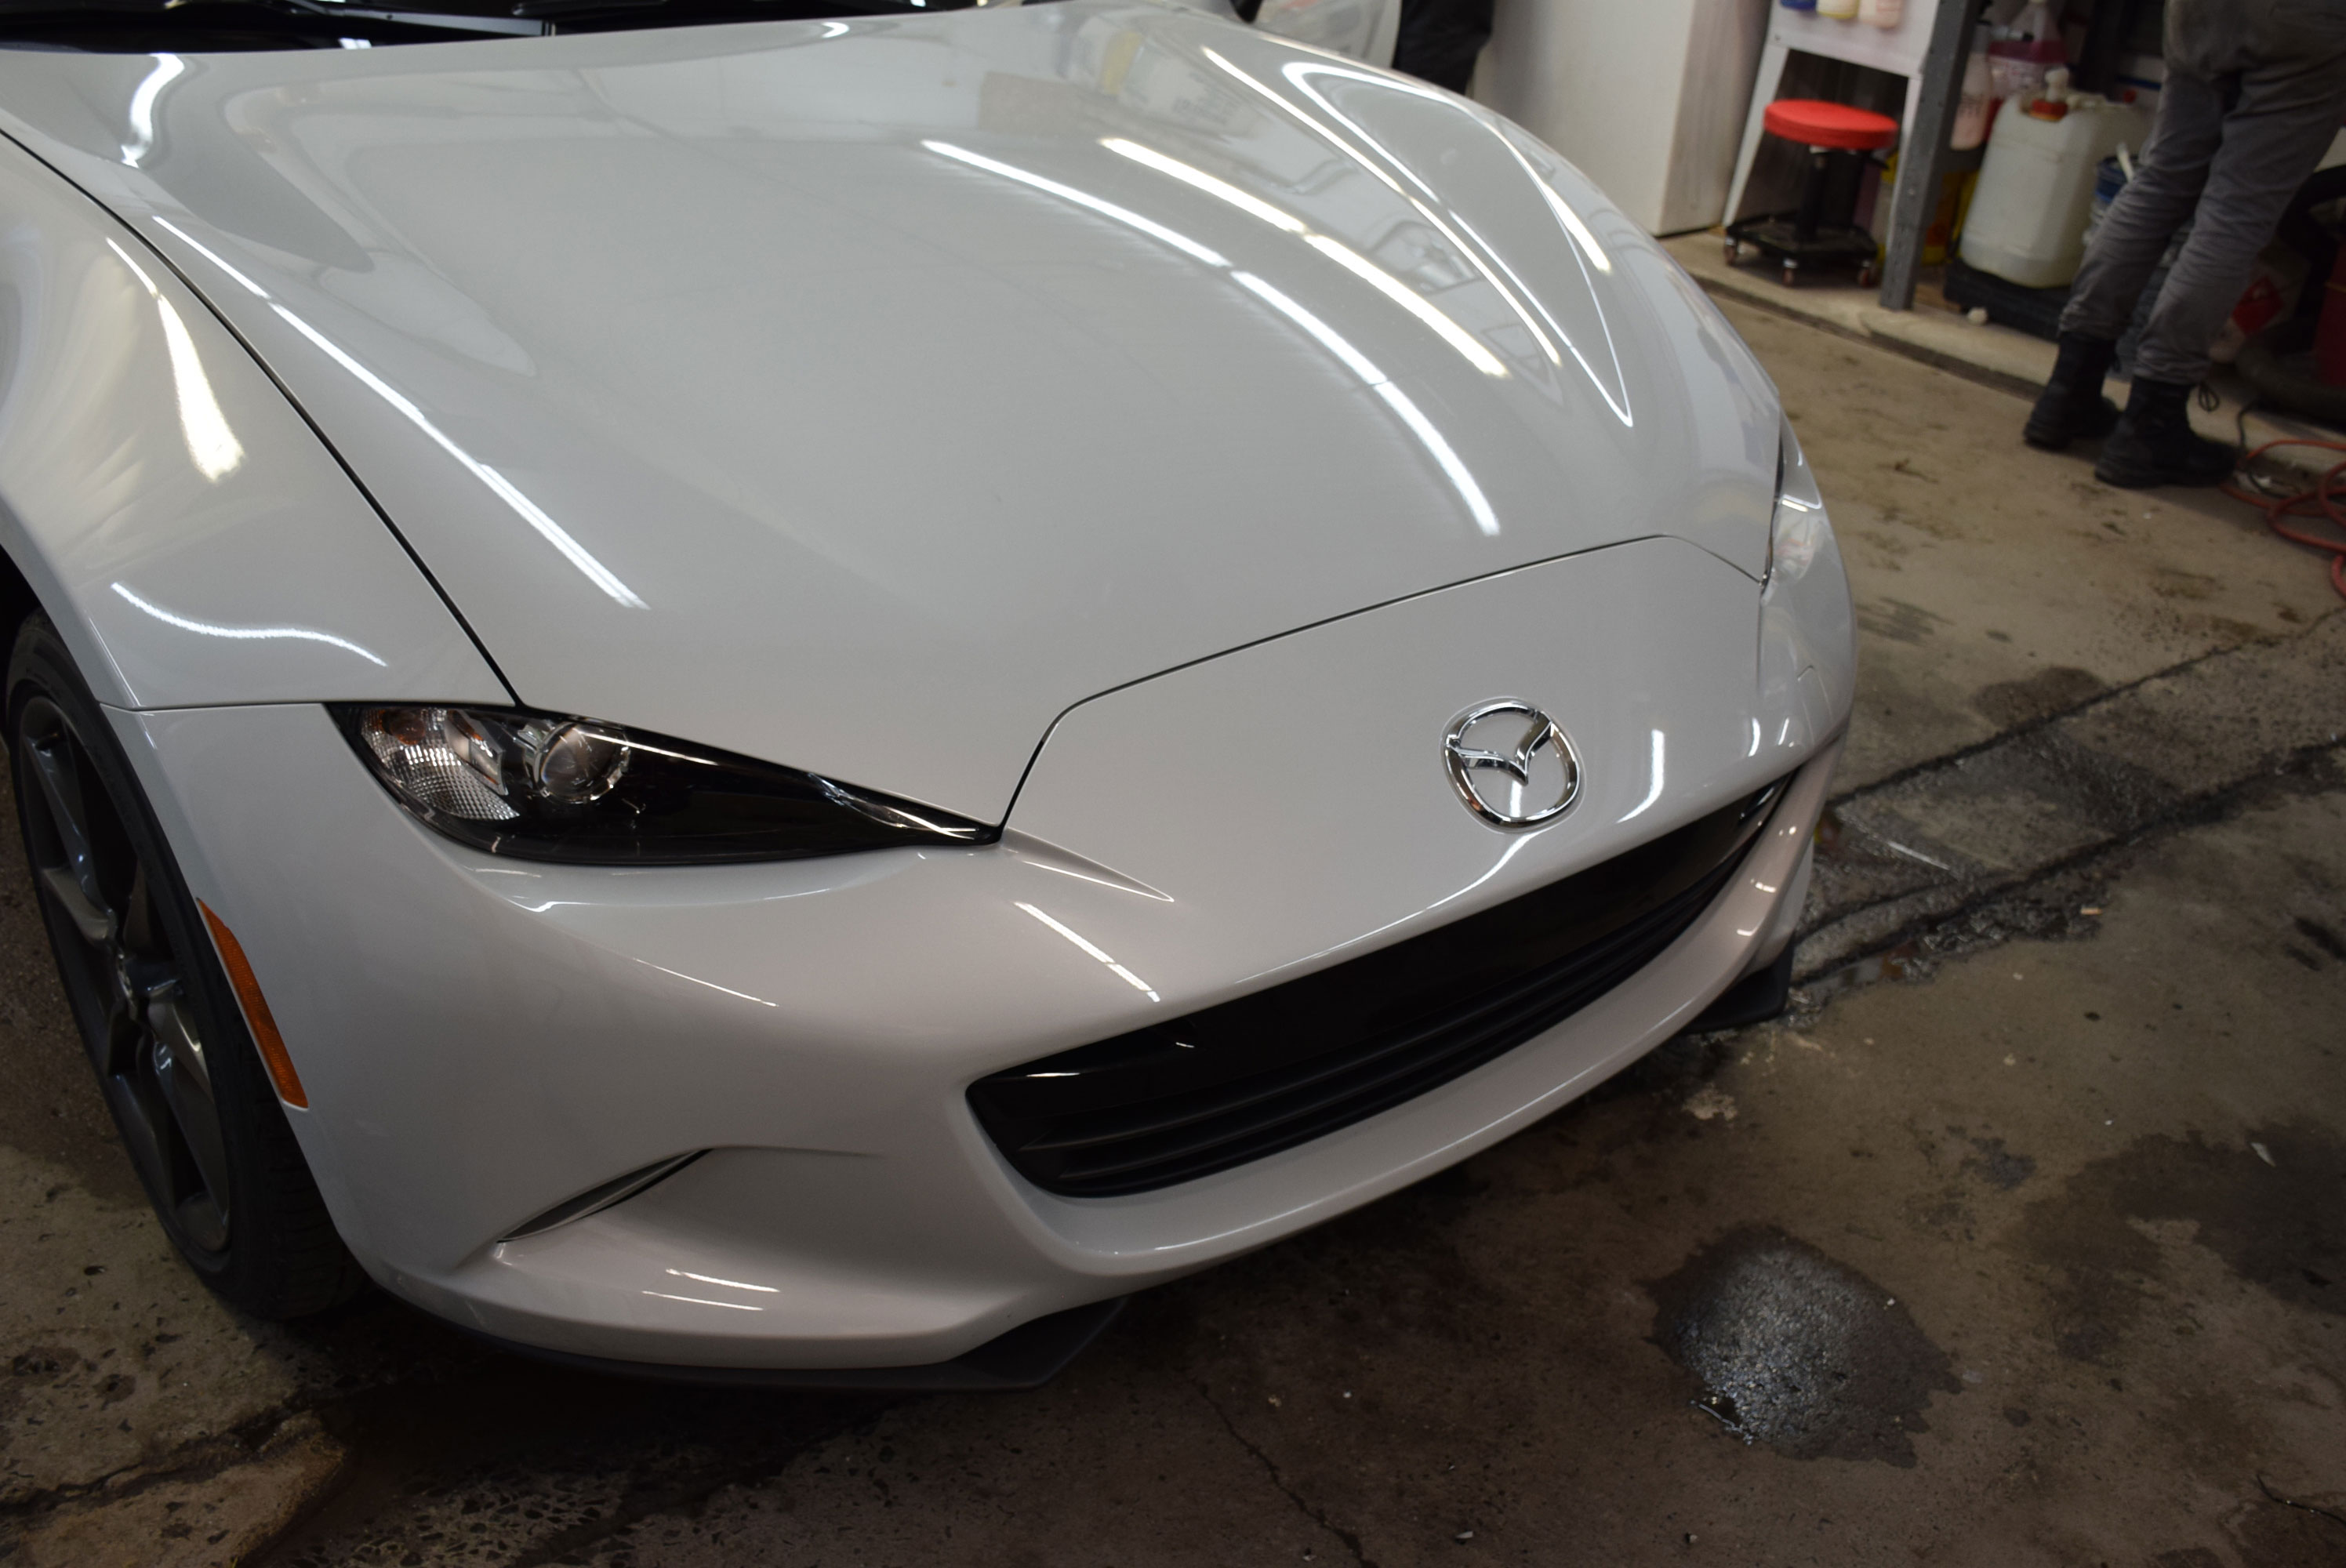
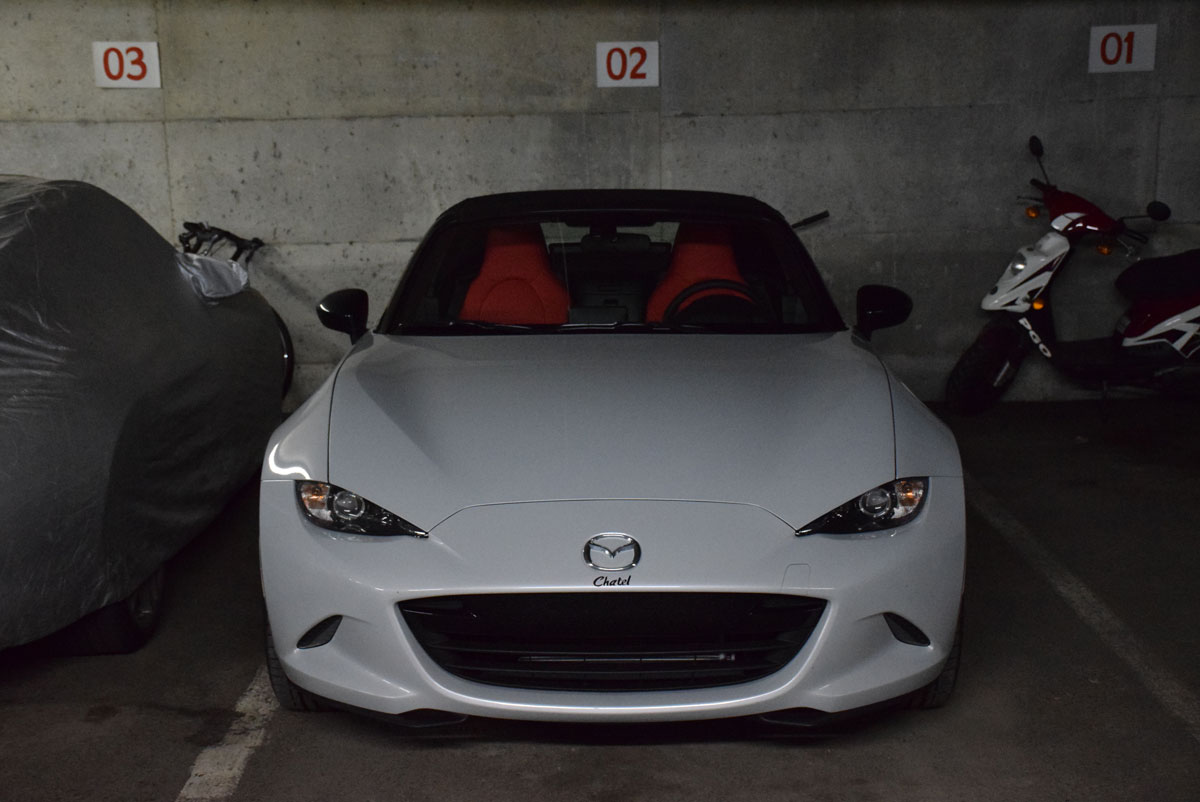
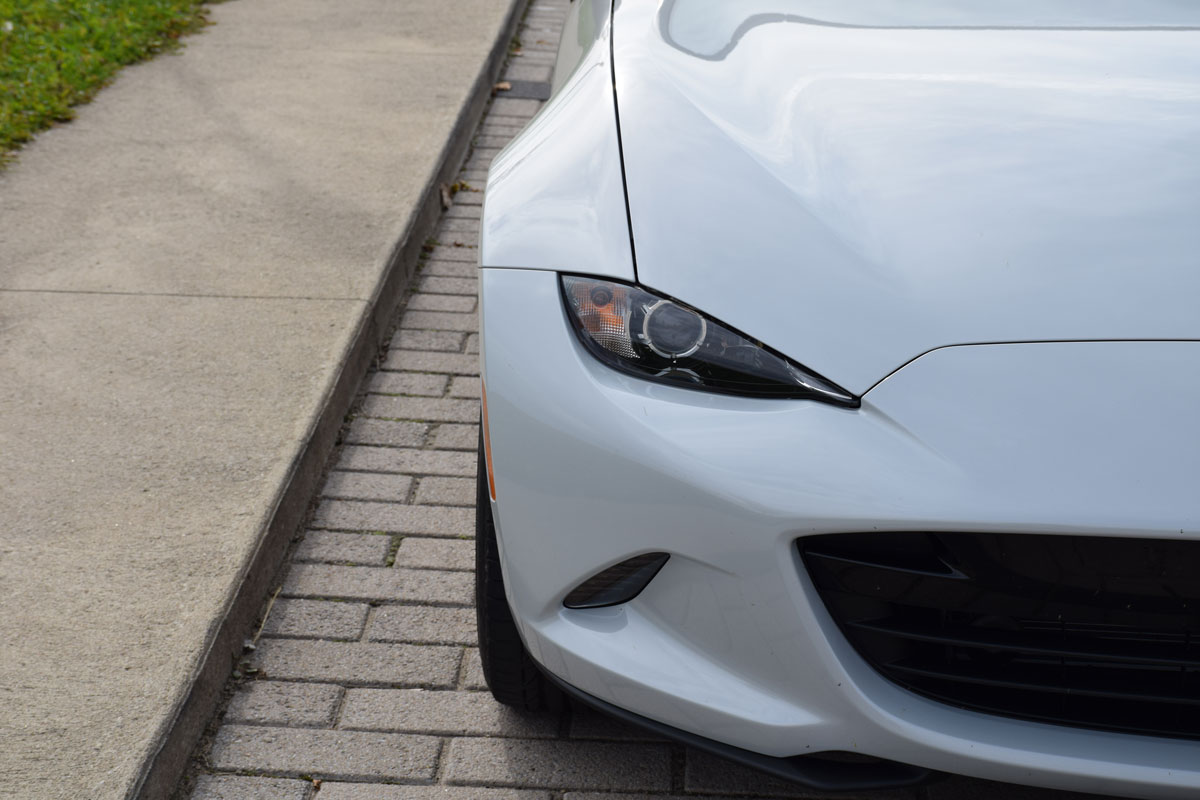
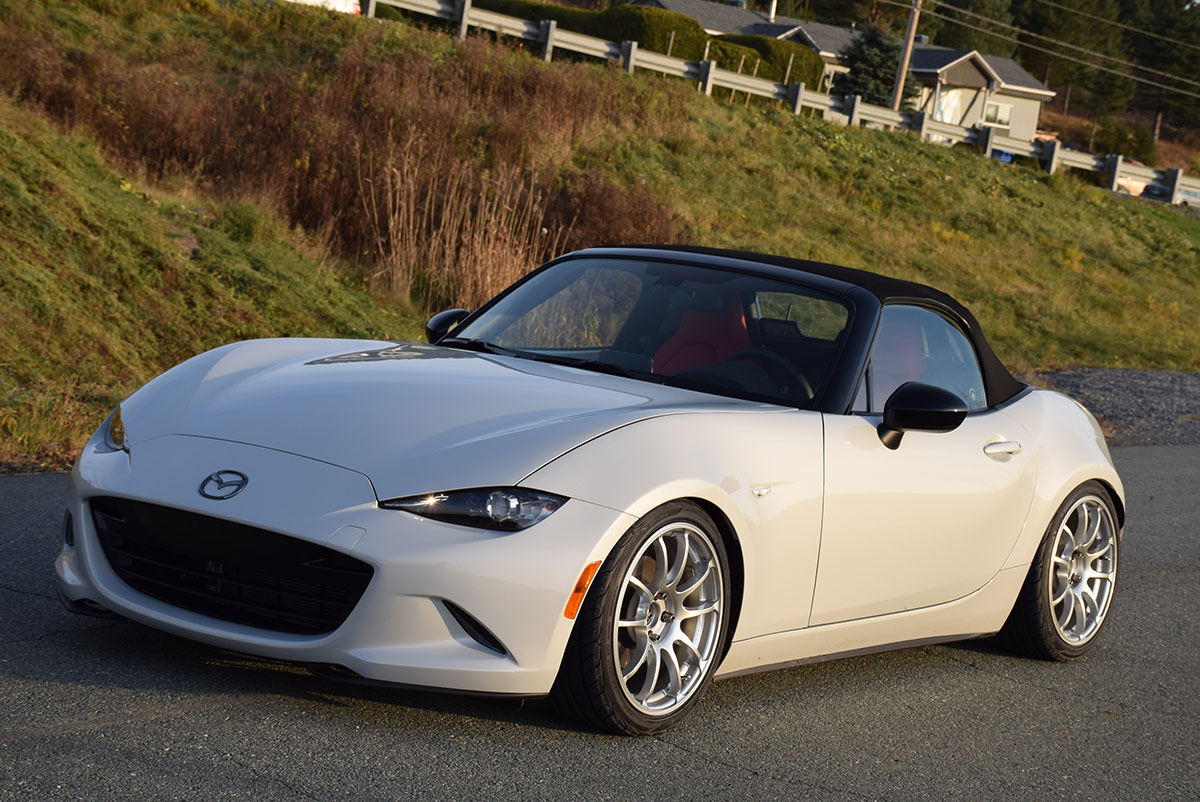
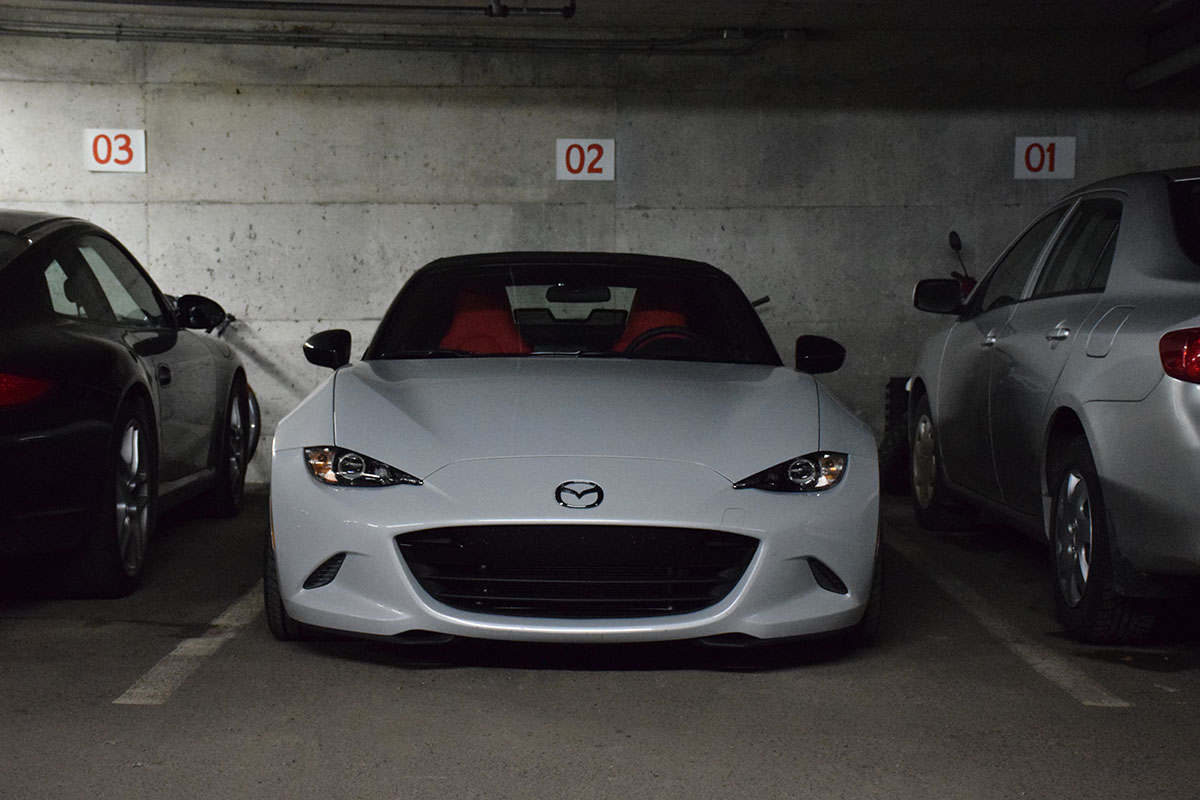
As for the front, it just looks super aggressive now.
The Cusco Street Coilovers, after install, felt perfect for this car. They did lower the car a lot after we changed the ride height to our needs. After a test ride, the car felt SO MUCH more comfortable than with the previous Bilstein setup. Car now feels very nice, and less stiff suspension-wise. How is that a good thing? The car is my daily driver and the Bilstein shocks combined with the 215/40R17 tires just felt horrible. I could feel all the bumps in the road and on long-range driving, it would have been hell. The Cusco Street Coilovers really hold their name well, they are made for street mainly and will help you obtain the look you are aiming for. I really would not use the Cusco Street Coilover is I was racing my car often; I would opt for the damping adjustable Cusco Street Zero A Coilover or any other coilover that offer more adjustability! These coilovers suit my needs for now as I am not really racing the car at all and the springs that comes with the suspension are quite soft and comfortable. It’s perfect for a daily driver or week-end cruiser, but not suitable for racers.
 (The look just is incredible. Everyone looks at the car and gives thumbs up now!)
The OEM Bilstein Suspension weighted 4.3KG in the front and 4.5KG in the back while the Cusco Coilovers weighted 4.5KG in the front and 4.2KG in the rear. So, the whole adjustable Cusco suspension is 0.2KG lighter than OEM. Not much, but at least it’s not heavier.
As for the wheels & tires, I was not able to weight them, unfortunately, but I know that the Advan RZ 17×8 wheel weights only 7.5KG (16.5 lbs) and it’s a super strong forged wheel with semi-concave spokes. The look of it just made my car look much better:

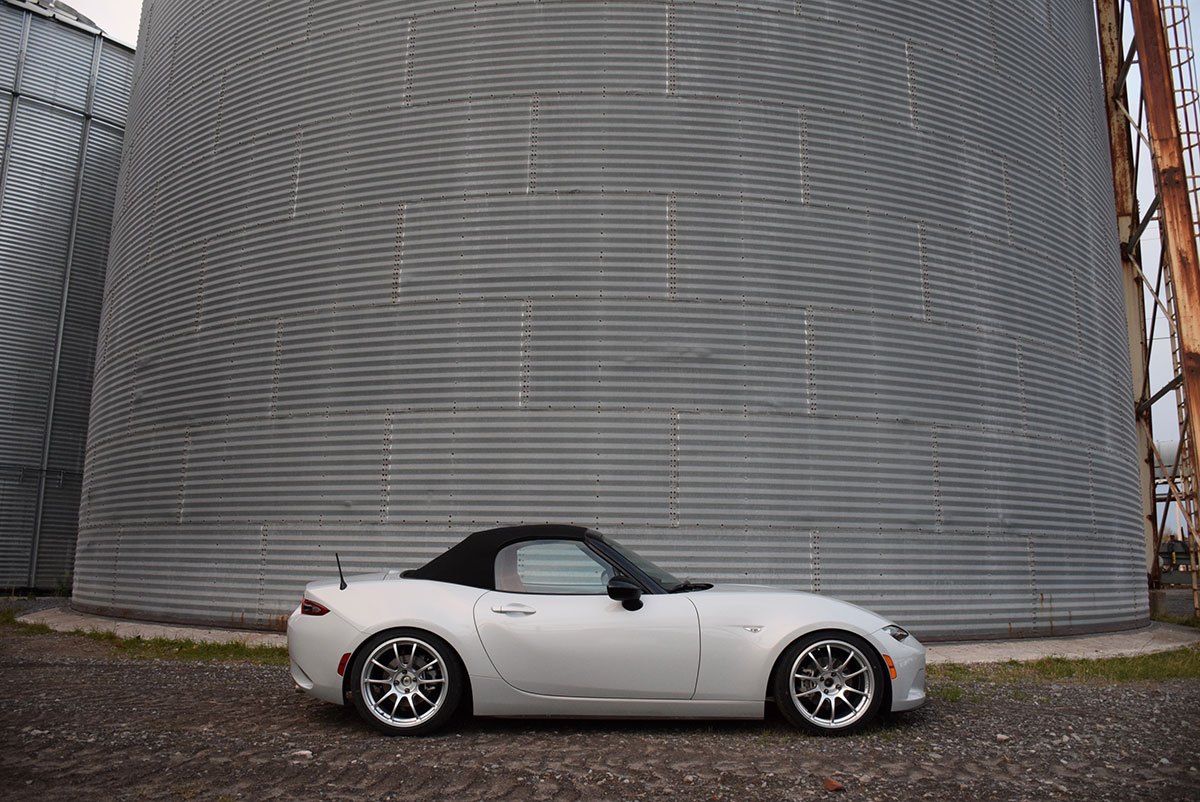
 (The semi-concave spokes really fit well with the aggressive look of the ND Roadster.)
Since the wheels are wider and about the same weight as OEM wheels, the contact patch to the ground is much better which provides a better handling. Also, due to the lightness of the wheels, absolutely no loss of performance due to unsprung weight is felt!
After a few days of driving, I have to give advices to those thinking of upgrading coilovers!
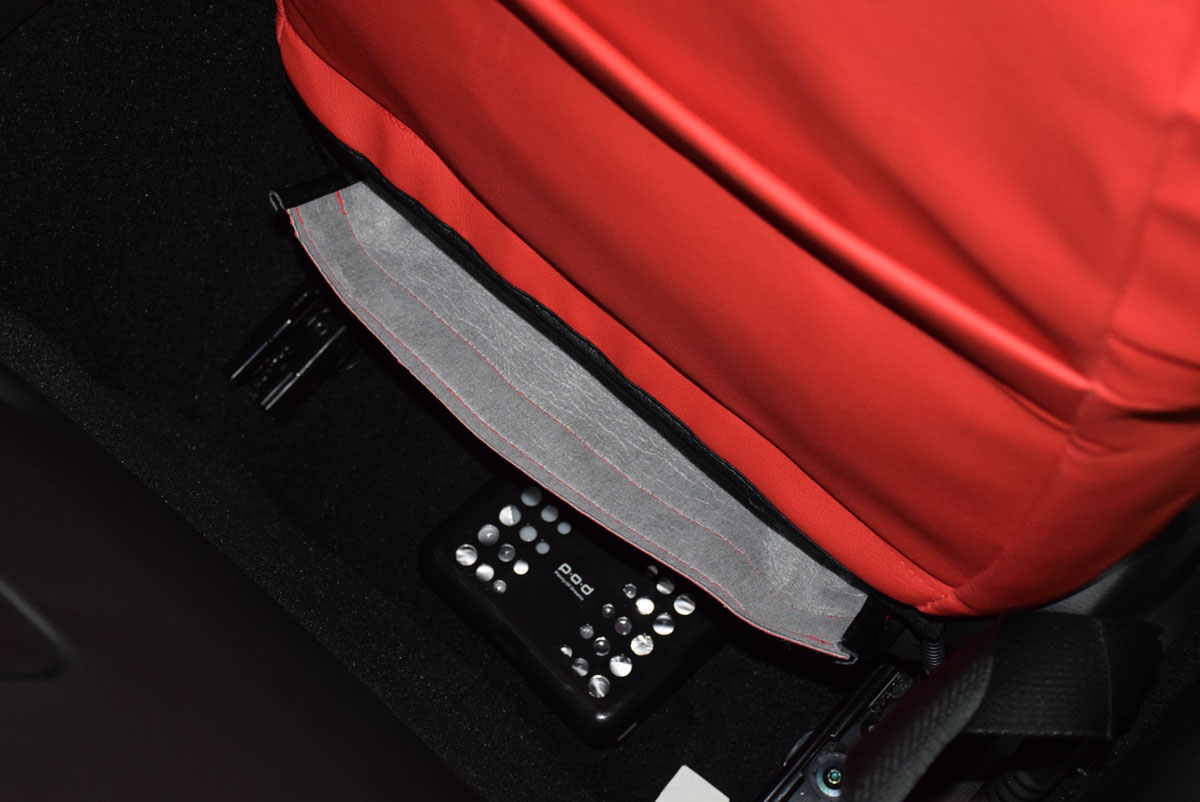
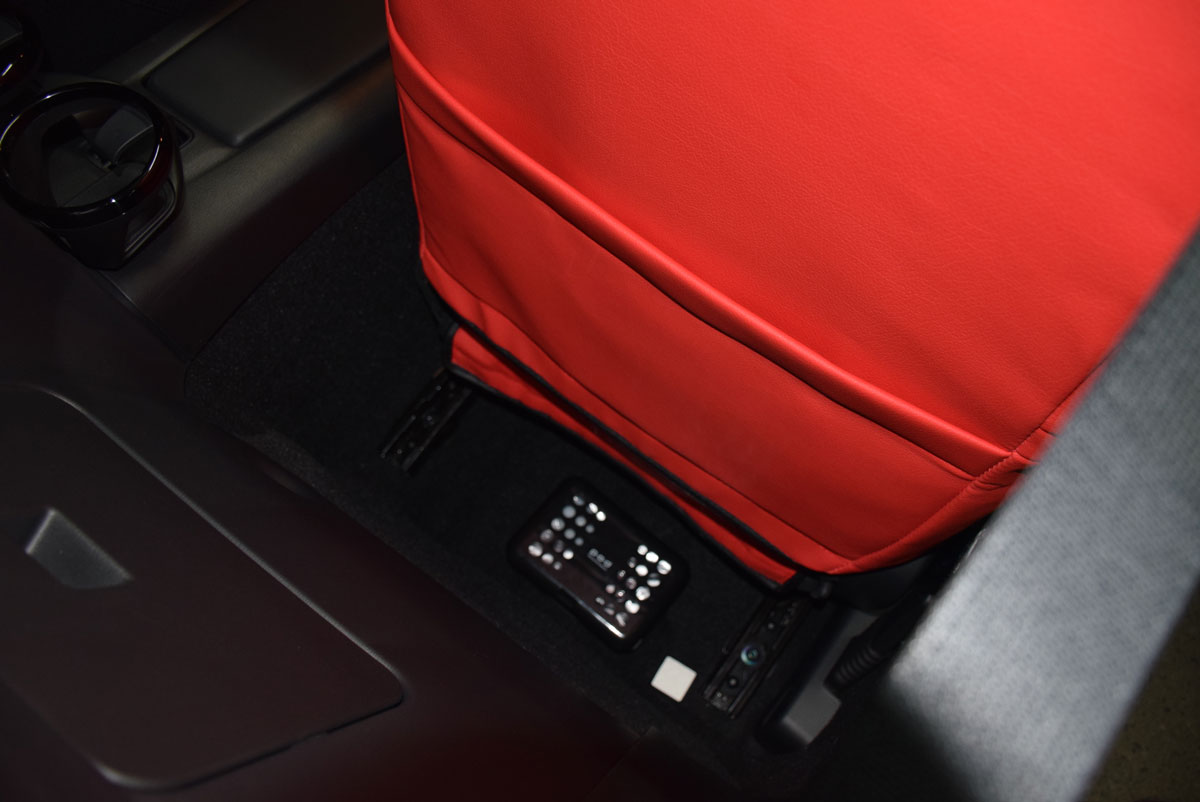
Advice 1 : Buy the Cusco Headlight Levelizer Adjustment Rod
Your headlights, after being lowered, will aim much lower than they are supposed to and this means you will lose most of your visibility. If you don’t get the Levelizer Adjustment Rod, your headlights will pretty much light up to ~20-30 feet away from the car which is SUPER close and DANGEROUS as you can’t see anything on the road after that distance:
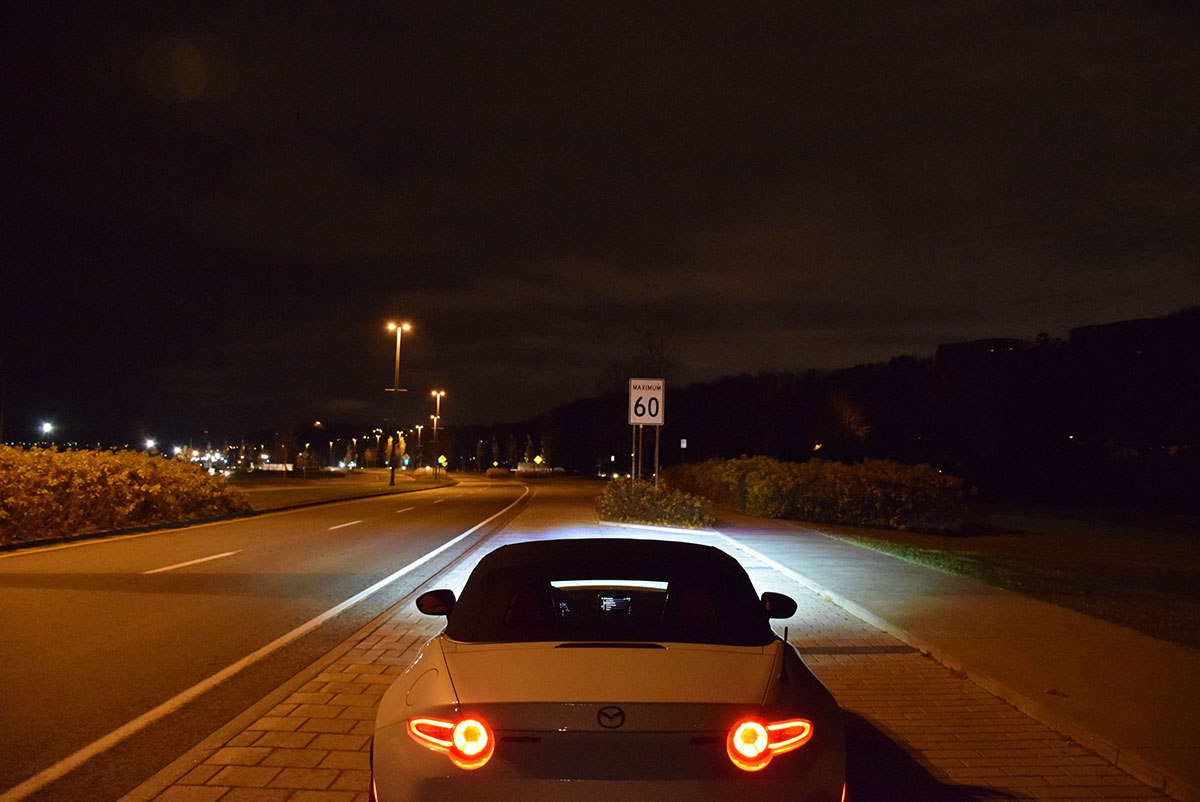
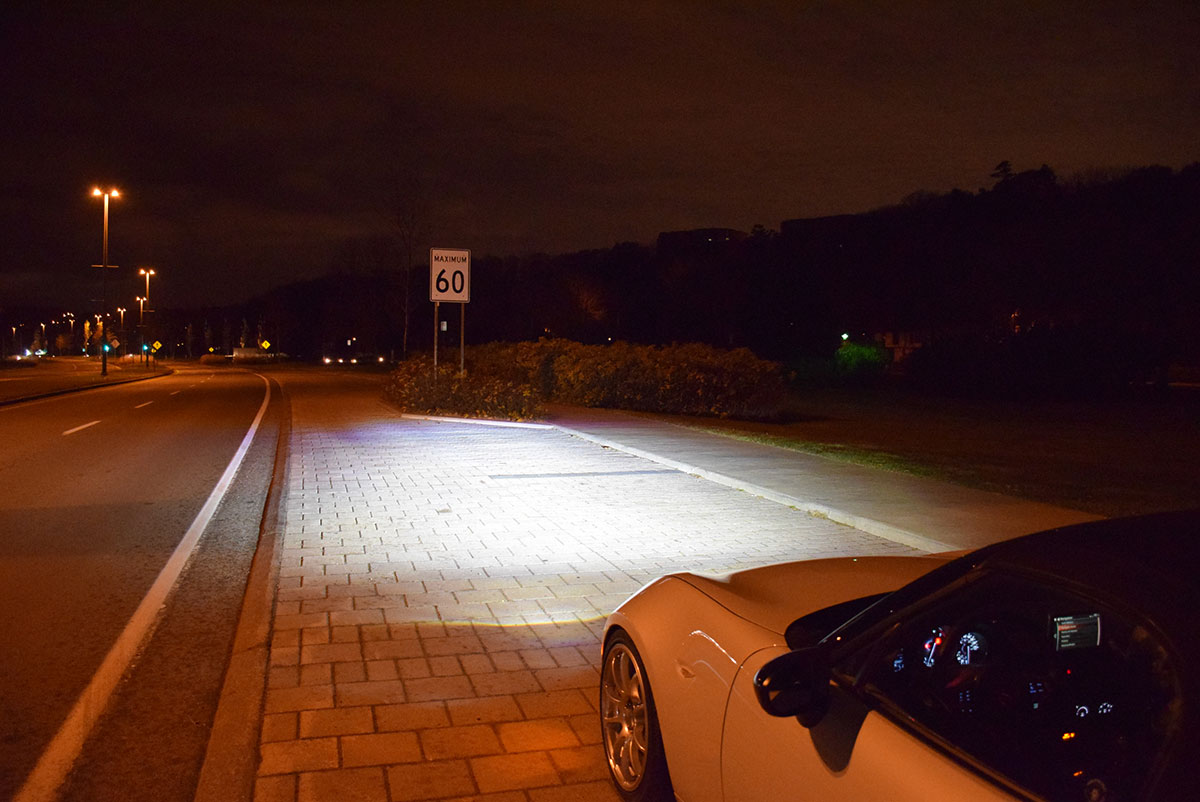
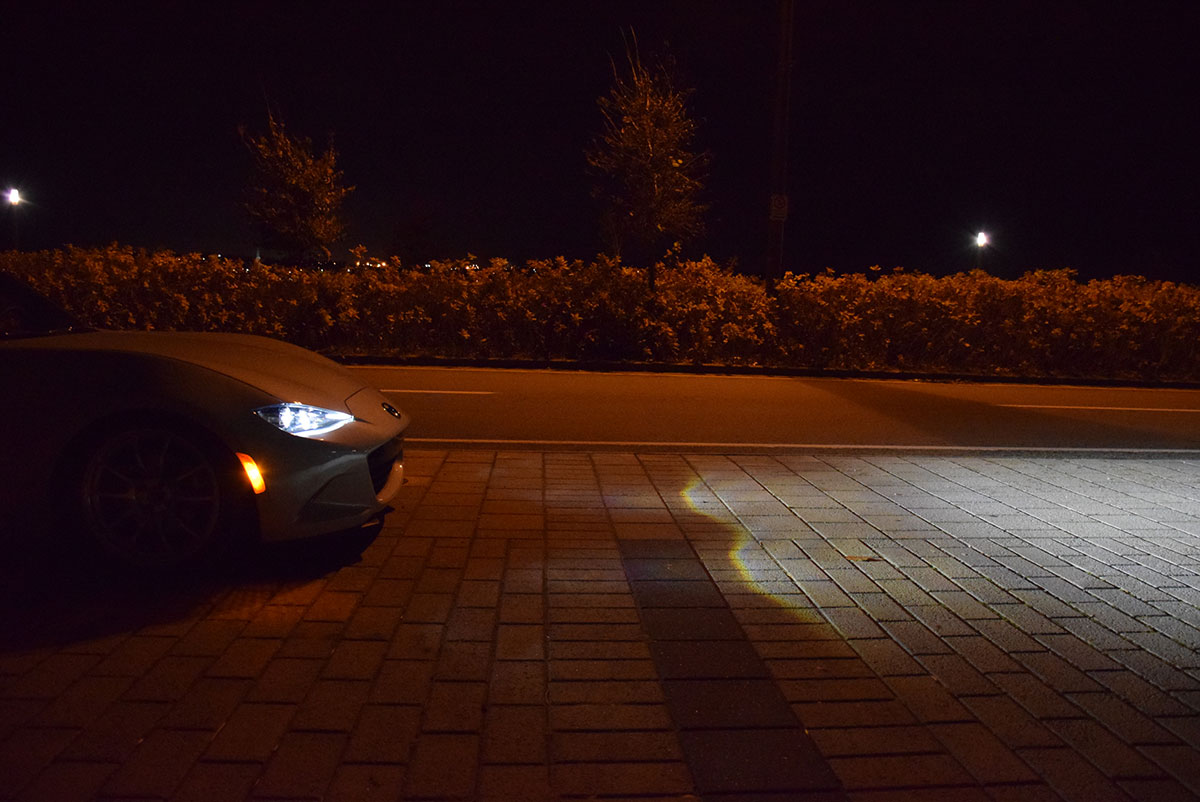 (As you can see, the beam now shoots to the floor really close to the vehicle and it’s not recommended to drive with such a low beam pattern.)
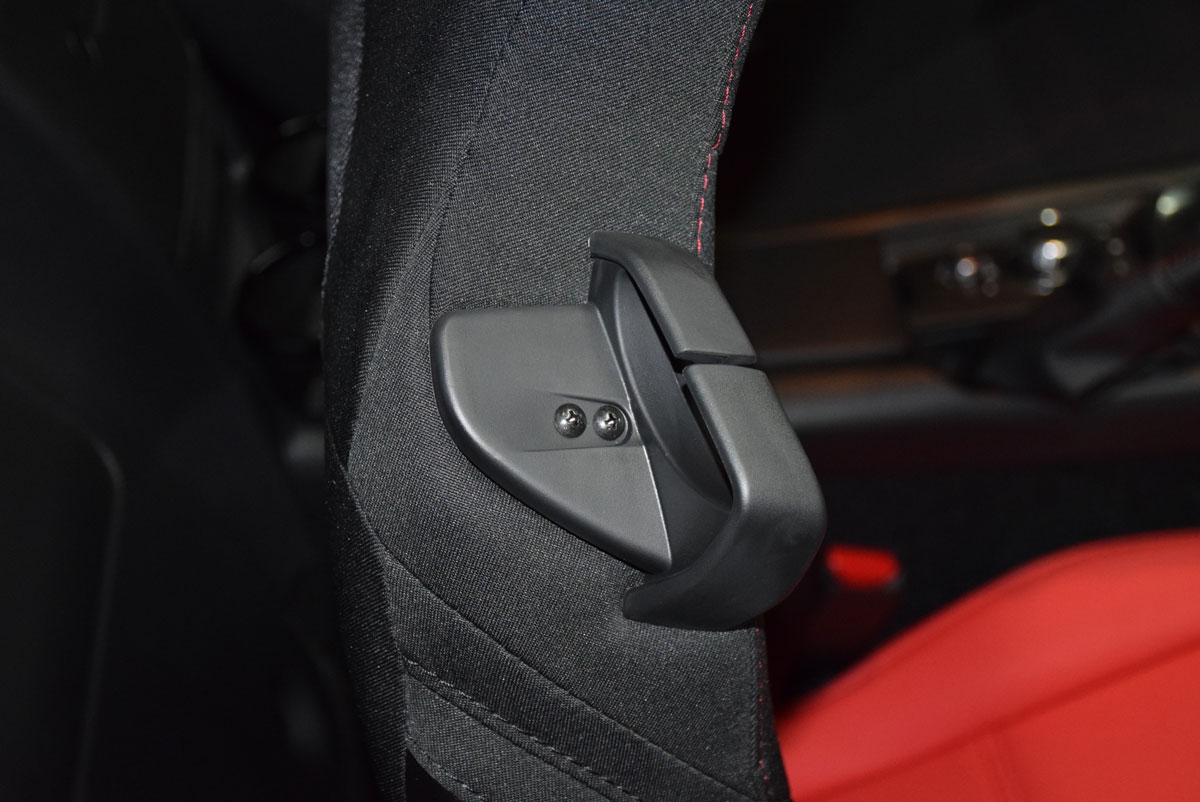
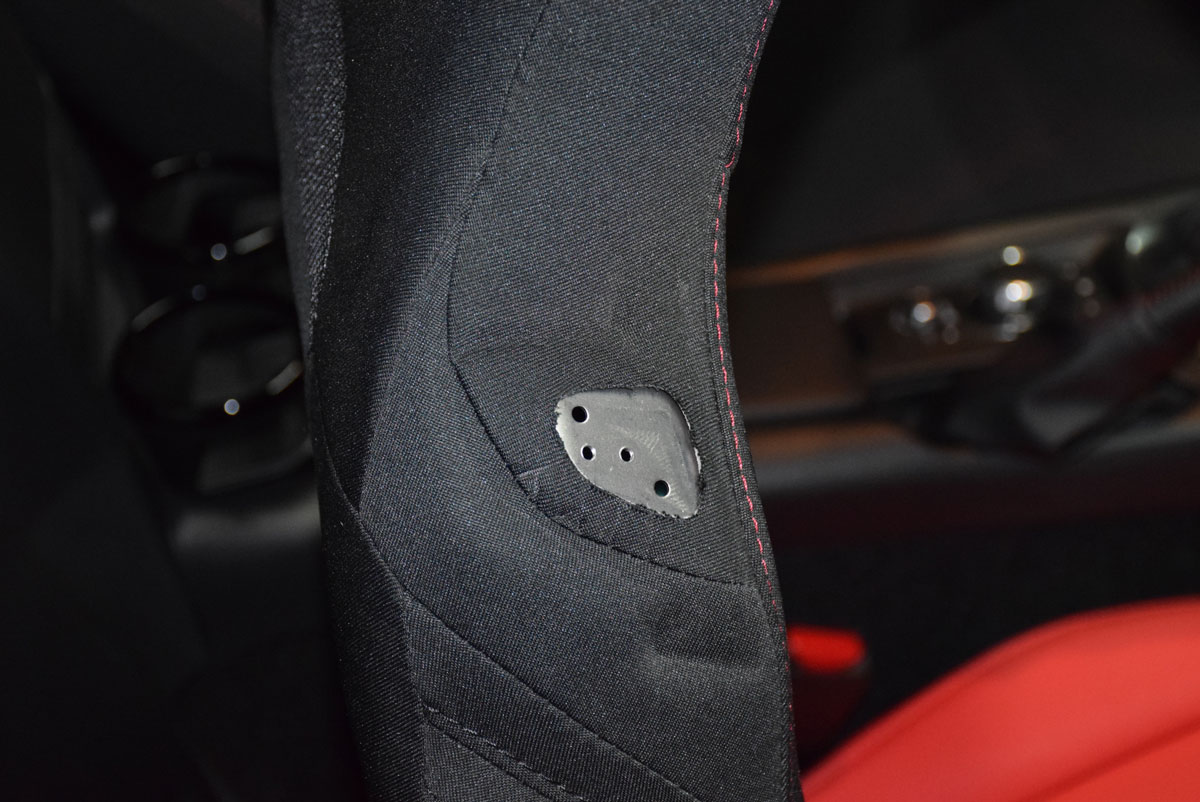
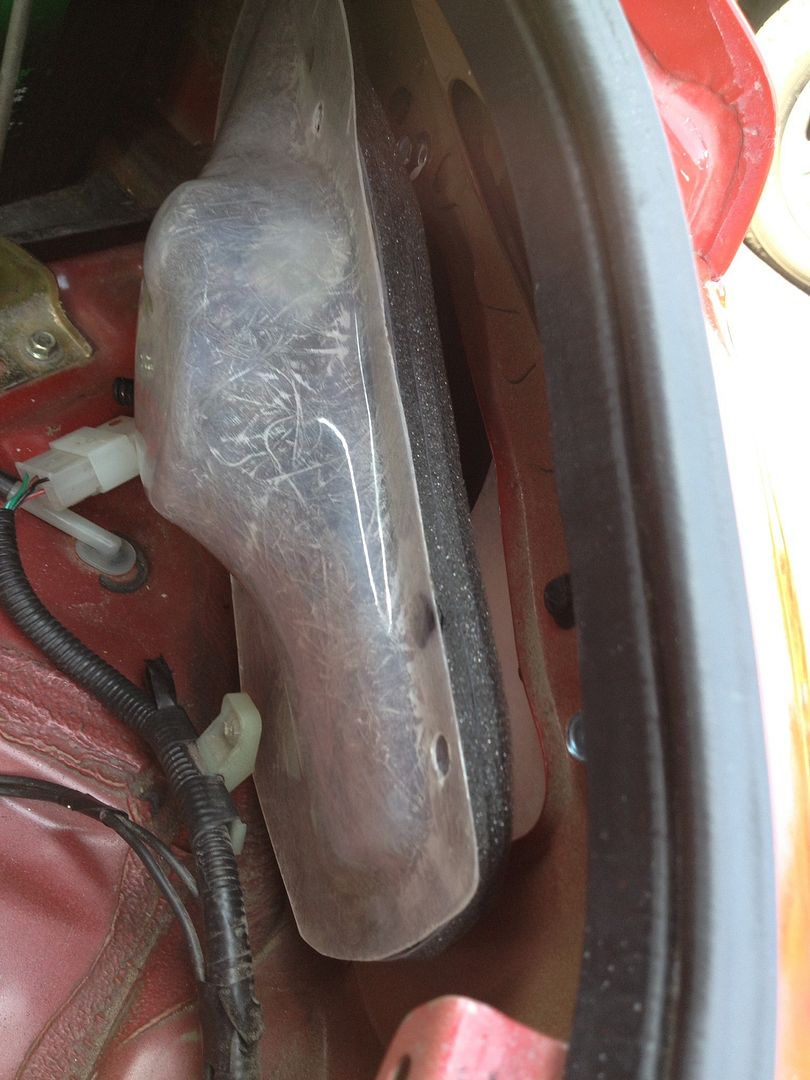
Advice 2 : Check your lowest vehicle’s point
If you lower the car a lot, like I did, you might end up scraping a lot from the front. Don’t worry, it’s not from your front diffusers, but from some kind of front flap just in front of your tires:
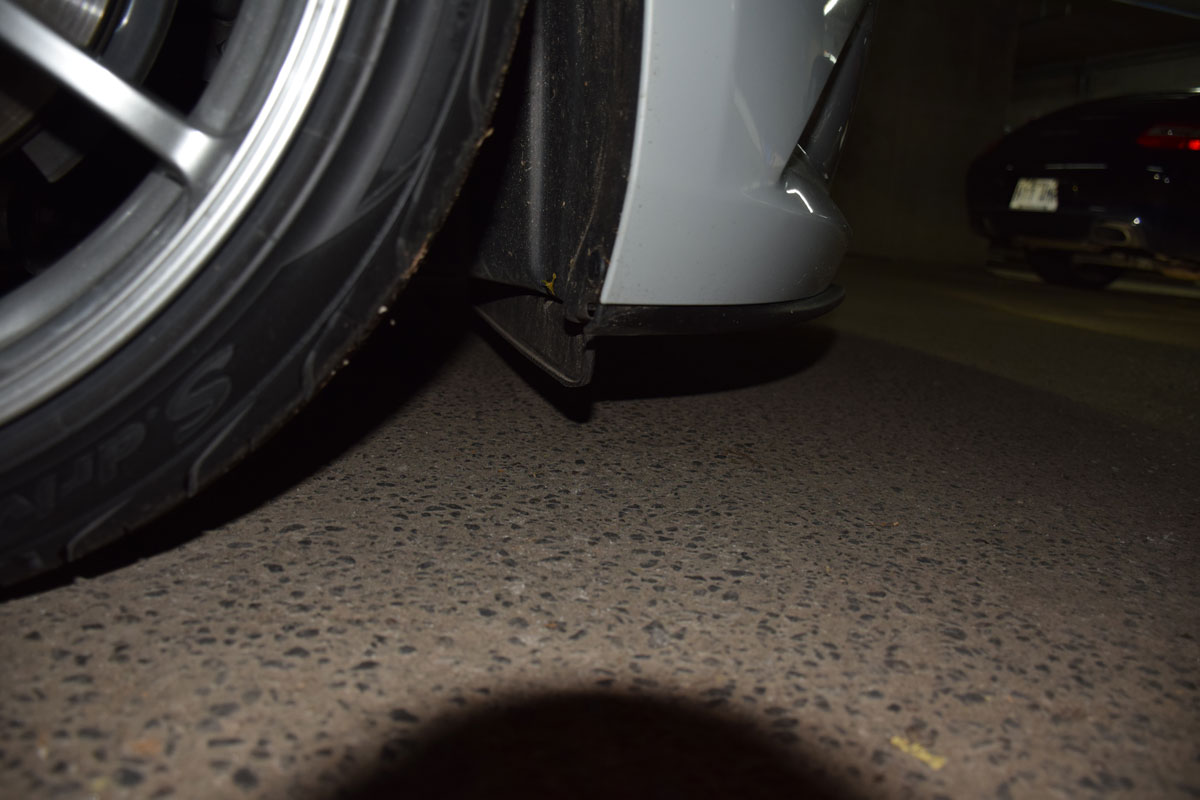
 (That small flap is about 1 inch lower than the front diffuser. It’s flexible, but will make noises if you scrape on it. I haven’t checked, but it might be possible to remove it.)
Well, I think I’ll probably raise my car about 1cm each corner to make it more “driveable”. Right now, just the small flap scraped on the ground so the clearance is actually pretty impressive considering how low the car sits. Also, if I want to add aero parts in front and side, it will be much safer to raise the car a bit, and I think I’ll still have zero wheel gap with 1 cm higher.
Here are some pictures for your viewing pleasure:

You can follow our build on this blog using this link.