
When it comes to FRP (fiberglass reinforced plastic) products, one of the most common questions we receive is about the finish — especially from customers who are surprised by the surface appearance upon arrival. So let’s clear up some common misconceptions and set expectations for anyone considering FRP parts for their vehicle.

FRP Parts Are Not Ready to Install “As Is”
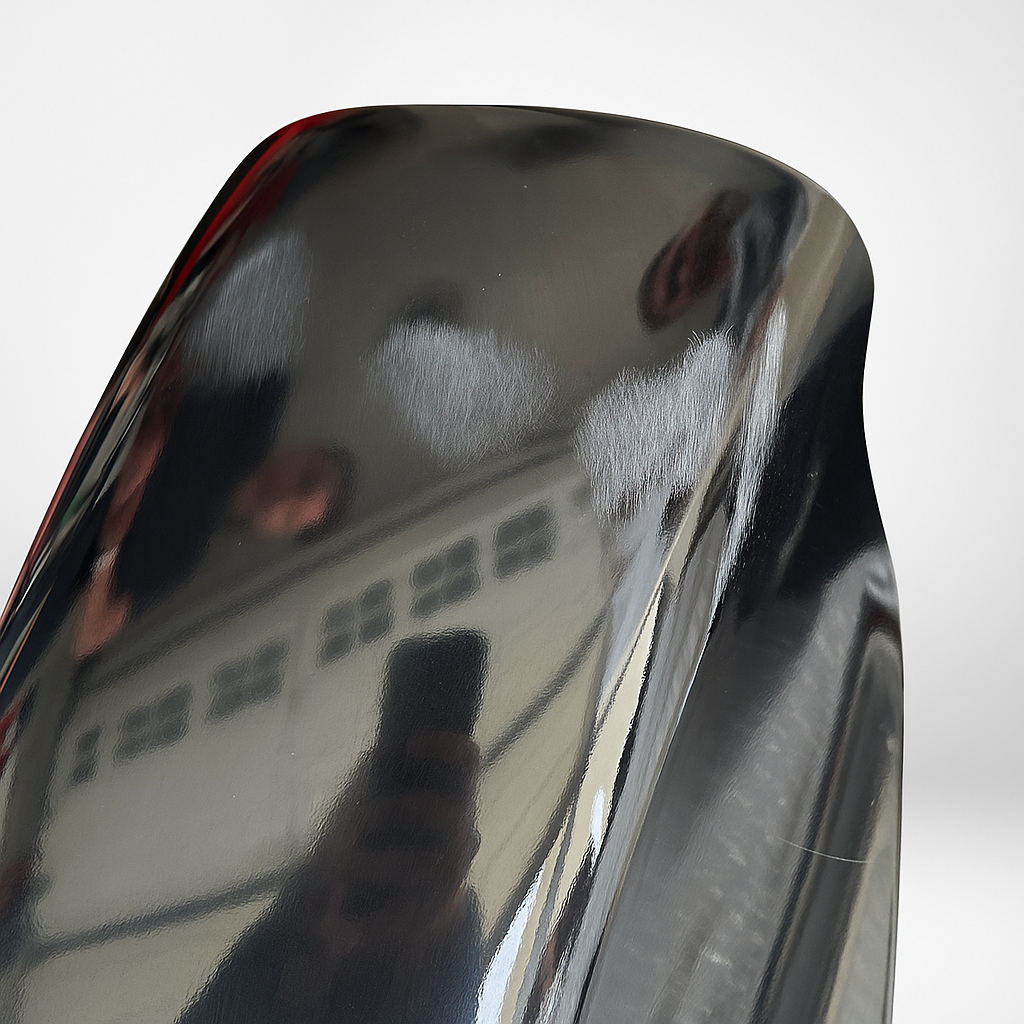
Unlike pre-painted or finished components(CF), FRP products are not designed to be installed straight out of the box. These parts typically do not come with primer, and if they do, it’s often a very thin coat that serves more as a guide than a final prep layer. That thin primer won’t cover minor sanding marks, pinholes, or texture left behind from the production process.
As a result, surface imperfections are normal. Small blemishes, scratches, or rough textures are expected and must be addressed during the preparation stage before painting.
It’s Your Job (or Your Body Shop’s) to Finish the Part
We do our best to provide high-quality FRP parts, but please note: we are not a paint or body shop. That means we can’t offer in-depth painting instructions — and frankly, every project is different. For the best outcome, we highly recommend having your FRP parts prepared and painted by a professional.
In general, the typical prep process includes:
- Spot putty to fill small imperfections
- Primer
- Sealer
- Base coat (paint)
- Clear coat
This process ensures the part not only looks great but also holds up well over time.
What About Shipping Damage?
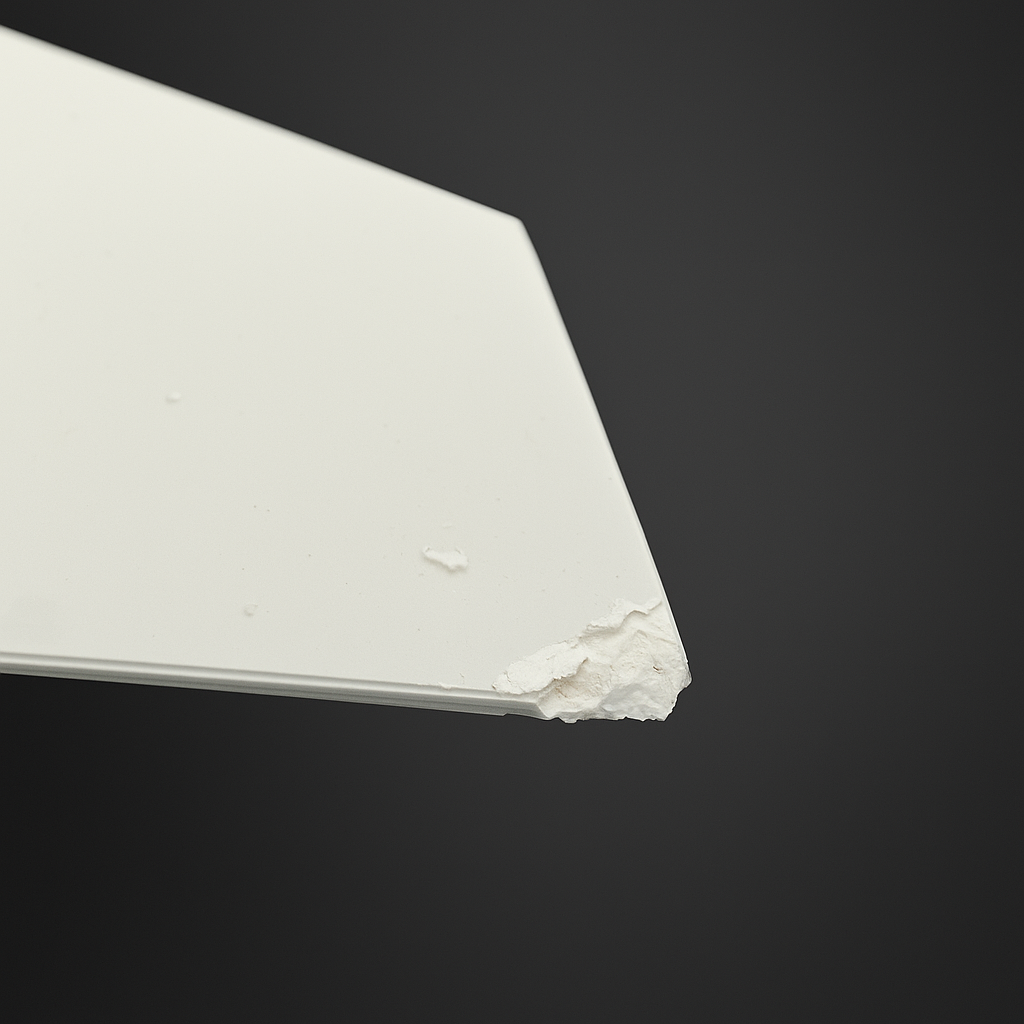
Another concern we hear relates to possible damage during shipping. We do our best to pack every item securely, but in rare cases, damage can still occur. Cracks, chips, or structural damage are signs of a genuine shipping issue — and should be reported immediately.
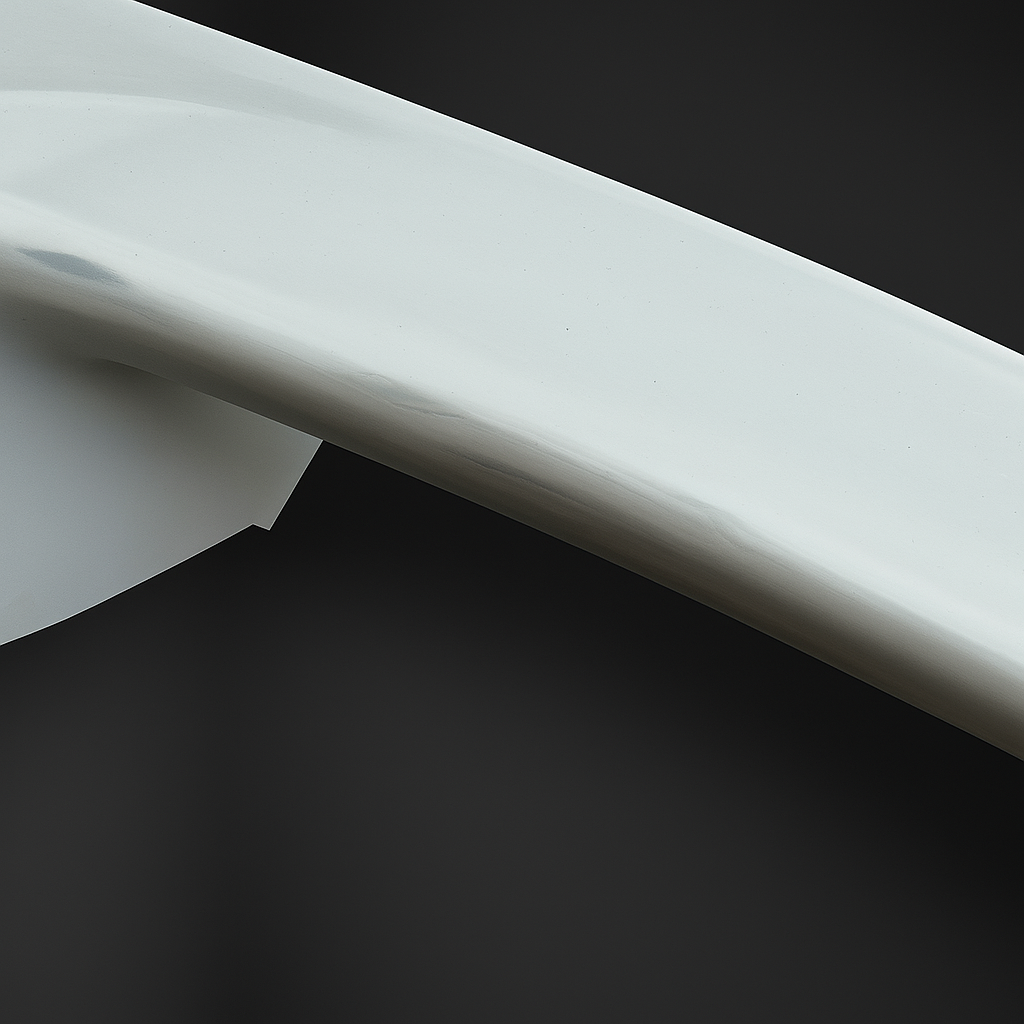
However, light scratches or surface scuffs do not qualify as damage. These are normal and expected on unfinished FRP products, as they’ll be sanded and painted during the prep stage anyway.
Final Thoughts
FRP parts are an affordable and customizable option for vehicle enthusiasts, but they do require a bit of work to shine. If you’re planning to install these yourself, know what you’re signing up for — and if in doubt, trust a professional to take your project across the finish line.
Got more questions? We’re always happy to help!


