Category Archives: REV9 NB Shop Car

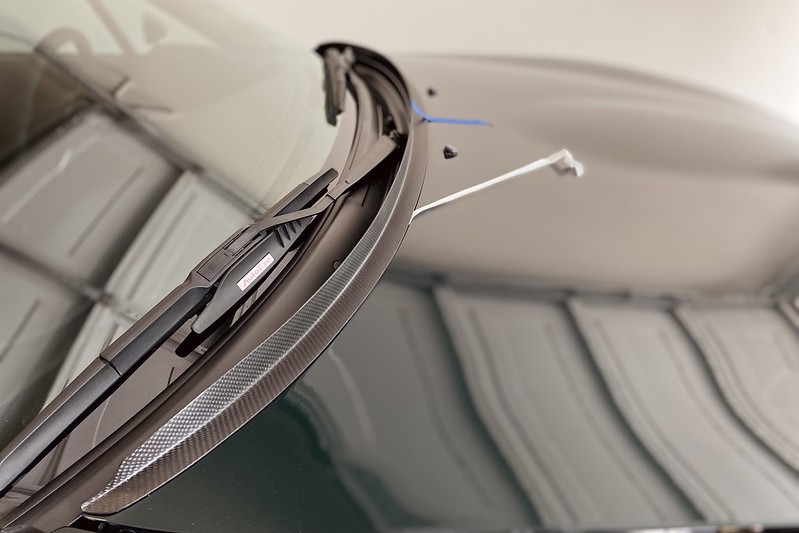
Product Review – Jet Stream Gurney Hood Flap

Introduction

Jet Stream introduced this item a few years back, showcasing it on a handful of their customer cars. Although it never made it to their catalog as a new release, they’ve been more than happy to craft it upon request.

The Dilemma 

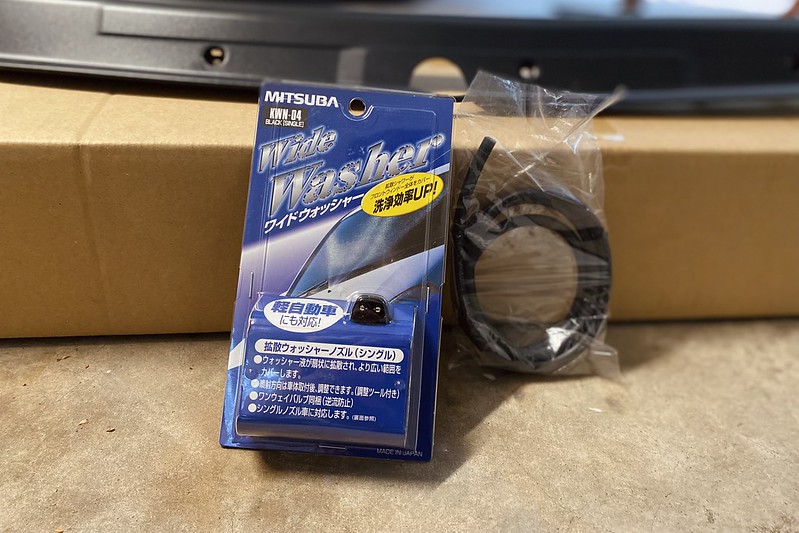
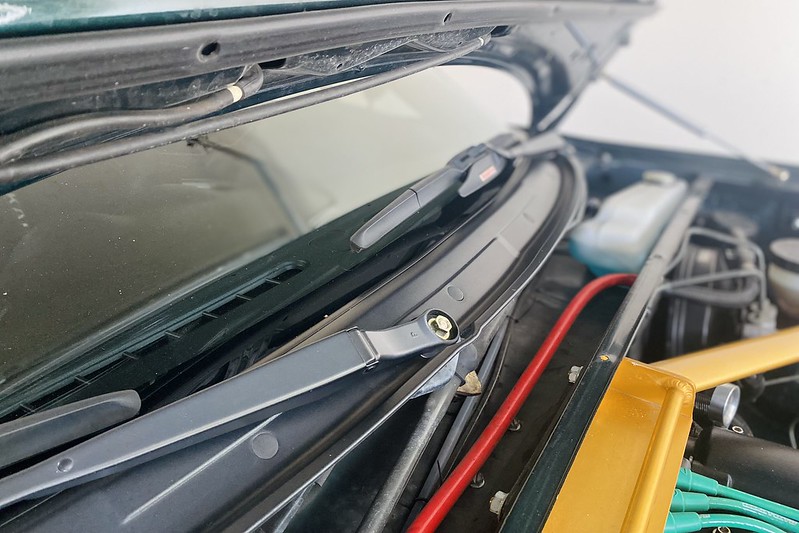
Unfortunately, the gurney flap does block the OEM windshield spray nozzle. So, if you’re keen on keeping this feature, you might want to consider opting for a nozzle relocation kit, which is entirely optional.
Installation Process – Nozzle 

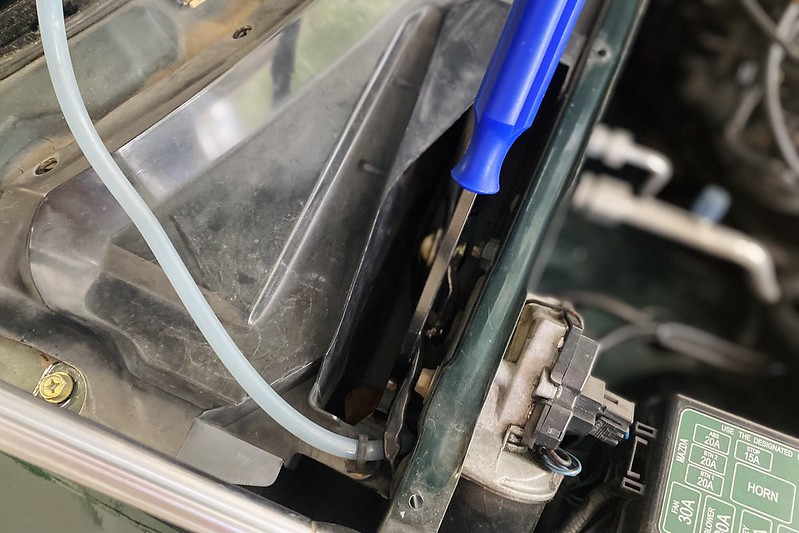
To install the nozzle, it’s necessary to remove the wiper cowl. A separate blog post detailing the steps involved in removing the cowl cover can be found here.
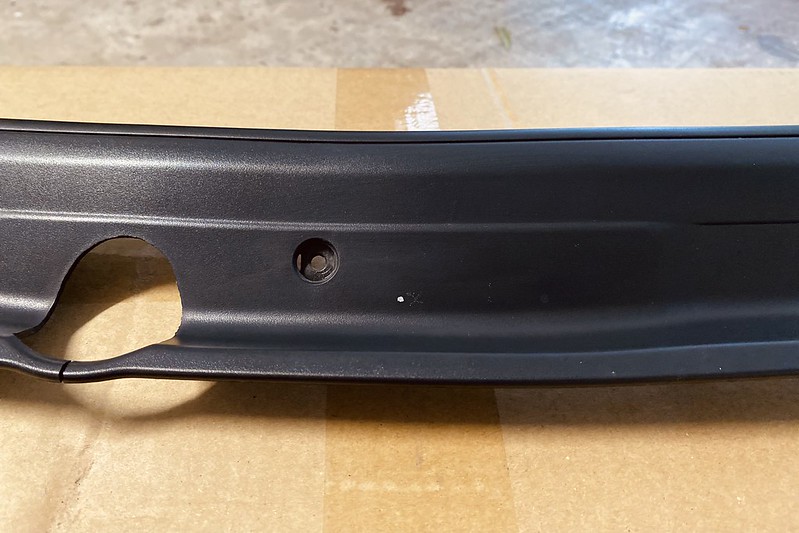
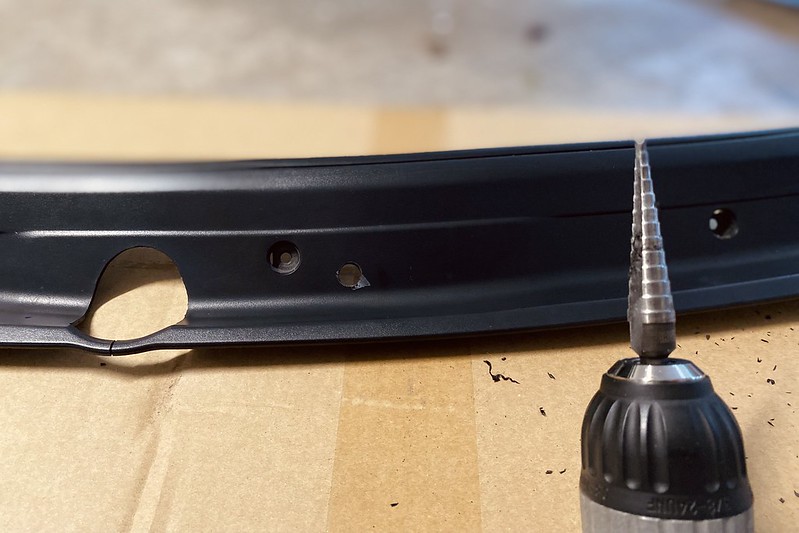
Once the cowl is off, mark the drilling location for the 10mm hole needed for the new nozzle. Using the center screw location of the cowl as a reference, measure 2 inches to the right and then half an inch towards the bottom. However, I chose to position it more centrally, opting for a distance of 1 1/4 inch instead of 2 inches.

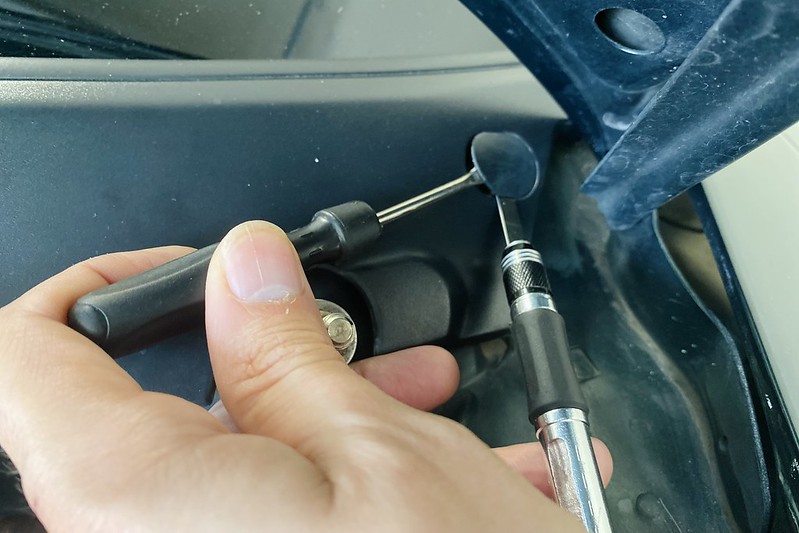
A step drill bit comes in handy for this task.

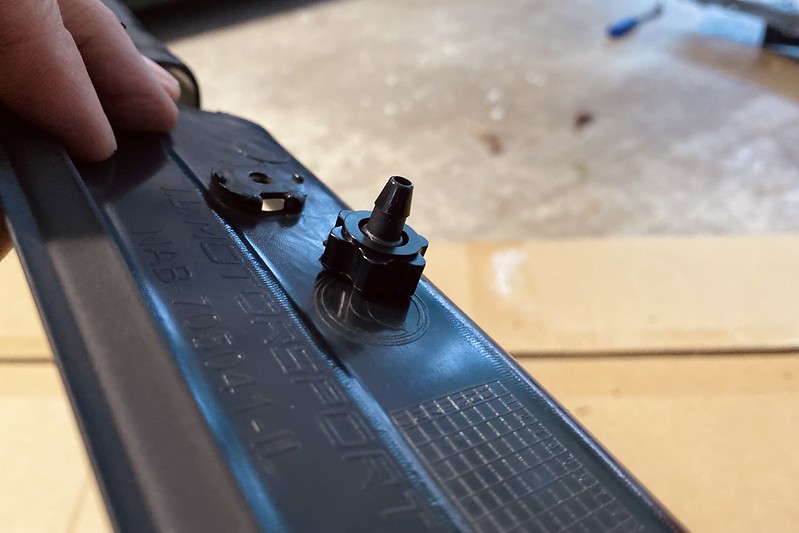
The nozzle simply slips through the hole and is secured in place with a threaded plastic collar.

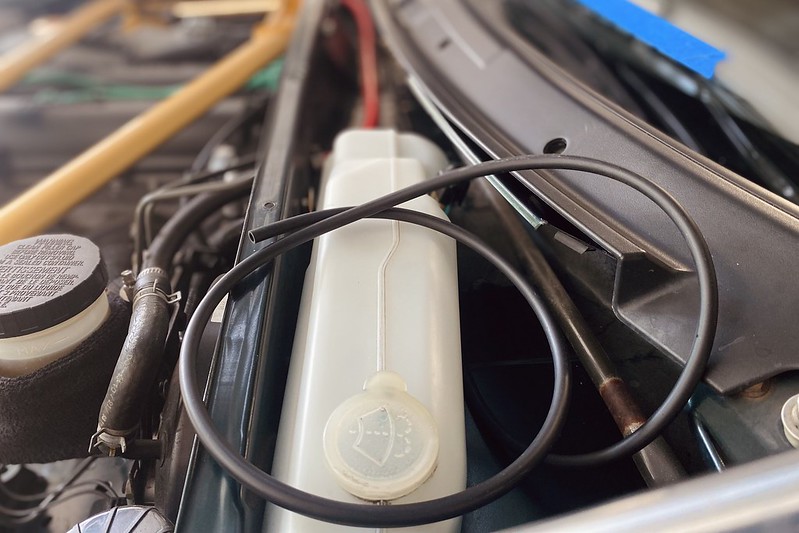
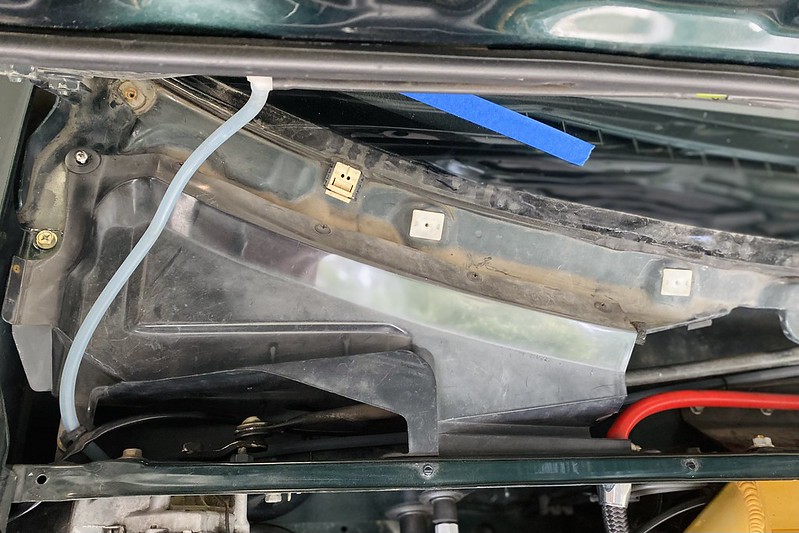
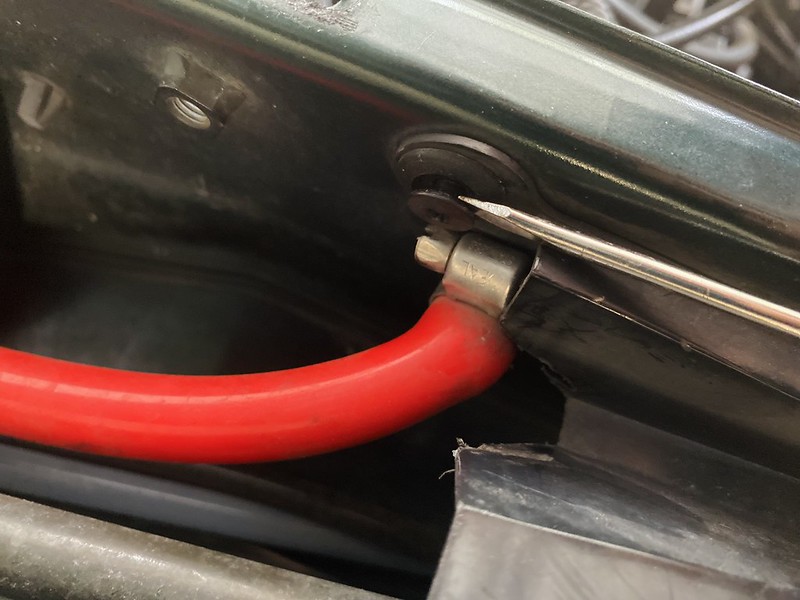
After mocking the cowl back onto the vehicle to ensure there are no clearance issues, proceed to add the rubber hose for the washer fluid. Depending on your setup, like my NB with the NOPRO relocation tank, you might need to adjust the length of the rubber hose accordingly. Just be cautious not to make it too short, risking kinking.

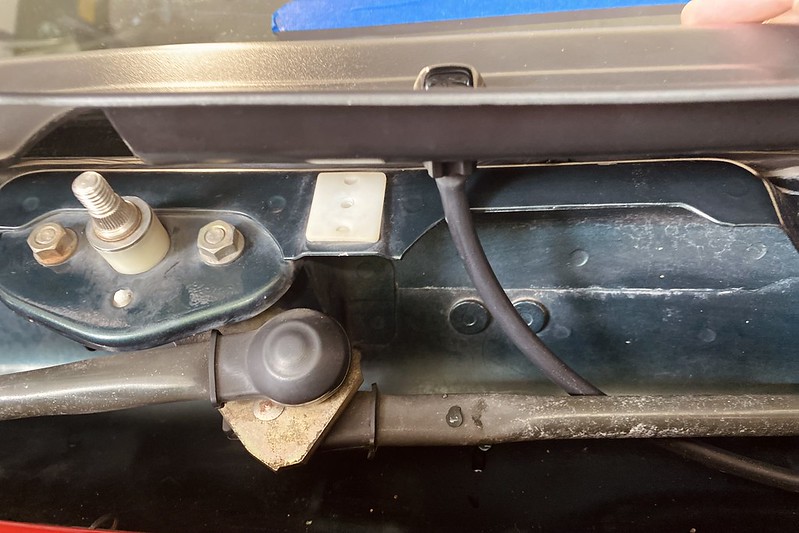
Remember to route the rubber hose behind the wiper arm link. Secure the cowl with the screws.

Installation Process – Gurney Flap

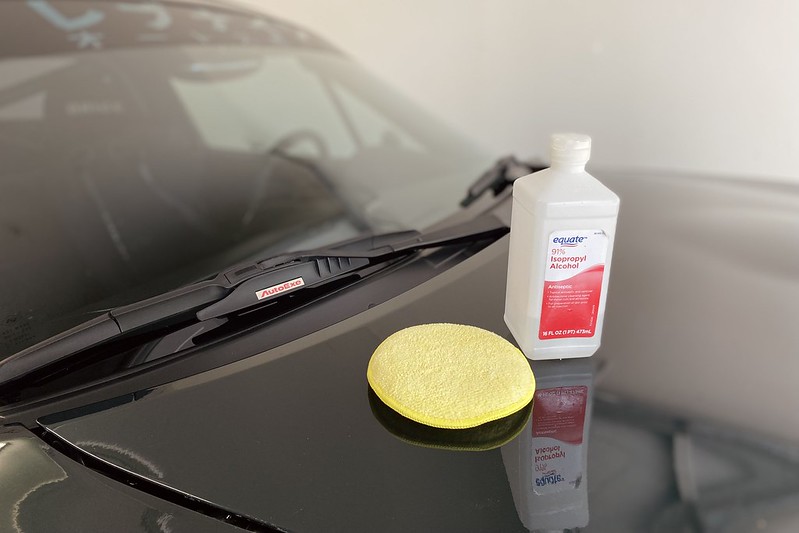
Now, onto the gurney flap. Prep the hood area by wiping it with alcohol to ensure a clean surface.

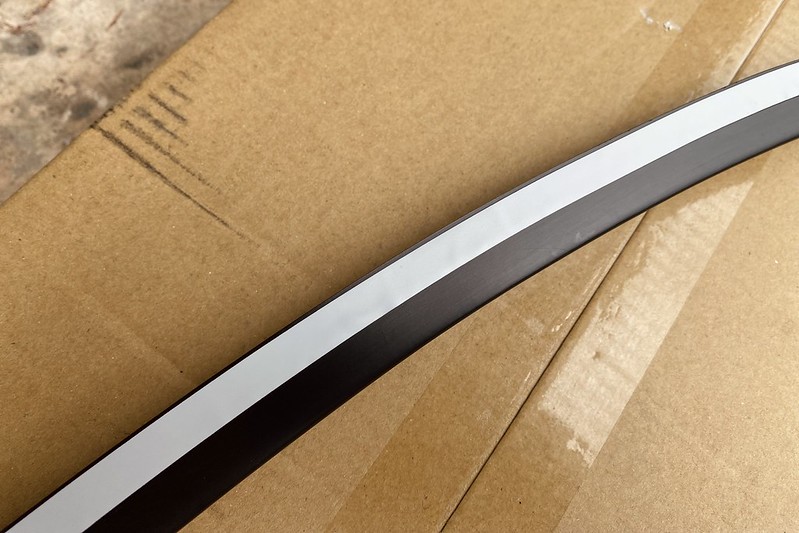
The item comes with a roll of double-sided adhesive, which you’ll apply to the bottom of the flap, ensuring it’s evenly spaced from the edge and firmly pressed. I opted for a single strip, but there’s enough tape provided if you prefer to add a second.

Once aligned perfectly, use masking tape to prevent any shifting during the final glue down. Peel off the tape backing strip while pressing down, working your way down to the other side of the vehicle. And that concludes the installation!

Conclusion

Since fitting this, I’ve taken the vehicle on a highway run and can confirm the wiper arms remain steady even at speeds over 85mph. Visibility isn’t compromised, and it’s easy to forget it’s there. Plus, I really admire the aesthetic it brings to the car, neatly concealing the majority of the wiper arms from a frontal view.

The nozzle spray performs just as well as those from the hood. In fact, the relocation actually tidies up the engine bay once you remove the OEM hoses for the hood spray nozzles.


Product Review – Garage HRS Air Conditioning Filter

Introducing the Garage HRS Filter

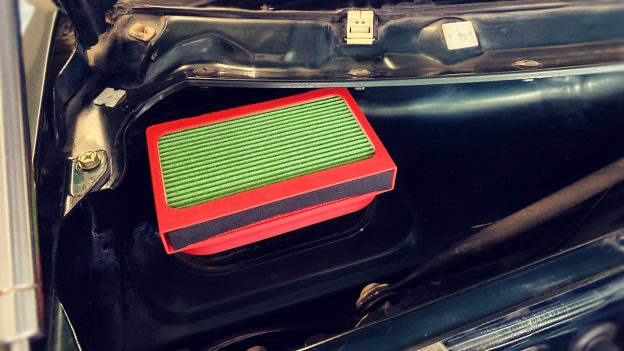
One of the most exciting advancements in automotive accessories over the past year has been the introduction of cabin filters for our beloved Roadsters. Thanks to the wonders of 3D printing, finding a solution for this long-awaited upgrade has become a breeze.

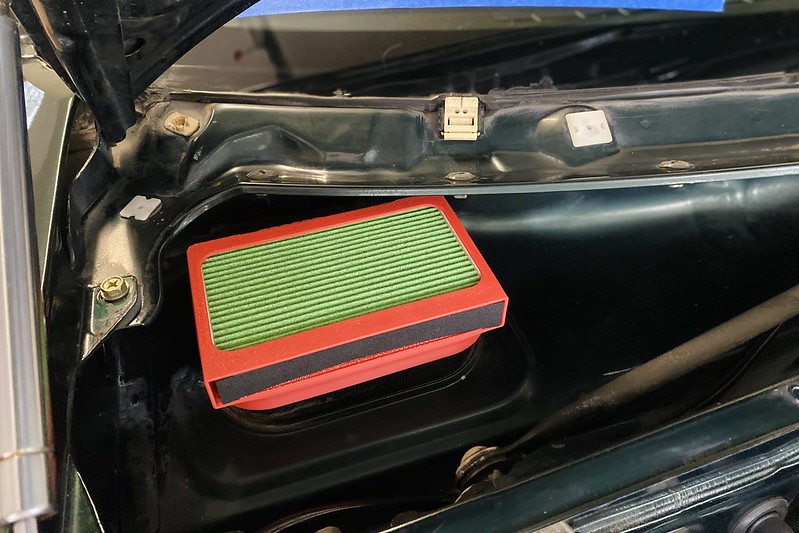
Enter the Garage HRS Filter: a beautifully designed 3D-printed product that not only looks the part straight out of the box but also feels impressively good.

Installation Process 

Now, let’s dive into the installation process. Prepare your toolbox with essentials like a Phillips screwdriver, masking tape, and a 12mm socket and ratchet. Additionally, having a pry tool on hand will prove invaluable.

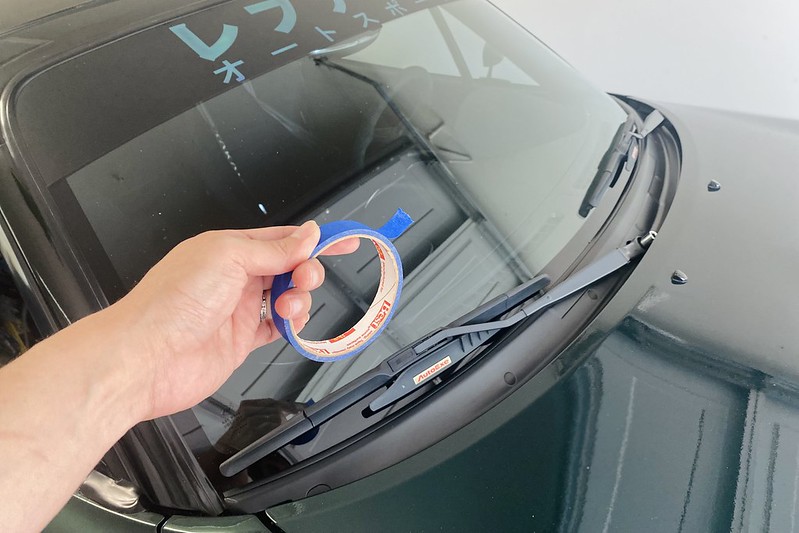
Pro tip: Use a piece of masking tape to mark the glass where the wiper blades rest to ensure they’re aligned upon reinstallation.

Removing the wiper arms involves removing the rubber cap and loosening the 12mm nut before gently pulling the arm upwards. Be prepared to apply some force, especially if it’s the first time the arm has been removed.

Next, the wiper cowl, held in place by six screws hidden beneath plastic cap covers. Carefully pry these covers off using a scalpel or small flat-head screwdriver, exercising caution to avoid damaging the plastic.

Finally, the rain/water diverter panel, secured with five screws and three plastic clips.

Pay special attention to the clips on the firewall, ensuring you pry the inner piece first before rotating it off like a regular screw.

A clip/pry tool will come in handy for the third clip.

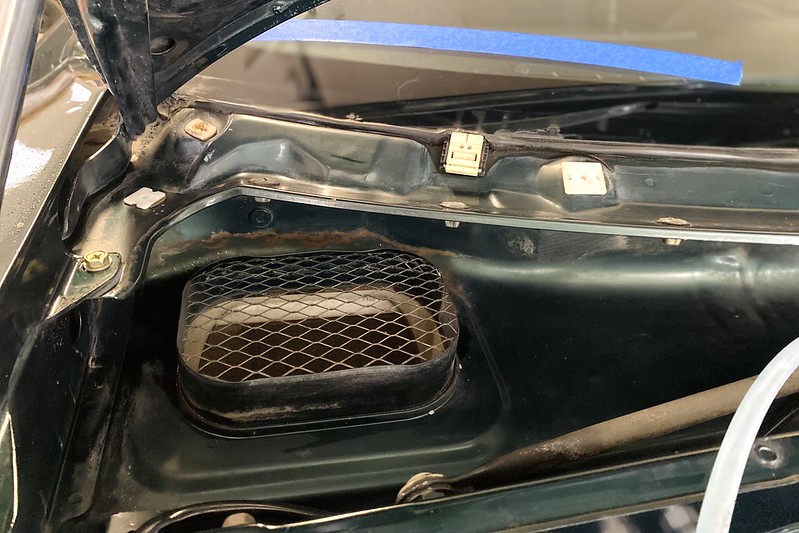
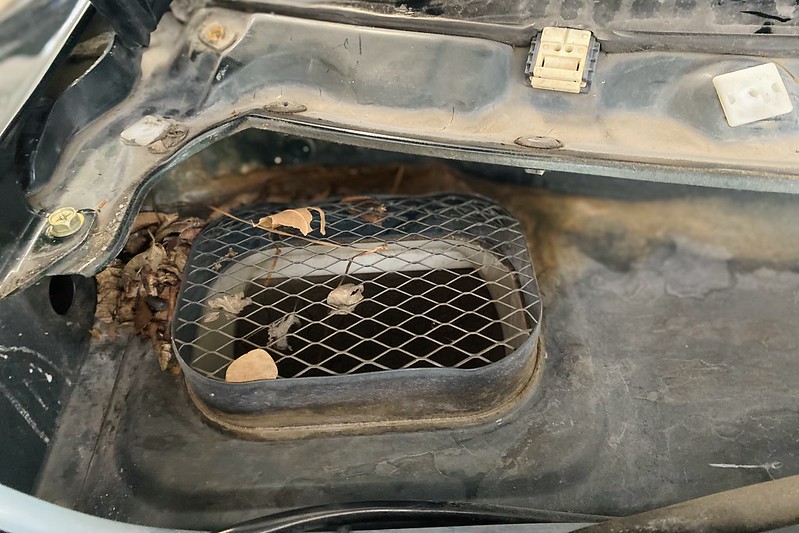
With those hurdles cleared, it’s time to address the AC air intake. For NB Roadsters like mine, the existing metal mesh offers limited protection against debris entering the AC blower, making a cabin filter a welcomed addition.

Take advantage of this opportunity to give the area a thorough clean, promoting fresher air circulation within the cabin.

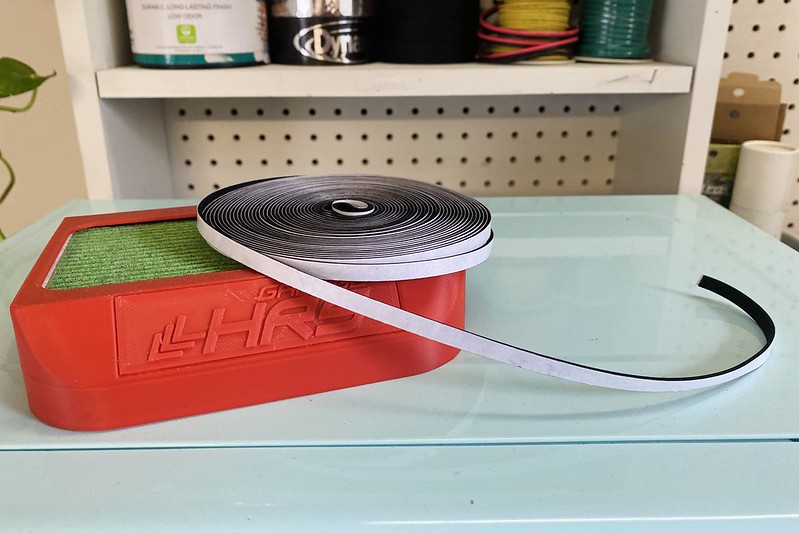
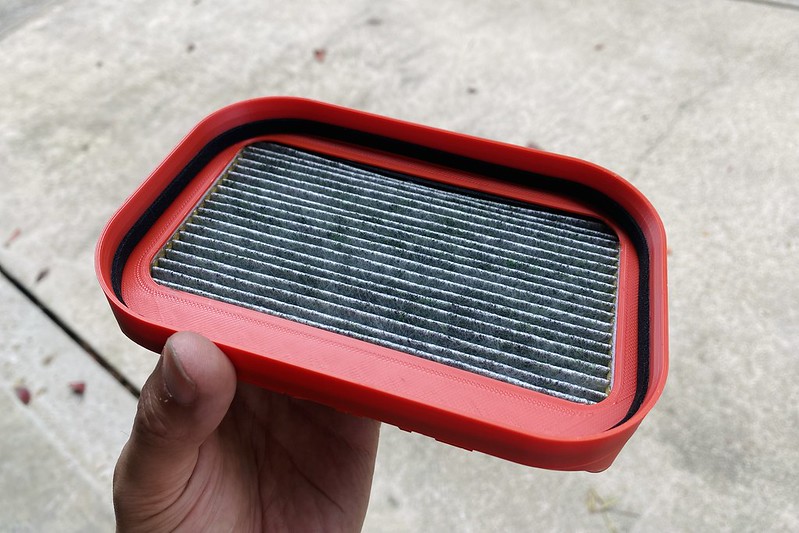
While the Garage HRS Filter boasts impressive design, one flaw surfaced during installation: a less-than-secure fit within the rectangular intake. My simple yet effective solution involved adding a 1/16th-inch weather seal tape to the filter housing’s inner edge.

This minor adjustment significantly enhanced the housing’s stability and sealing, resulting in a snugger fit and improved performance. Curious to replicate this solution? Here’s a link to the weather seal tape. https://a.co/d/iOWnzlu

So far, my experience with the filter has been nothing short of delightful. Not a hint of strong odors from the outside world has infiltrated my sanctuary on wheels.

In conclusion, installing a cabin filter in our Roadsters not only enhances air quality but also adds a touch of innovation to our driving experience. Here’s to many more miles of fresh, exhilarating adventures ahead!


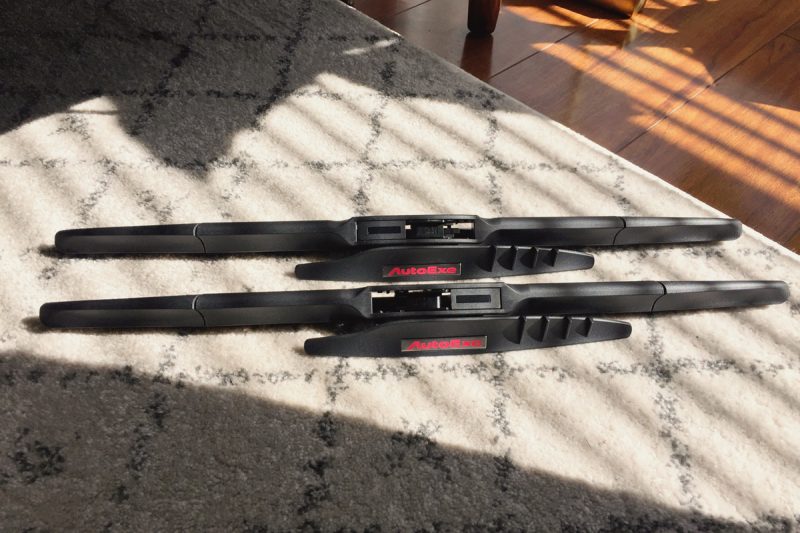
Product Review – Autoexe Evolution Wipers

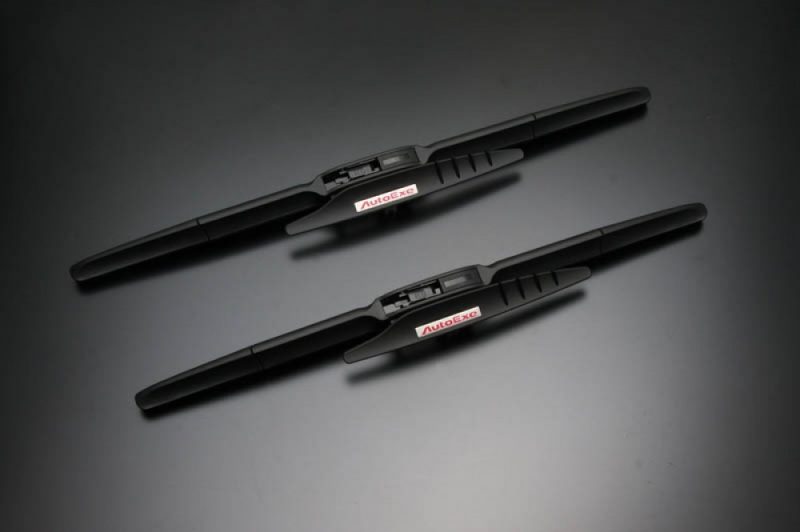
Today, I’ll be reviewing the Autoexe Evolution Wipers and showing you how to make them work on a left hand drive Miata !

These wipers are designed for RHD vehicles but with some minor modifications they can be adjusted.

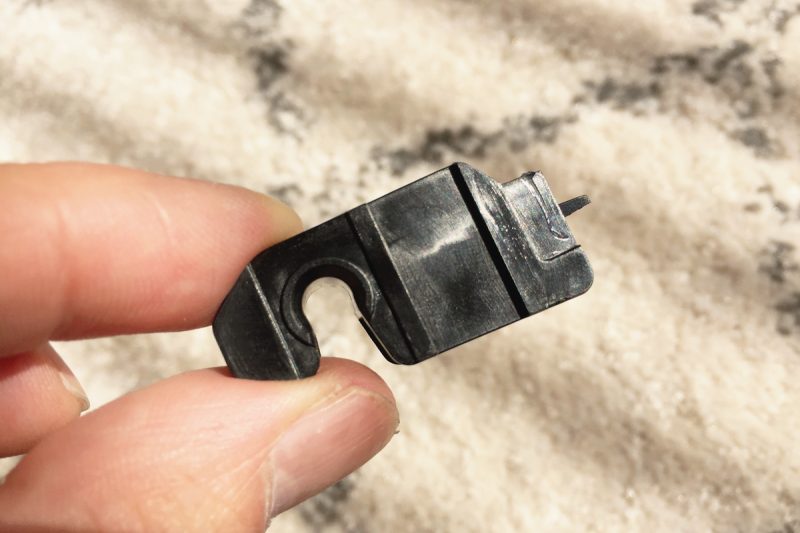
The trick is to pop out the J hook anchor and reinstall it in the opposite direction.  When flipped, you’ll notice interference with a small bolt that secures the aero fin.

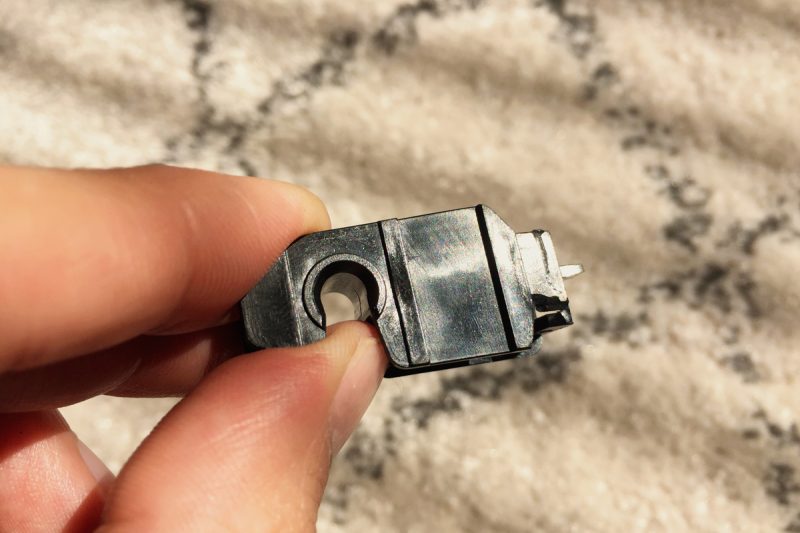
A small section in the plastic needs to be cut to clear the small bolt. Cut enough to clear the head of the bolt as shown below.

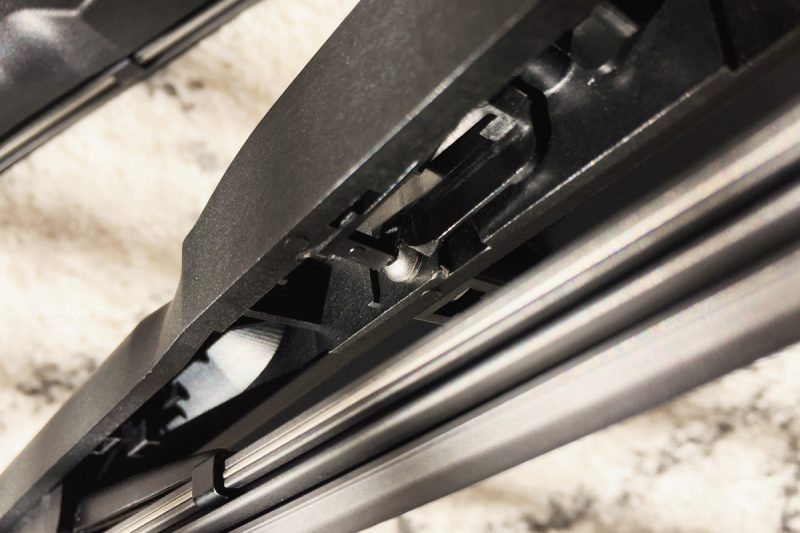
Once the cut has been made, install in the opposite direction and check its not binding.  It should rotate freely. Below you can see the small bolt that we needed clearance for.

Here you can see the changes. The modified LHD version is up top and the original RHD at the bottom.

Lastly, install to your wiper arm like any ordinary wiper.

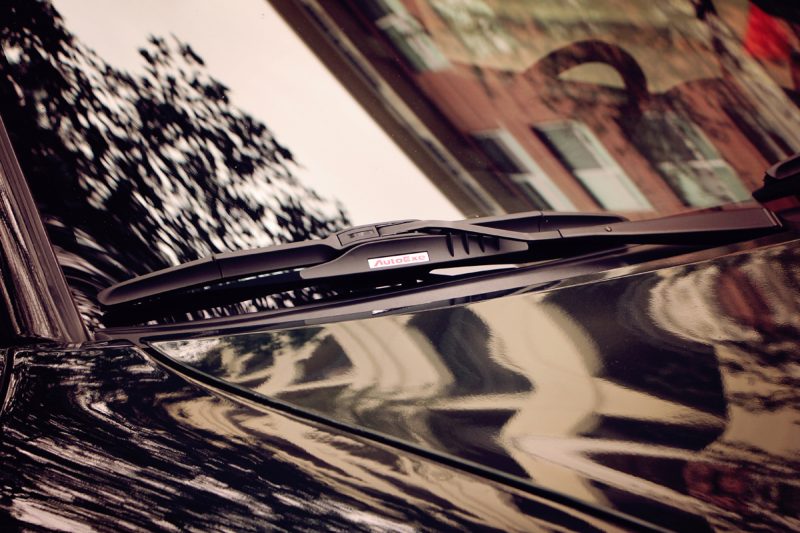
Performance wise, they excelled in clearing water without any streaks. I’ve had them for a few months and they still perform flawlessly. The aero fin does a good job of reducing vibrations of the wiper at high speeds.

They haven’t been tested on snow or ice but I’m positive they will perform just as great.

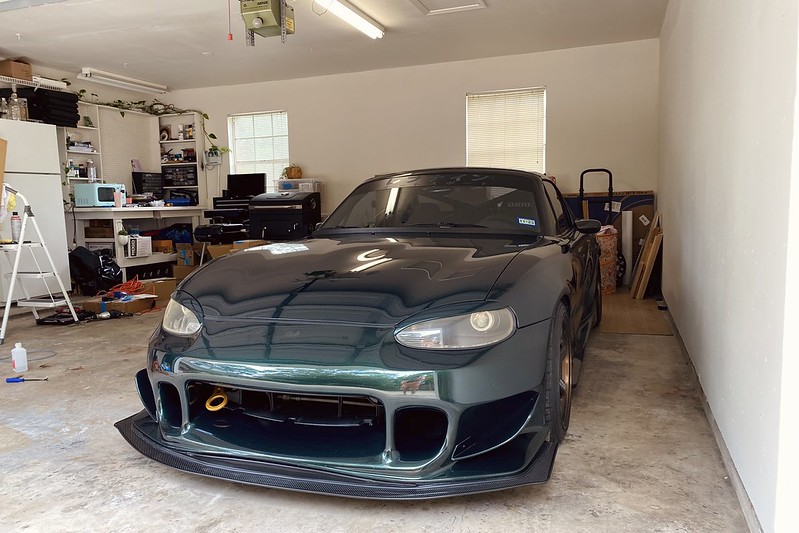
REV9 Autosport 1999 NB Shop Car

Here is the story about the second REV9 Autosport Shop Car. As the company grew, we were now able to have a newer shop car and I always was a fan of the NB chassis styling.

We built this car to be more of a street car that would turn heads but still stay very classy and driveable.

Modification List


Exterior :

–        REV9 OE-Style Front Lip

–        RS Factory Stage Rear Lip

–        ZOOM Wide Blue Mirrors

–        Garage Vary Eye Lids


Interior :

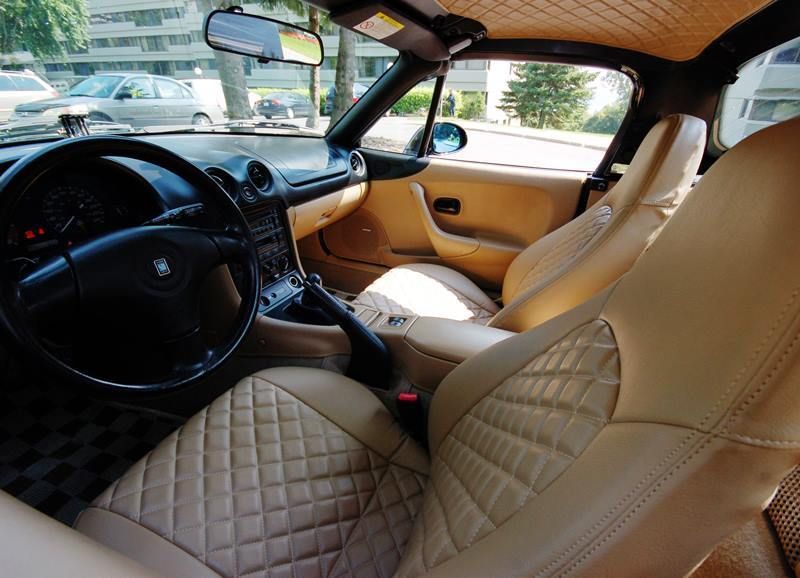
–        Nakamae Quilted Seat Covers

–        Nakamae Quilted Console Lid Cover

–        Nakamae Quilted Hardtop Headliner

–        Beatrush Hardtop Side Latches

–        Zeromotive Large Pattern Floor Mats

–        RS Products Meter Panel

–        AWD Gauge Faces

–        Nielex Short Shift Kit

–        Beatrush Shifter Bushing

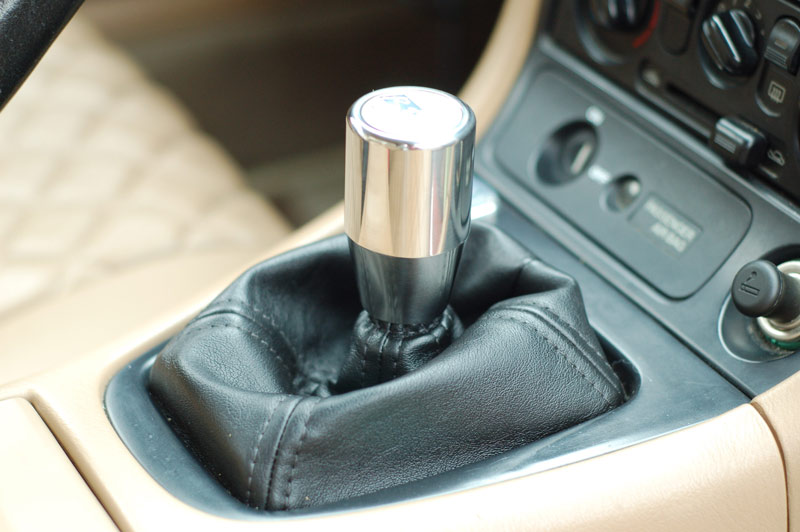
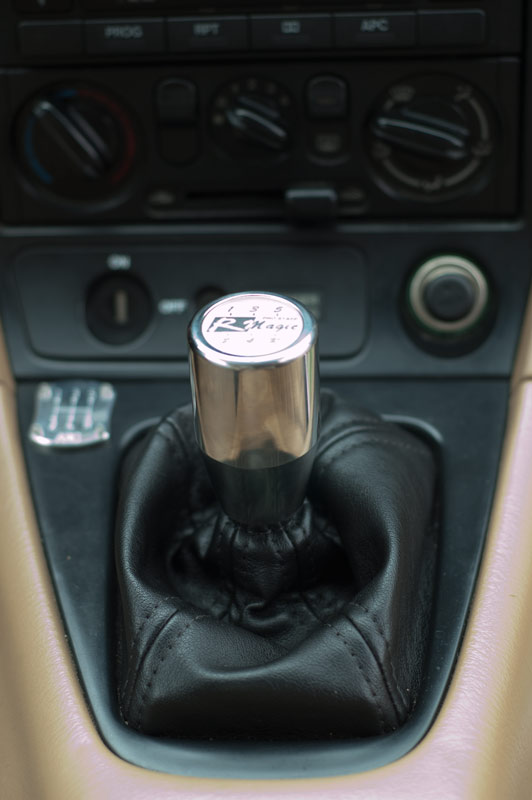
–        R-Magic Heavyweight Shift Knob

–        ZOOM Blue Wide Angle Rear View Mirror

–        REV9 OE-Style 1002 Pedal Kit


Engine :

–        Maxim Works Header

–        Arrive Intake Chamber

–        Nielex 1002 Oil Filler Cap

–        RS Factory Stage N-Zero2 Exhaust

–        Koyo Aluminum 36mm Radiator


Chassis Bracing :

–        Nielex Knuckle Support


Suspension & Wheels :

–        Tein Flex Coilovers

–        Work Meister 16×7 +42 Front / 16×8 +30 Rear


Well, we gotta say that the design of the Work Meister is legendary and sure fits perfectly the NB styling.

R-Magic Heavyweight Shift Knob Review

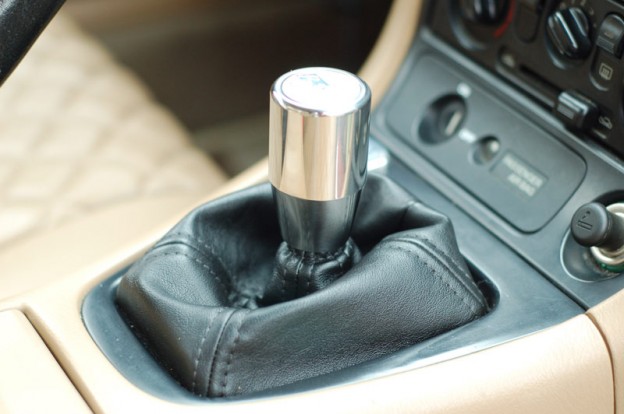
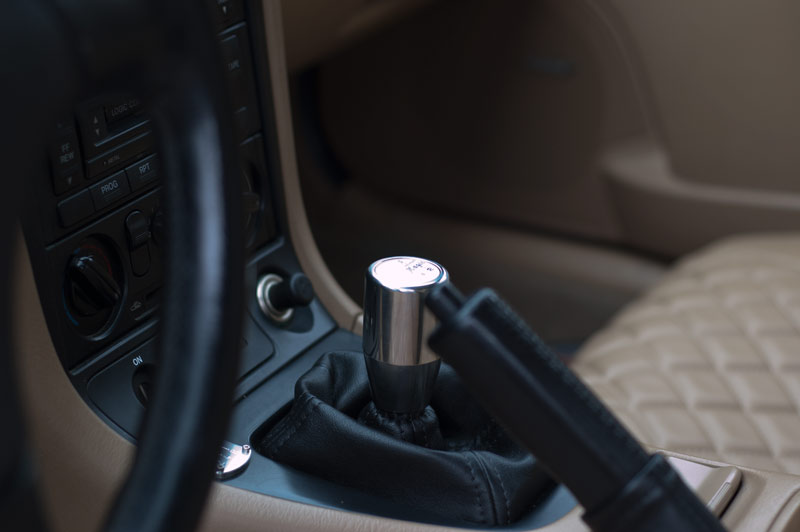
I’ve been using the Nardi Evolution Shift Knob for 6 months and decided I needed some change. R-Magic came to me with their Heavyweight Shift Knob. I never used weighted shift knobs and wanted to give it a try.

DSC_8270

I also never used a metal shift knob. Let’s say that it’s less comfortable than leather (you feel the heat or cold), but it looks so great and once the temperature of it changes to the one of your body, it’s awesome.

DSC_8276

The shift knob is a great addition to the NB interior and feels just right. Height and size is perfect for me.

DSC_8268

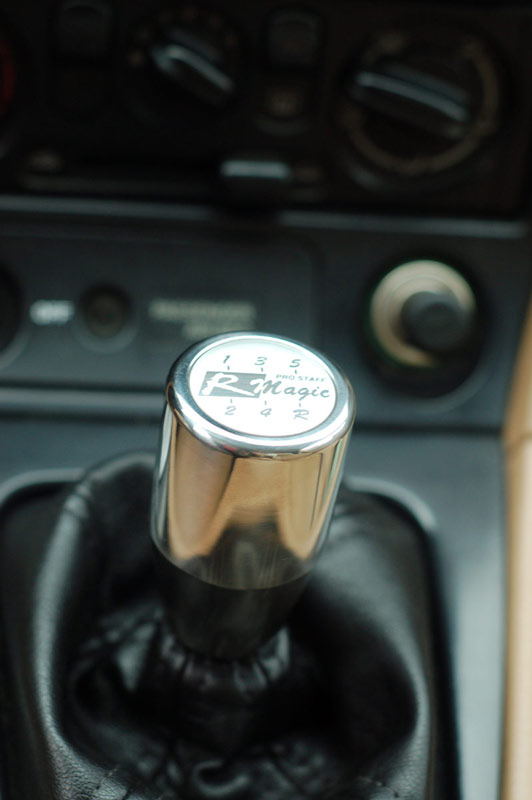
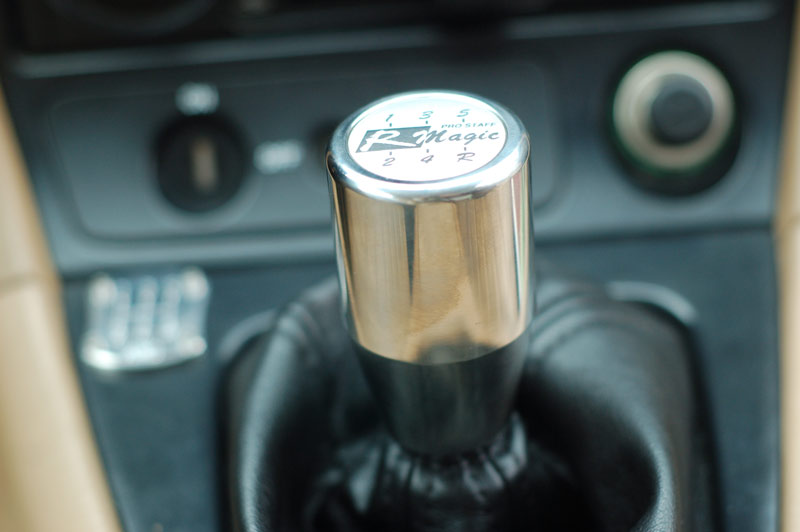
The shift knob cap that comes with it makes the whole thing look very high quality with a brushed aluminum look with the shift pattern of either 5MT (pictured) or 6MT.

DSC_8277

It’s a really classy looking item that suits into the car, evenif there are no other silver accessories.

DSC_8287

One subtle and very inexpensive addition that makes me want to see it every time I enter my vehicle.