Installation time : less than 1 hour
Installation difficulty : very easy
Special tools needed : none
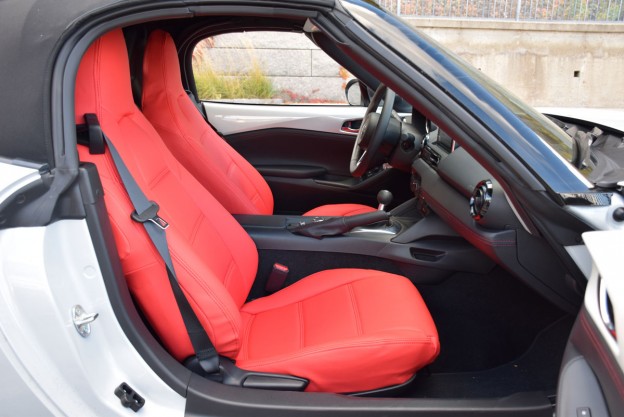
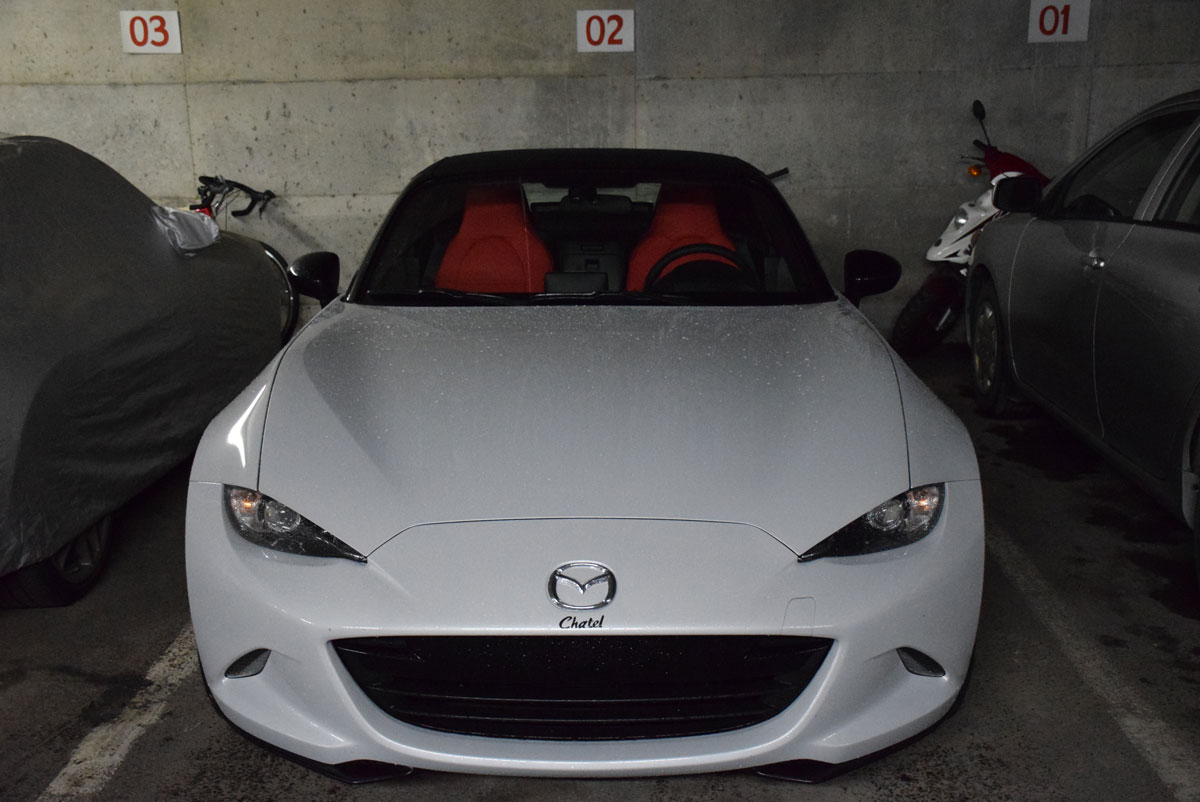
The new MX-5 comes with some pretty light and cool fabric seats, but I’ve always been a fan of leather. I was not a fan of the price Mazda charged for the top of the line model, though. When Autowear came with these awesome Seat Covers, I knew I wanted to run these in my shop car.
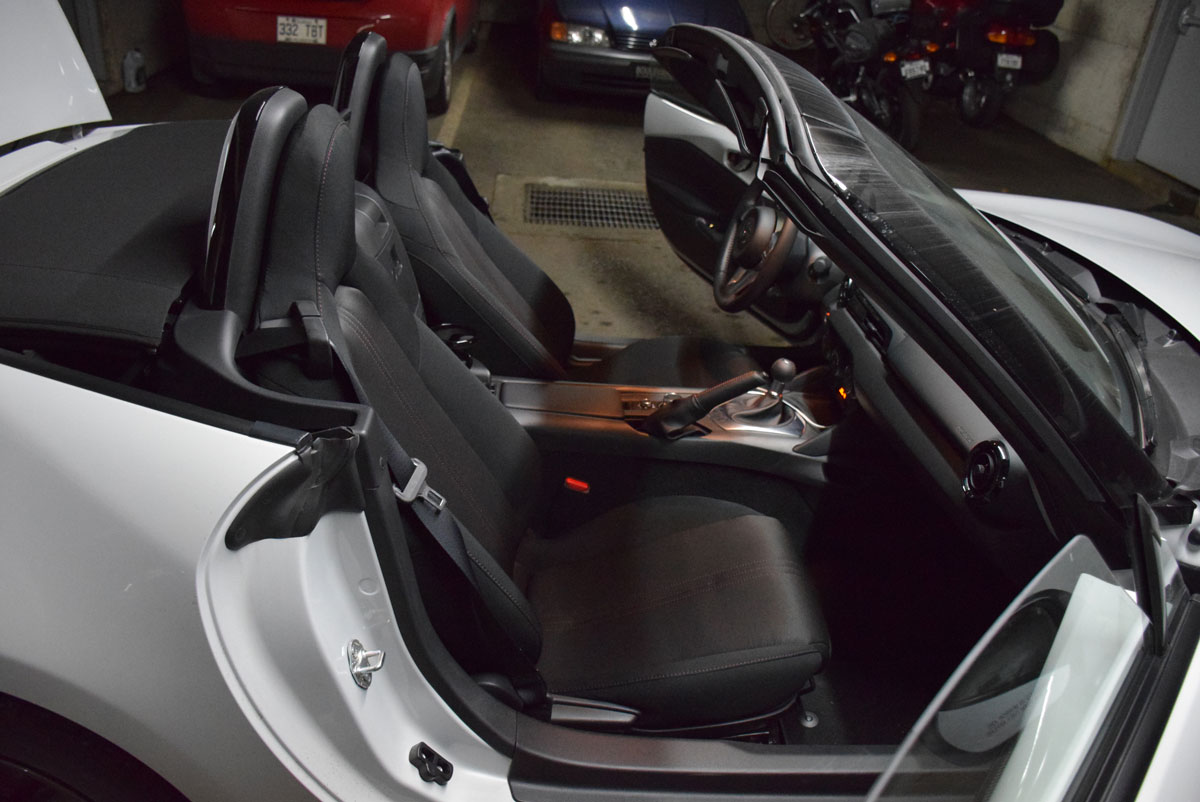
First, you have these OEM seats to start with:
Then, you have the Autowear Seat Covers:
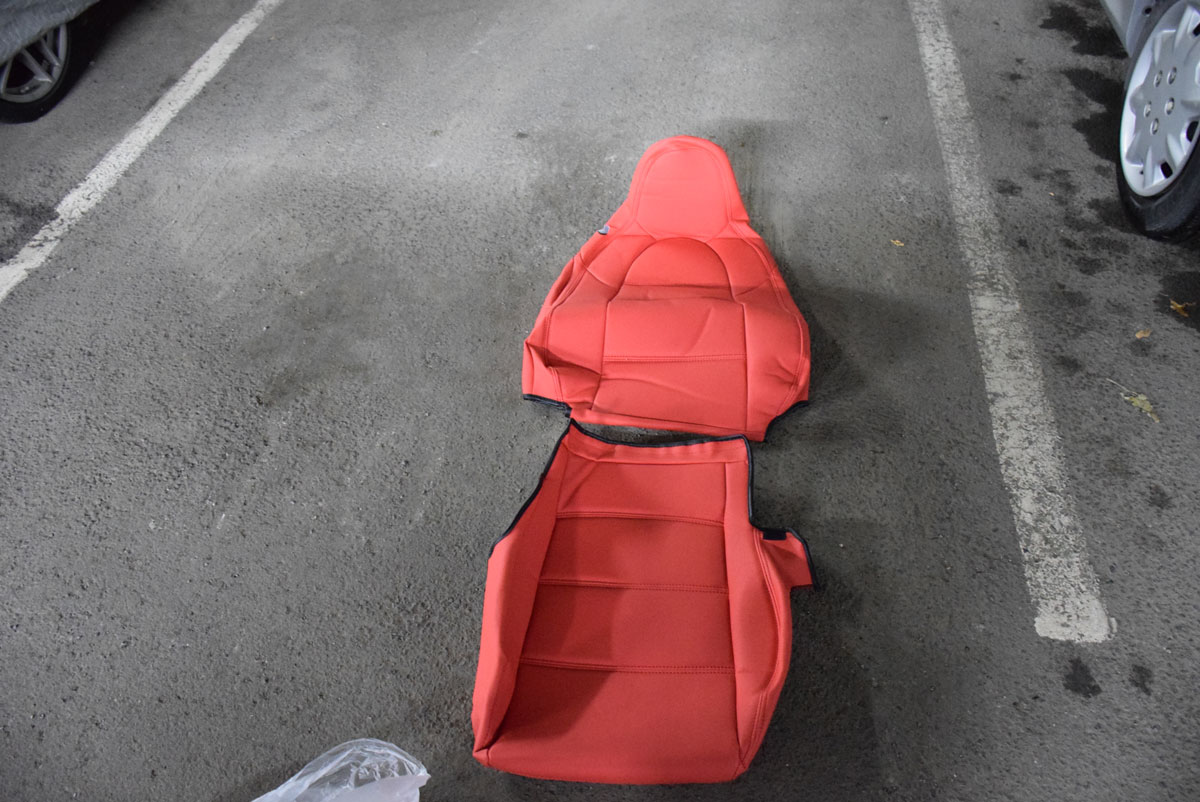
(My seats are more wrinkled than usual. They stayed in my trunk for a long whole and I DO NOT RECOMMEND keeping them folded for a while as wrinkle may show).
I myself started with the bottom, but you can start with the top, it does not really matter:

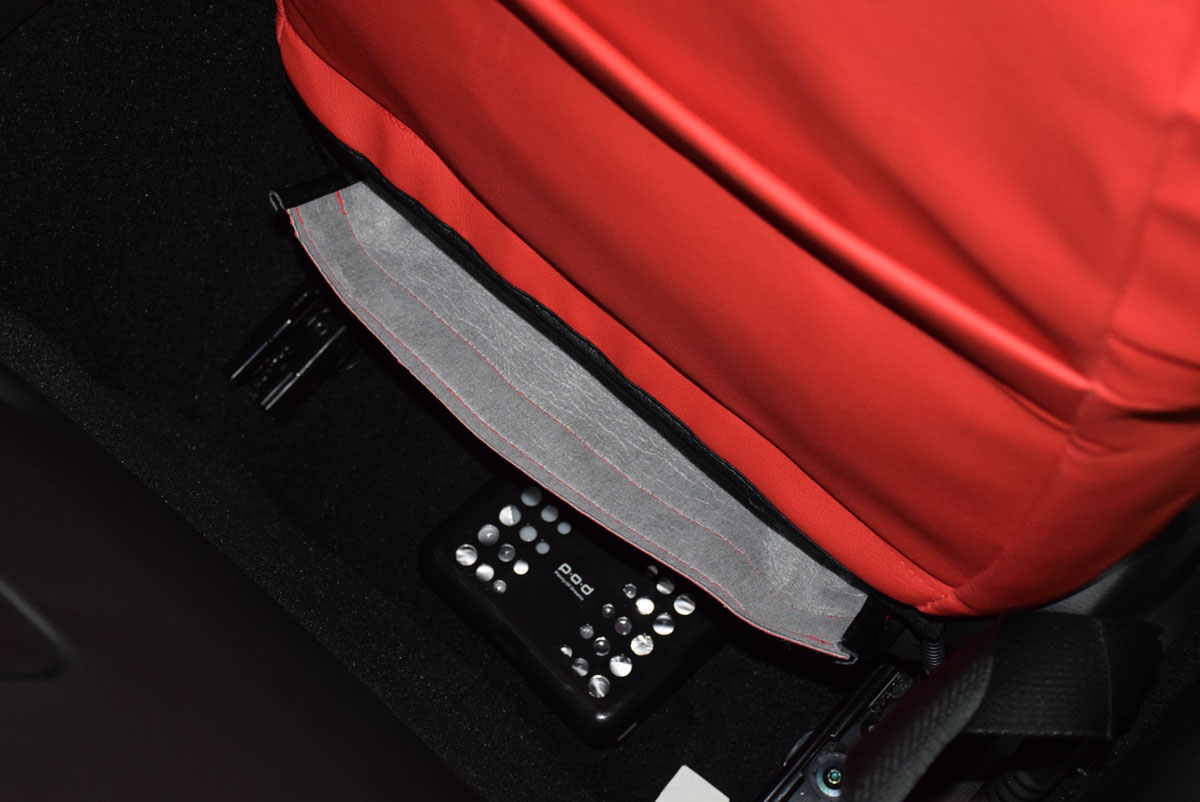
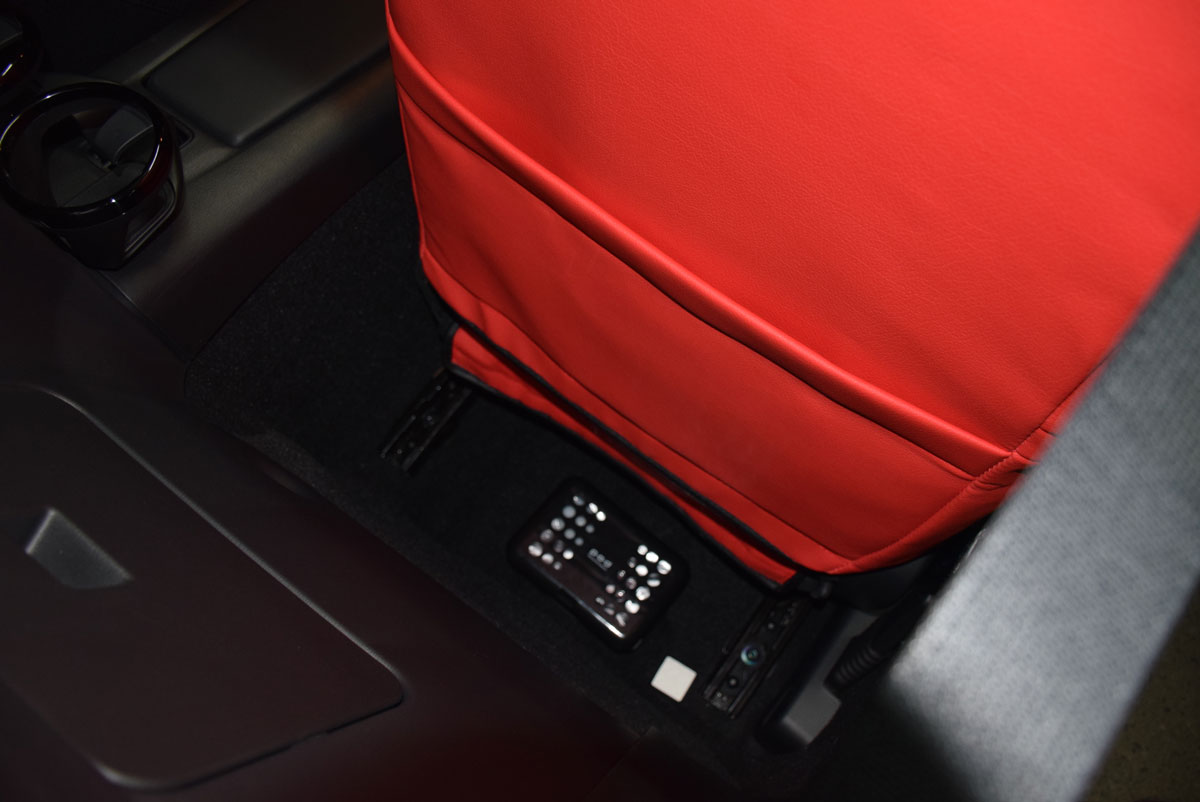
You just need to take the top portion of that cover and bring it in between the reclining part of the seat. There is a Velcro and you just need to stick it as far as possible underneath your seat.
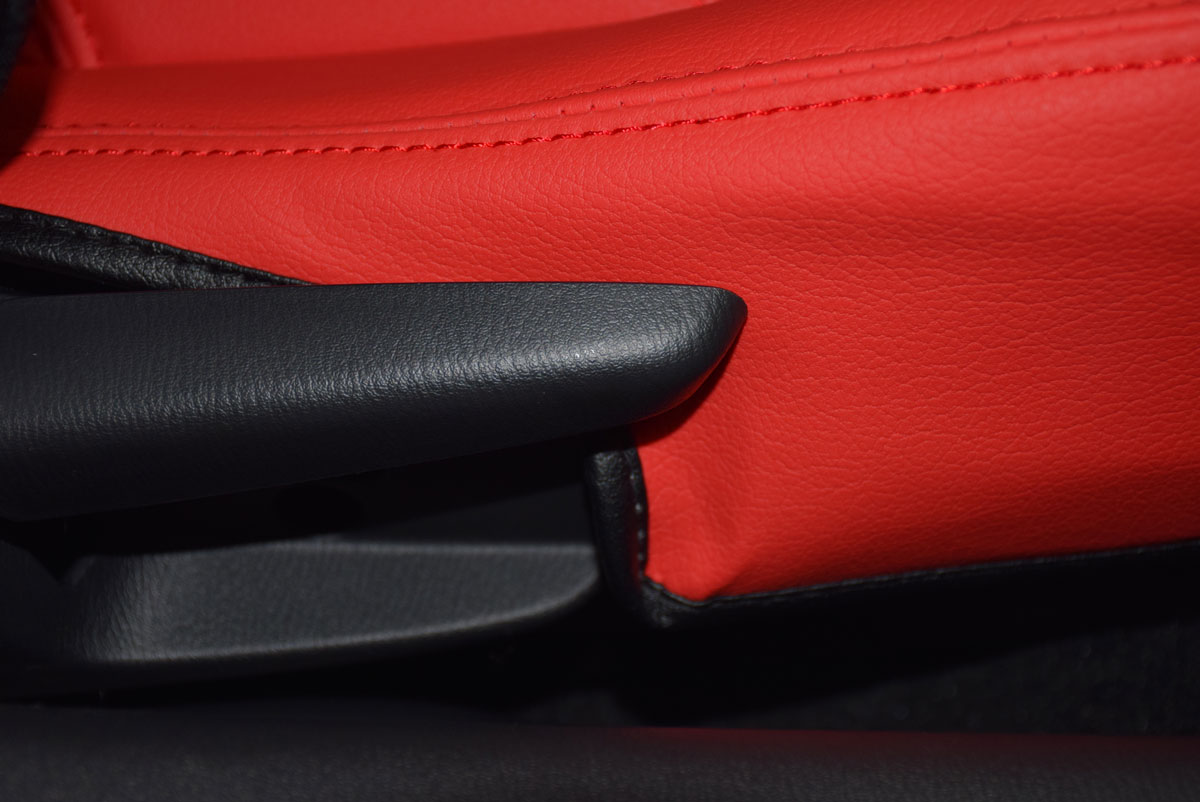
Then, you press the seat cover under the plastic parts of your seat so it integrates very nicely in your car. Autowear suggests to use a spatula to make it fit under the plastic.
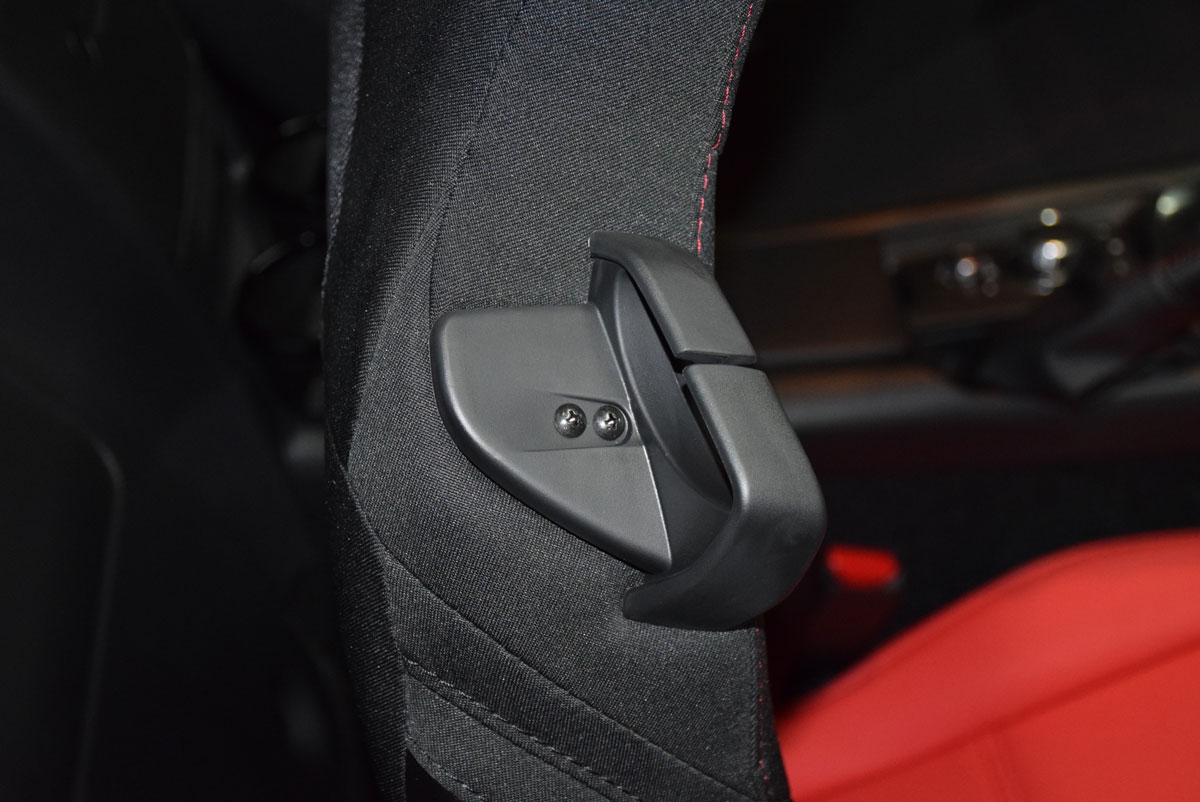
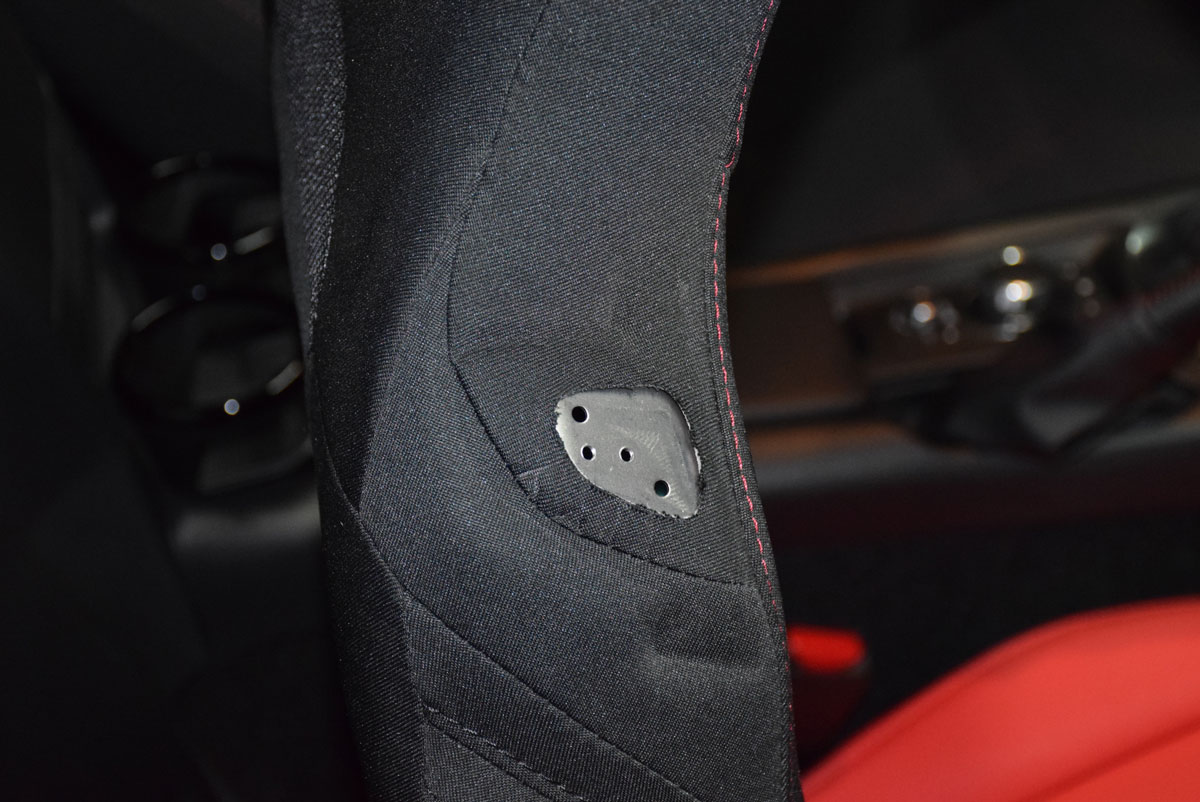
Now, you just need to remove the seatbelt guide (2 bolts) from the top part of the seat:
Then, you will just need to slip the cover over the existing seat. It’s not so easy as it’s very tight. Take your time and “massage” the seat to make it fit tight and nice.

Finally, all you need to do is to take the bottom part of the top cover and slip it in the middle of the reclining part of the seat and connect the front and back Velcro as tightly as possible:
Massage, massage and massage the seat. Sit on it, look at it and just enjoy!
These Autowear Seat Covers are available for the ND (2016+) Miata, but also available for the NA (1989-1997) Miata as well as the NC (2006-2015) Miata.