Author Archives: Maxime Lacroix

The Shorty Antenna (S2000 Style) for ND 2016+ Miata

It’s not the most interesting post about my 2016 ND Demo Car Build (The Project REV9 Clubman), but I thought some would like to see what the TUCKIN99 Short Antenna looks like and how it’s installed on the 4th generation MX-5.

First of all, I’m not even going to make an installation instruction post about this one as it literally takes less than 30 seconds to install. You just unscrew your long “toy car” antenna and then screw in the short antenna by TUCKIN99.

Here is the before look: ant1

ant2

ant3

And here’s the after look with the TUCKIN99 Ver1 Short Antenna:
ant6

ant4

ant5

And here’s a last full shot of our shop car with the antenna installed. You can follow our build on this blog using this link.

ant7


Instructions : Installing Seat Covers in 2016+ ND Miata

Installation time : less than 1 hour

Installation difficulty : very easy

Special tools needed : none

The new MX-5 comes with some pretty light and cool fabric seats, but I’ve always been a fan of leather. I was not a fan of the price Mazda charged for the top of the line model, though. When Autowear came with these awesome Seat Covers, I knew I wanted to run these in my shop car.

First, you have these OEM seats to start with:
awi_1

Then, you have the Autowear Seat Covers:
awi_2

(My seats are more wrinkled than usual. They stayed in my trunk for a long whole and I DO NOT RECOMMEND keeping them folded for a while as wrinkle may show).

I myself started with the bottom, but you can start with the top, it does not really matter:
awi_3

You just need to take the top portion of that cover and bring it in between the reclining part of the seat. There is a Velcro and you just need to stick it as far as possible underneath your seat.
awi_4

Then, you press the seat cover under the plastic parts of your seat so it integrates very nicely in your car. Autowear suggests to use a spatula to make it fit under the plastic.
awi_5

Now, you just need to remove the seatbelt guide (2 bolts) from the top part of the seat:
awi_6

awi_7

Then, you will just need to slip the cover over the existing seat. It’s not so easy as it’s very tight. Take your time and “massage” the seat to make it fit tight and nice.
awi_8

Finally, all you need to do is to take the bottom part of the top cover and slip it in the middle of the reclining part of the seat and connect the front and back Velcro as tightly as possible:
awi_9

awi_10

Massage, massage and massage the seat. Sit on it, look at it and just enjoy!
awi_11

These Autowear Seat Covers are available for the ND (2016+) Miata, but also available for the NA (1989-1997) Miata as well as the NC (2006-2015) Miata.


REV9 Autosport ND Demo Car Project Debut

If you haven’t noticed lately, we’ve been adding a lot of ND parts to our web shop. We’re pretty much the #1 source of ND parts worldwide at the moment. Since the launch of the vehicle, we knew it would be our next shop (demo) car. In May, I went to Japan to be one of the first to test the production model (it was 1.5L) for a road test and I was so amazed that once I came back to America, I placed an order at my local Mazda dealership, without even knowing the price of the car. That’s how much I liked it.

I first ordered a 2016 Black ND Base Model (GX) with manual transmission. Then, I felt like I needed some change (from always having Black Shop Cars) and ordered a 2016 Ceramic Metallic Base Model (GX). Long story short, I was supposed to receive it in late July/early August, but it delayed A LOT. During the wait, I changed for a 2016 Ceramic Metallic ND Sport Model (GS) because I wanted to have the navigation, black leather with red stitching accents, leather steering wheel and, most importantly, the LSD. It also came with a Bilstein Suspension and Front Strut Bar, but those will be upgraded anyways. So, here is the car the day I’ve got it.

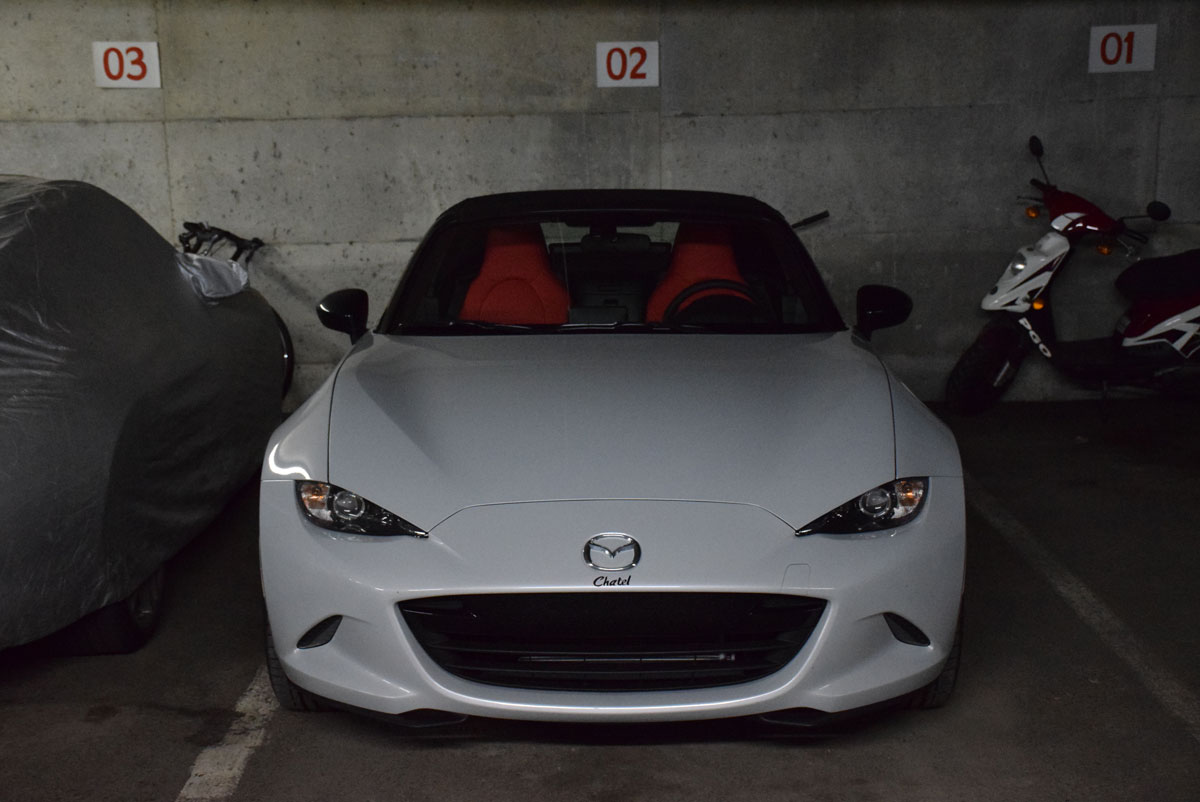
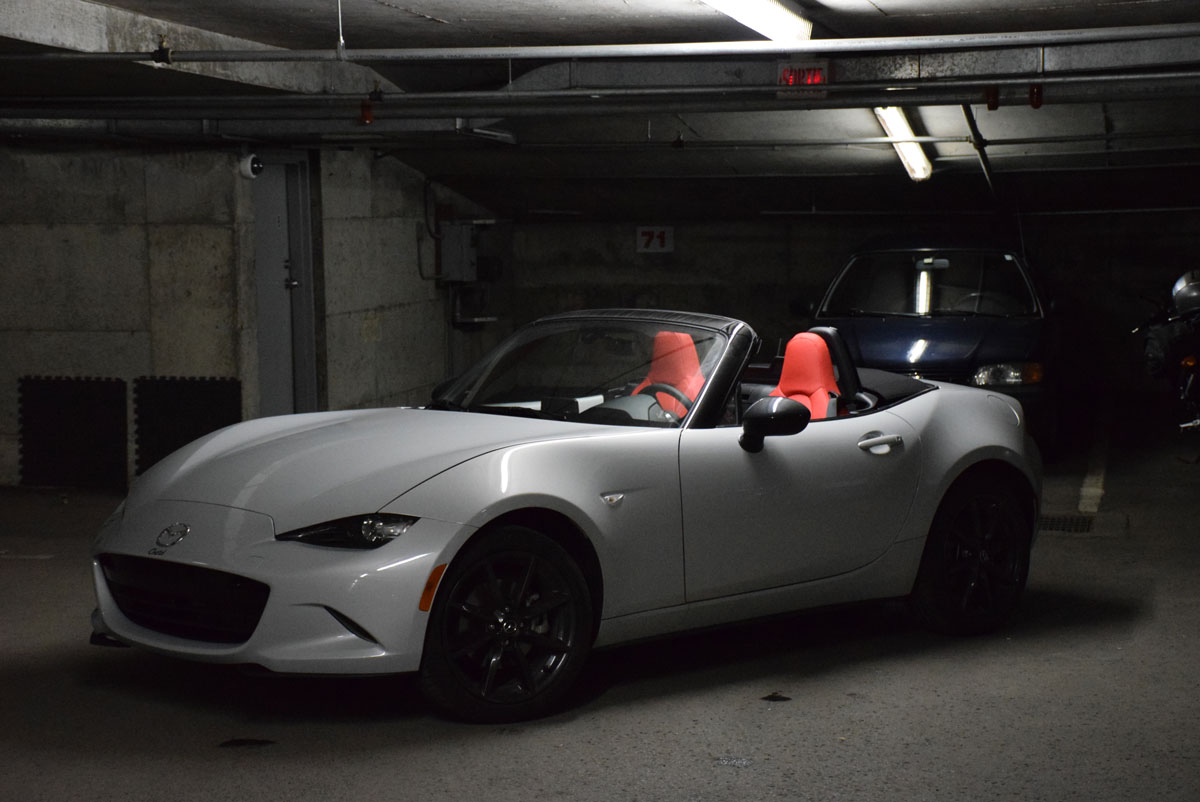
It was one of the happiest day of my life… my very first brand new car:   REV9 Autosport ND Shop Car
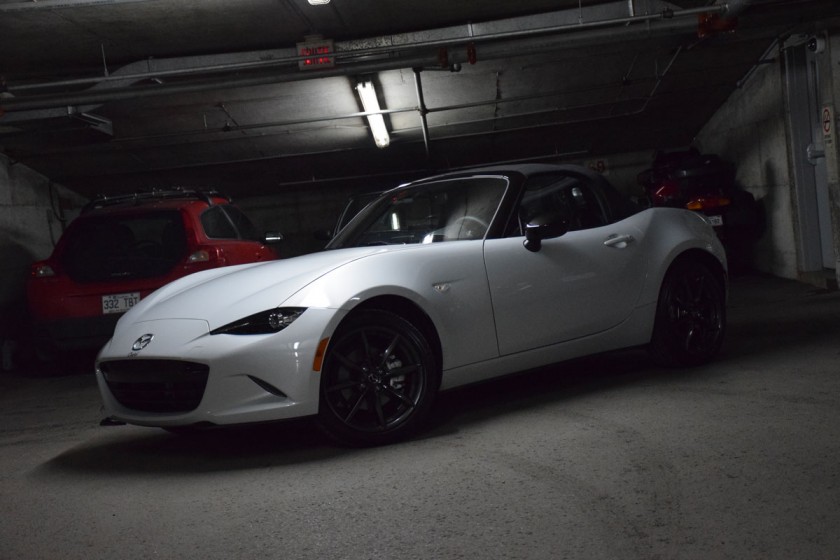
(Sorry for the dark picture, but my car was delivered at 7:00 PM)

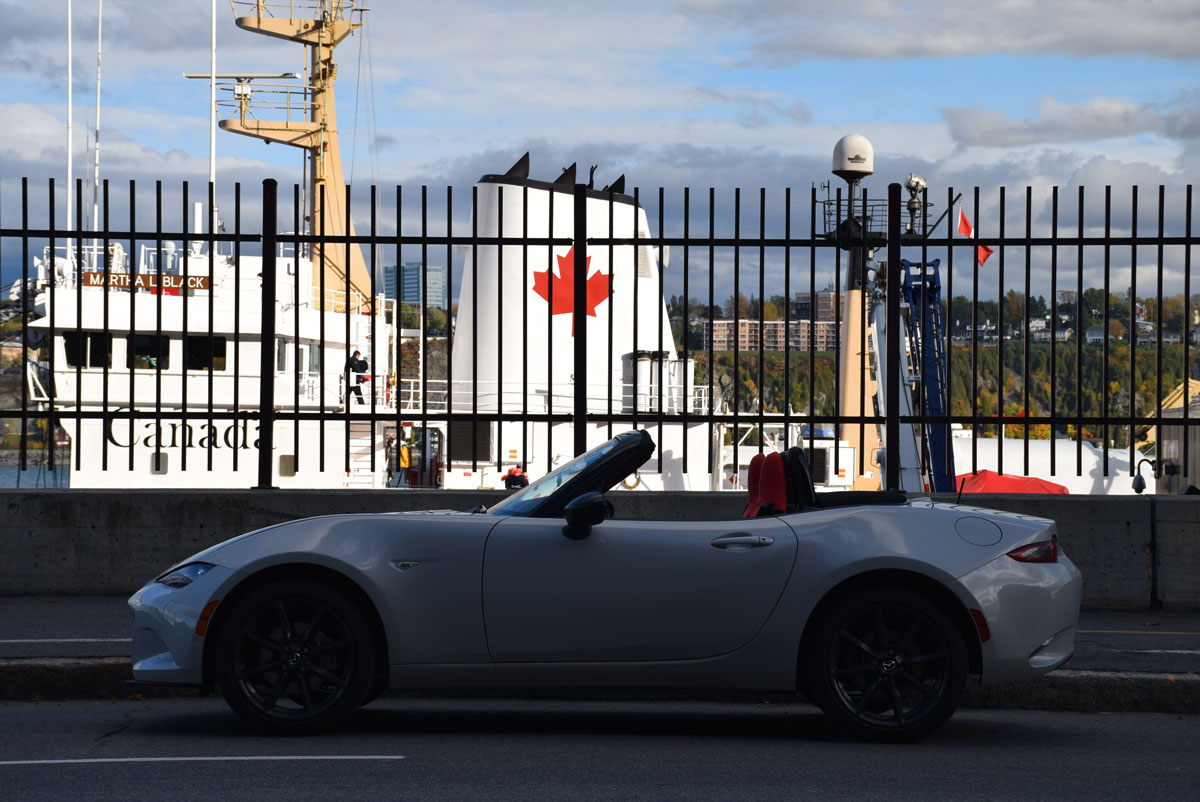
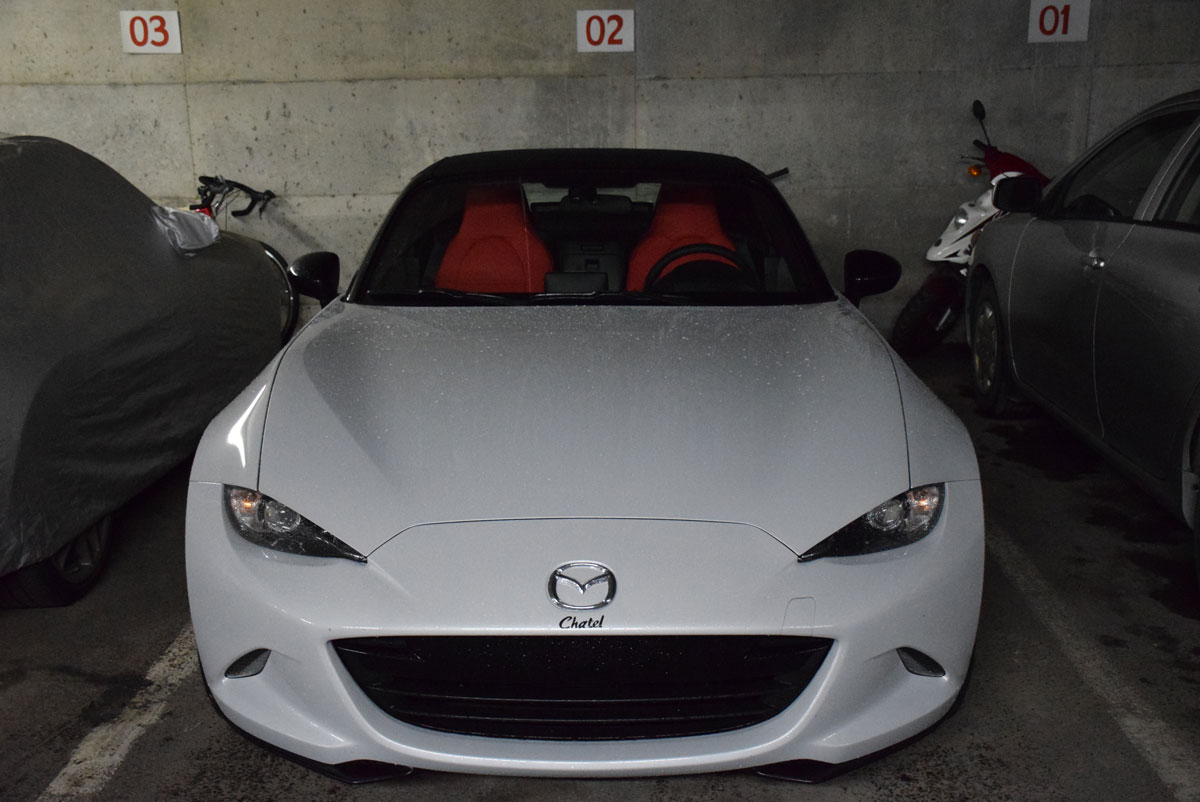
Now here are some pictures at day light. I absolutely don’t regret going with Ceramic Metallic, it’s such a beautiful and unique color. Everyone tells me how great it looks during the day as well as night or when it’s raining… color always is changing depending on lighting.
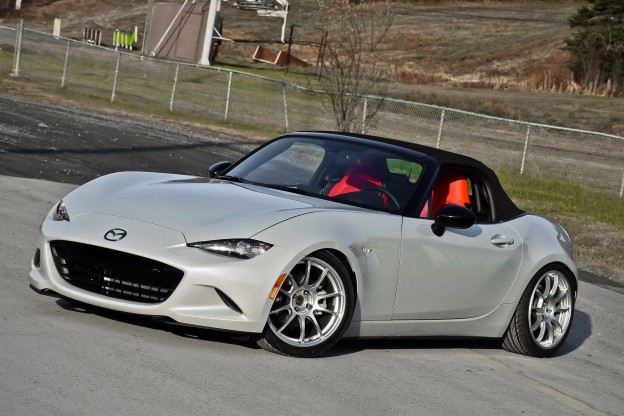
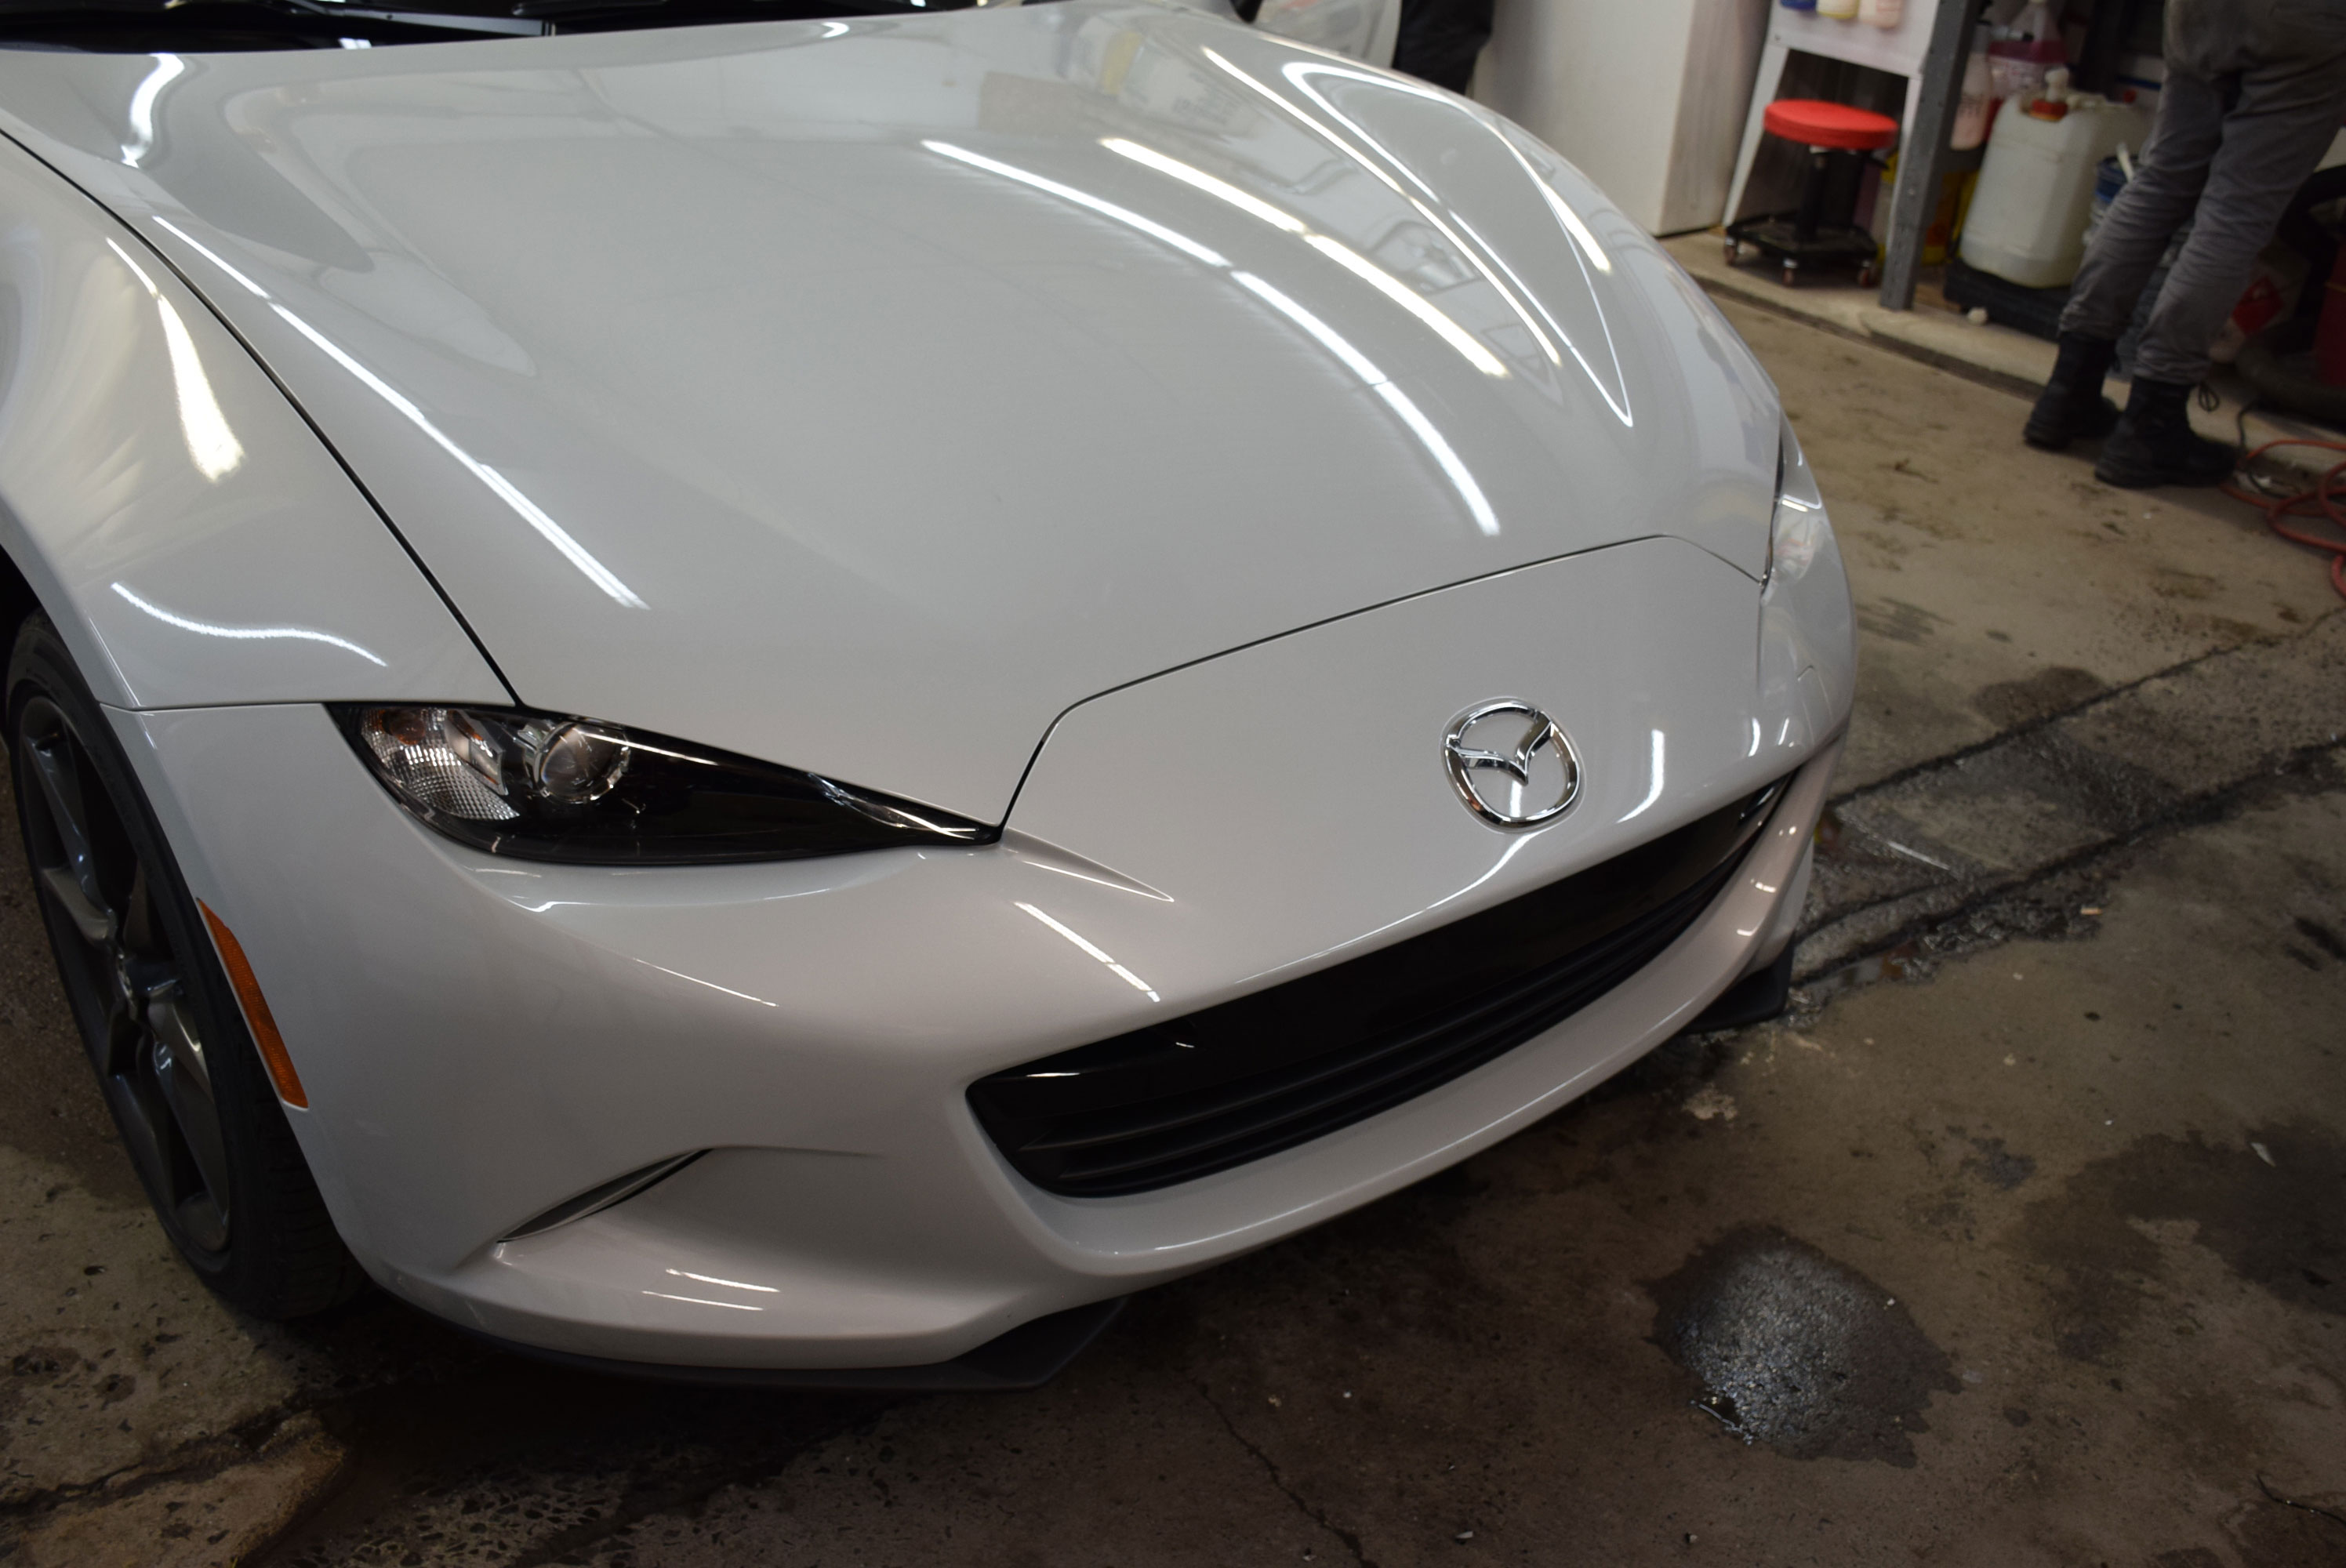
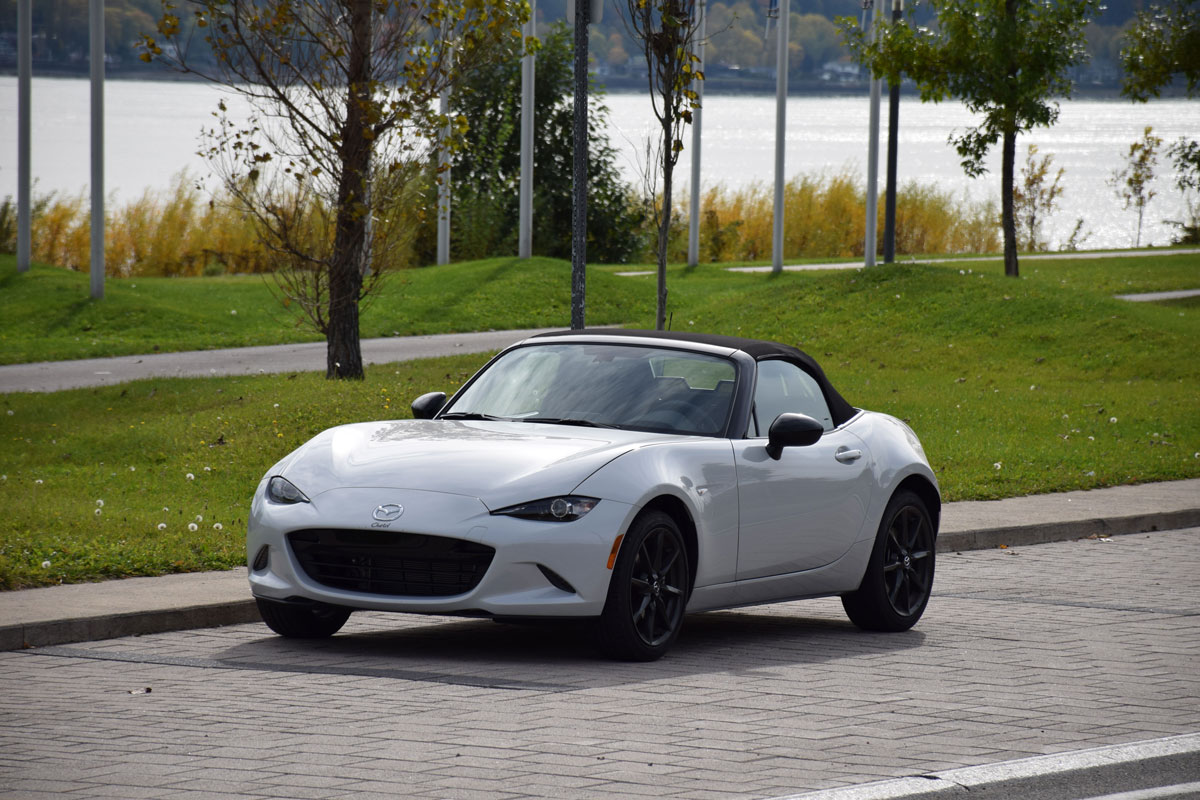
Front view: ND Miata Shop Car Front nd_003 nd_004
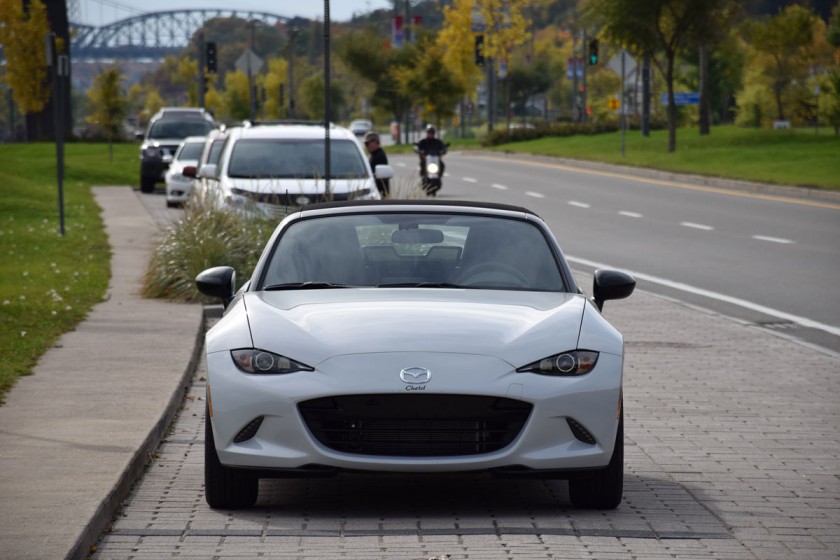
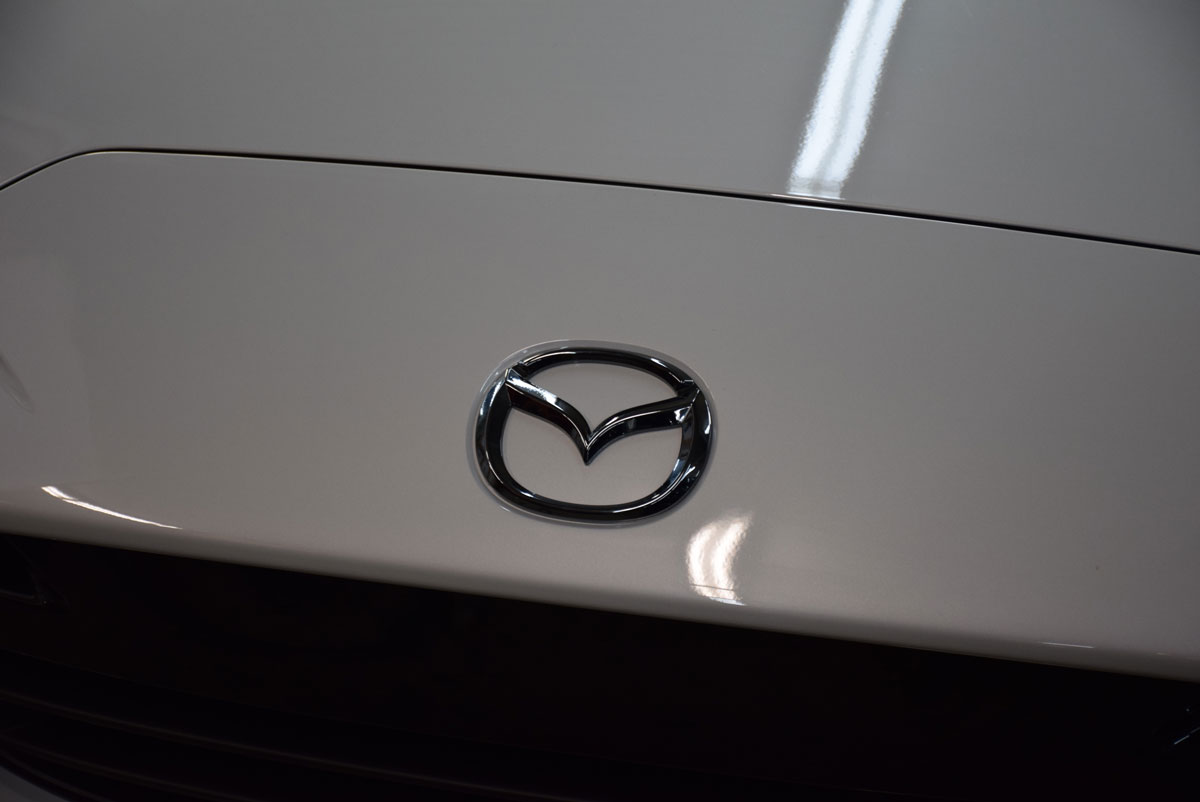
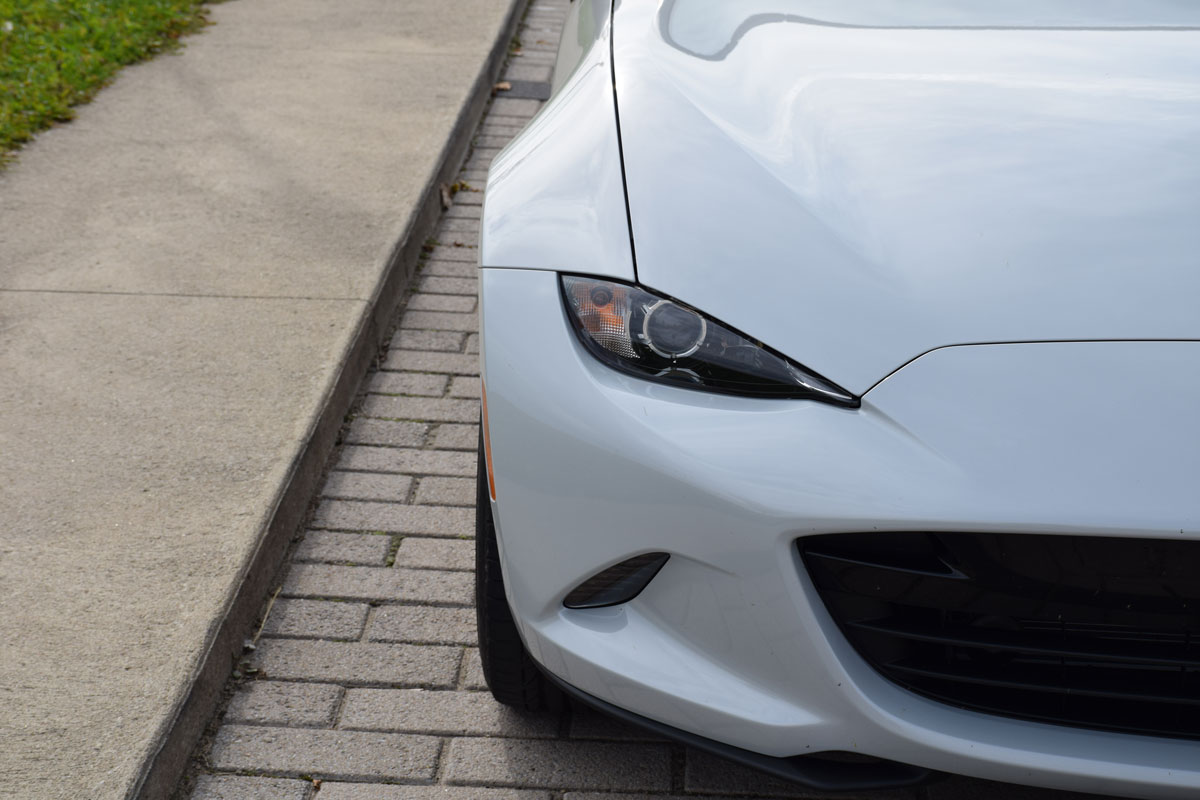
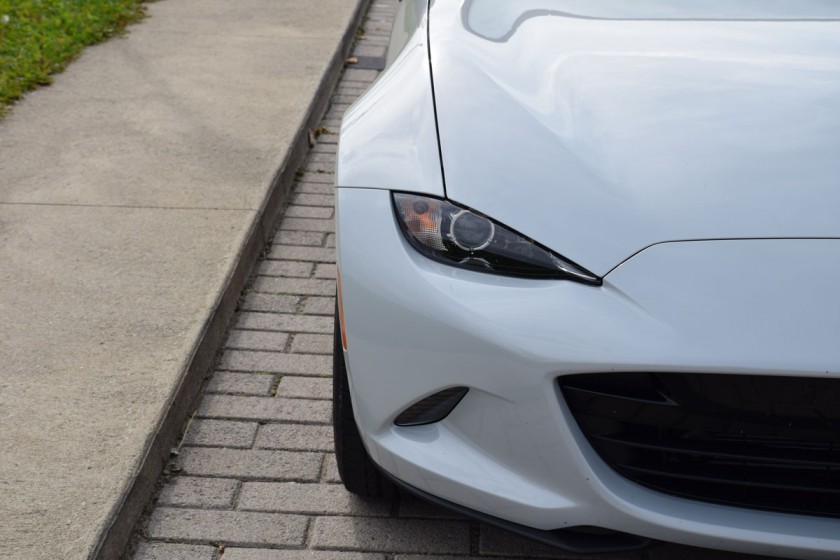
(So aggressive, the black housing looks just great on a white colored paint)
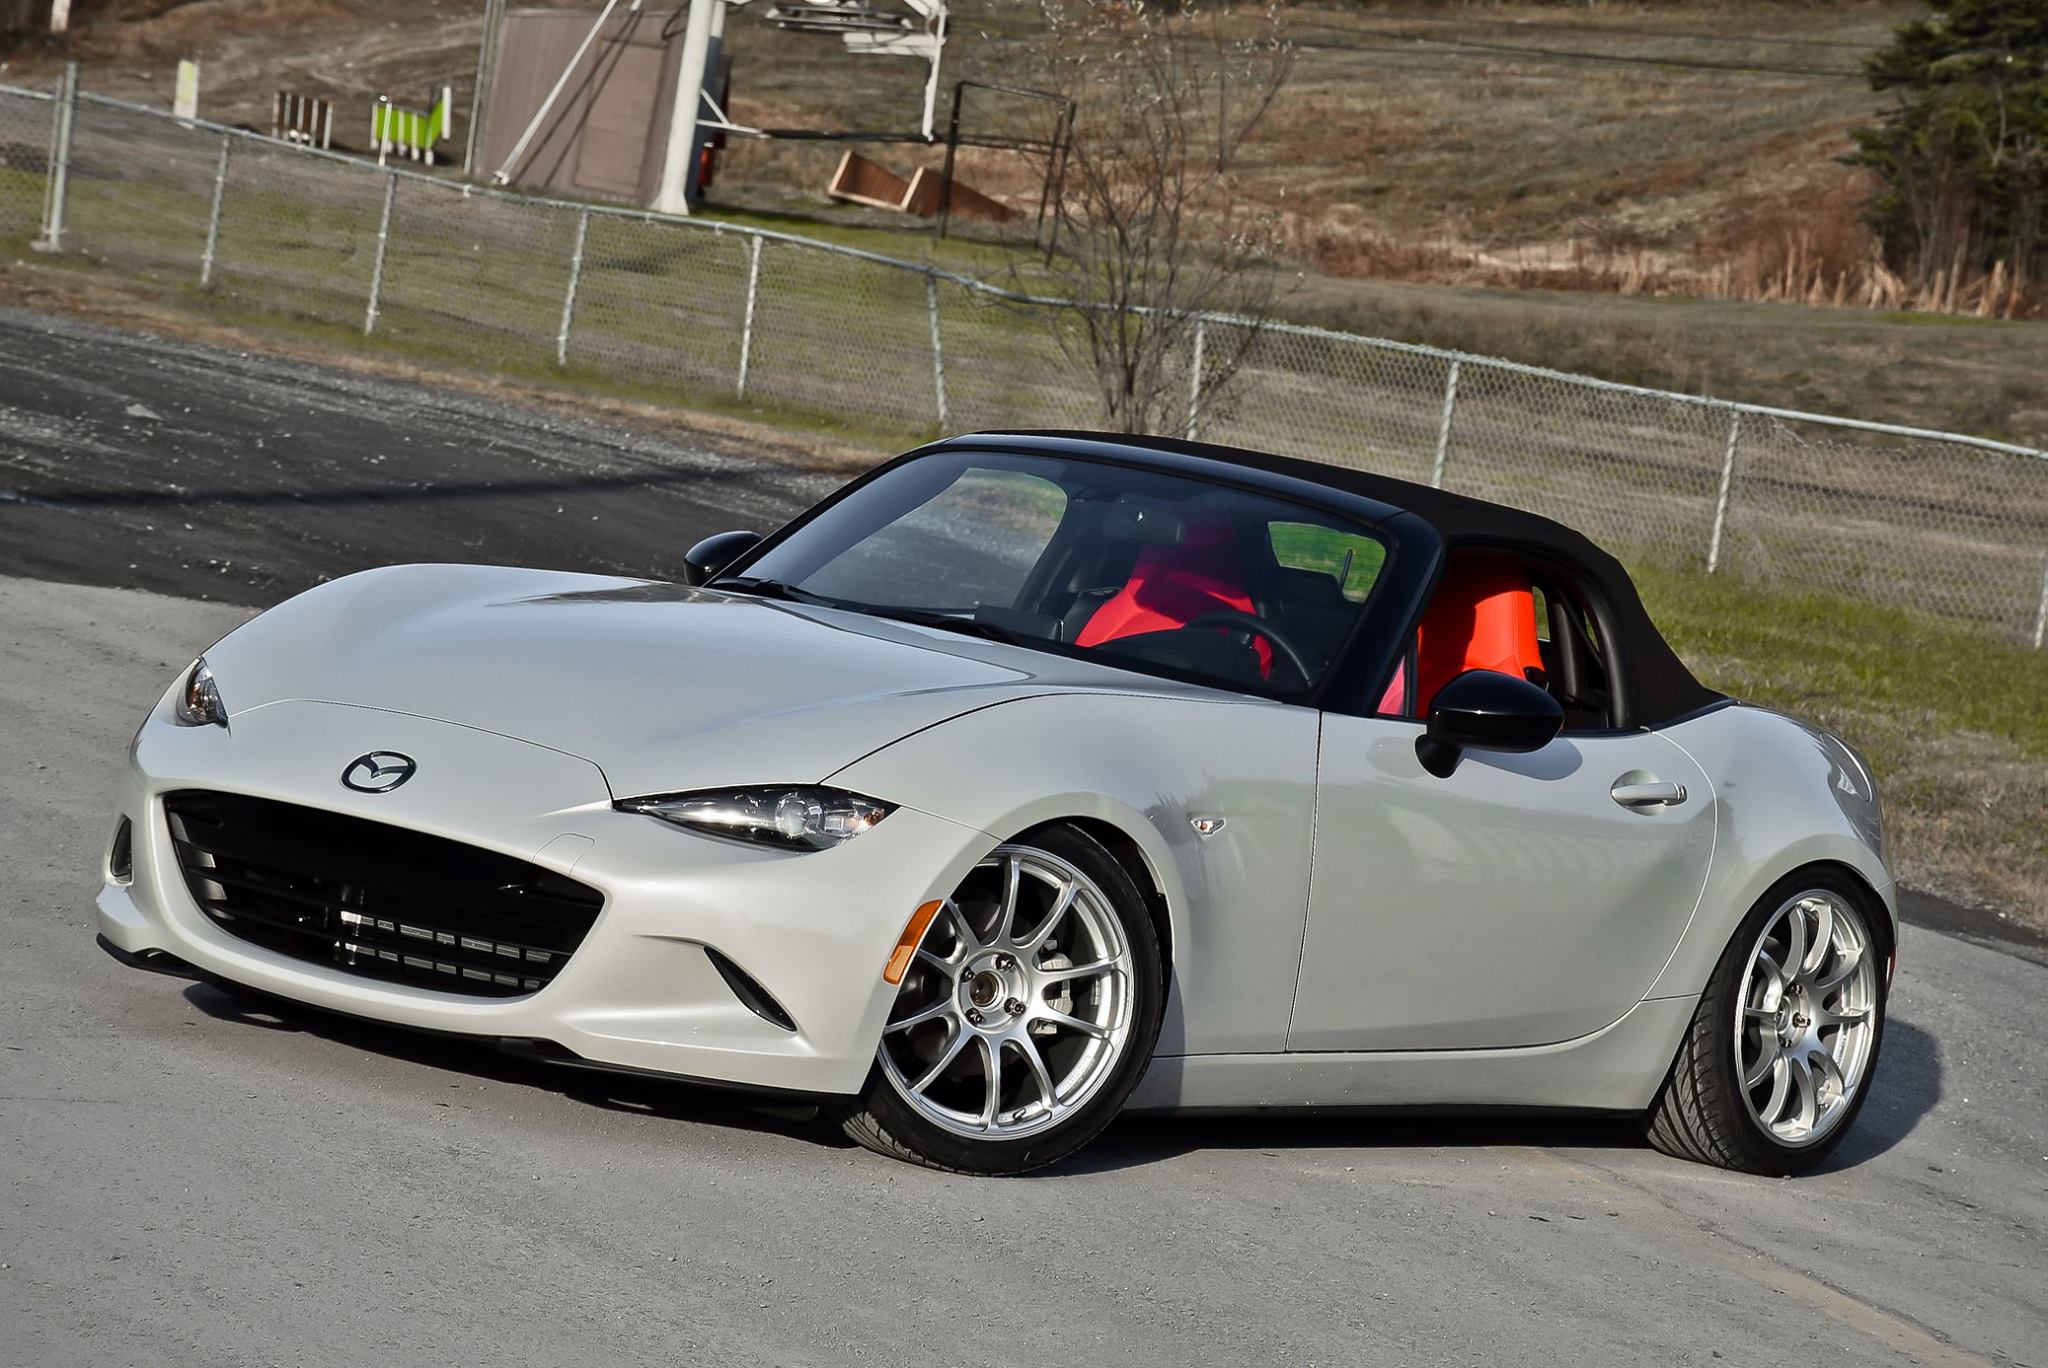
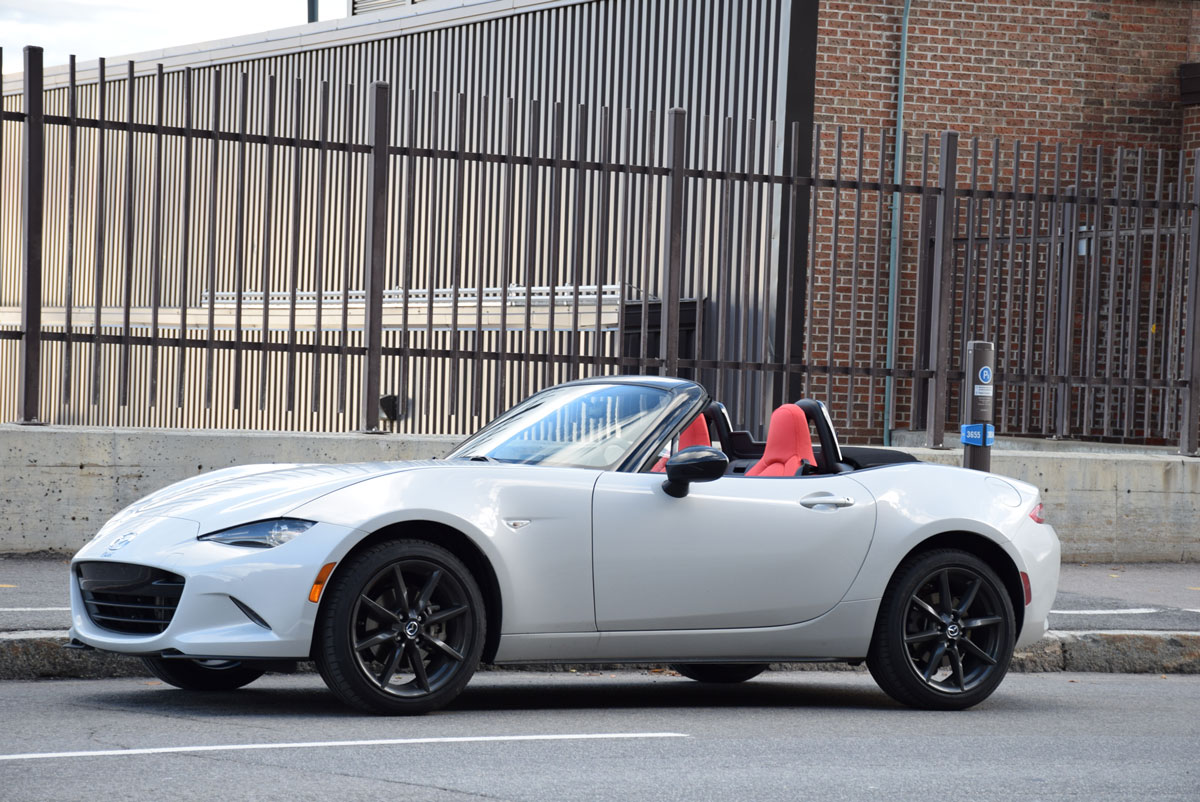
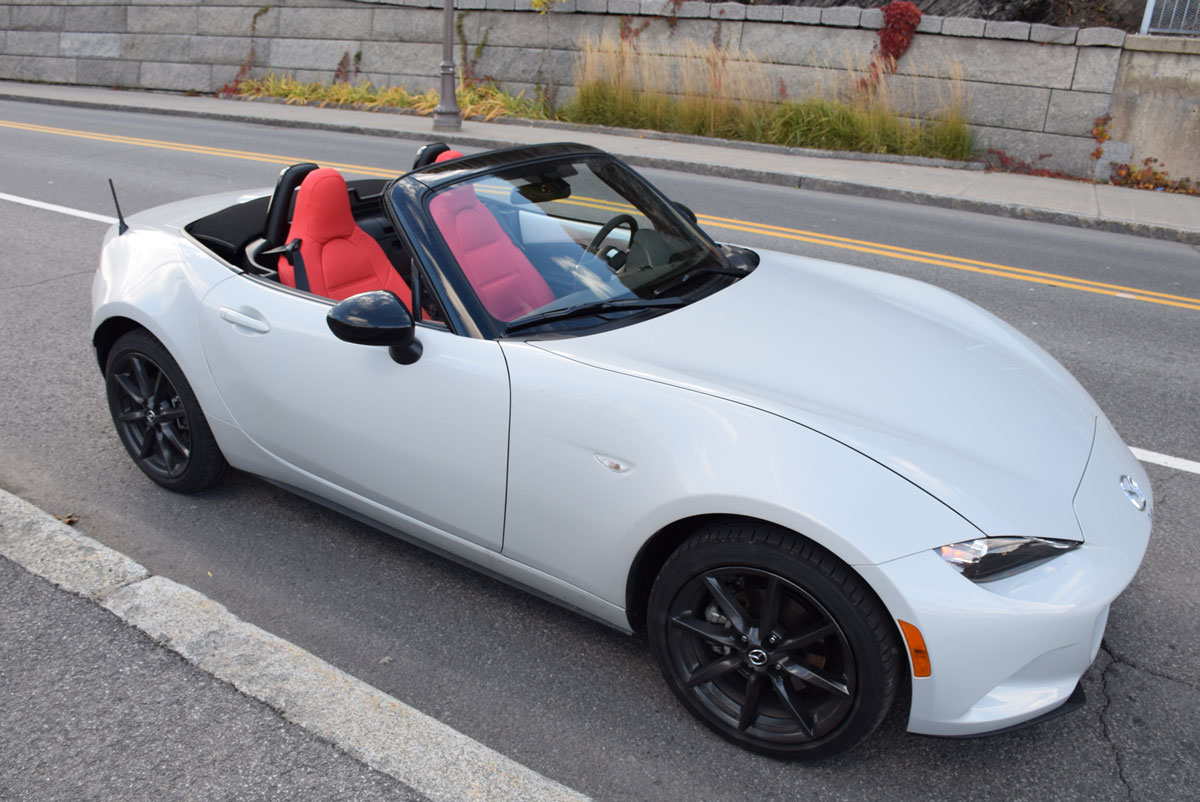
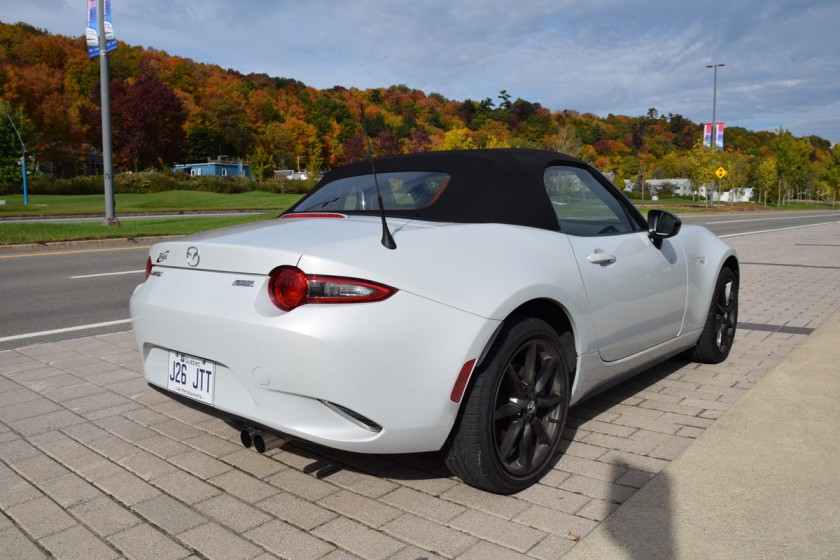
Side view: nd_005 nd_006
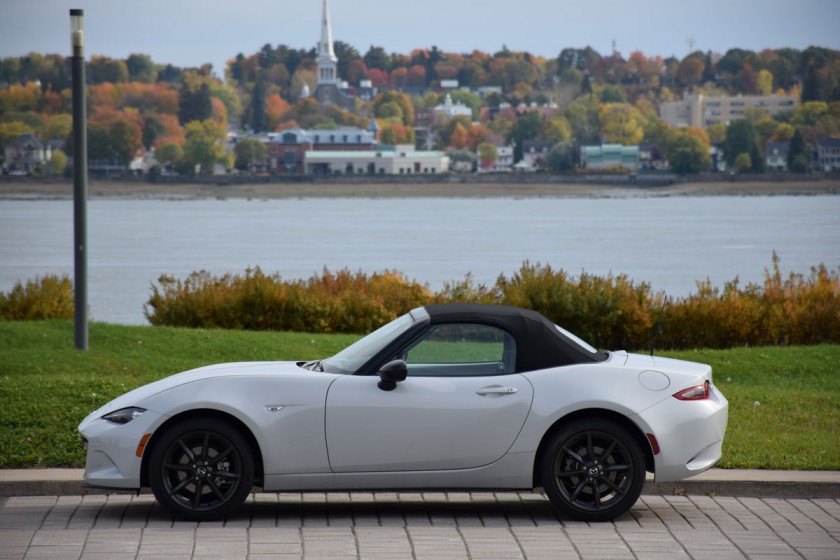
(If you compare the 2 last pictures, you can clearly see a difference in colors because of different lighting)
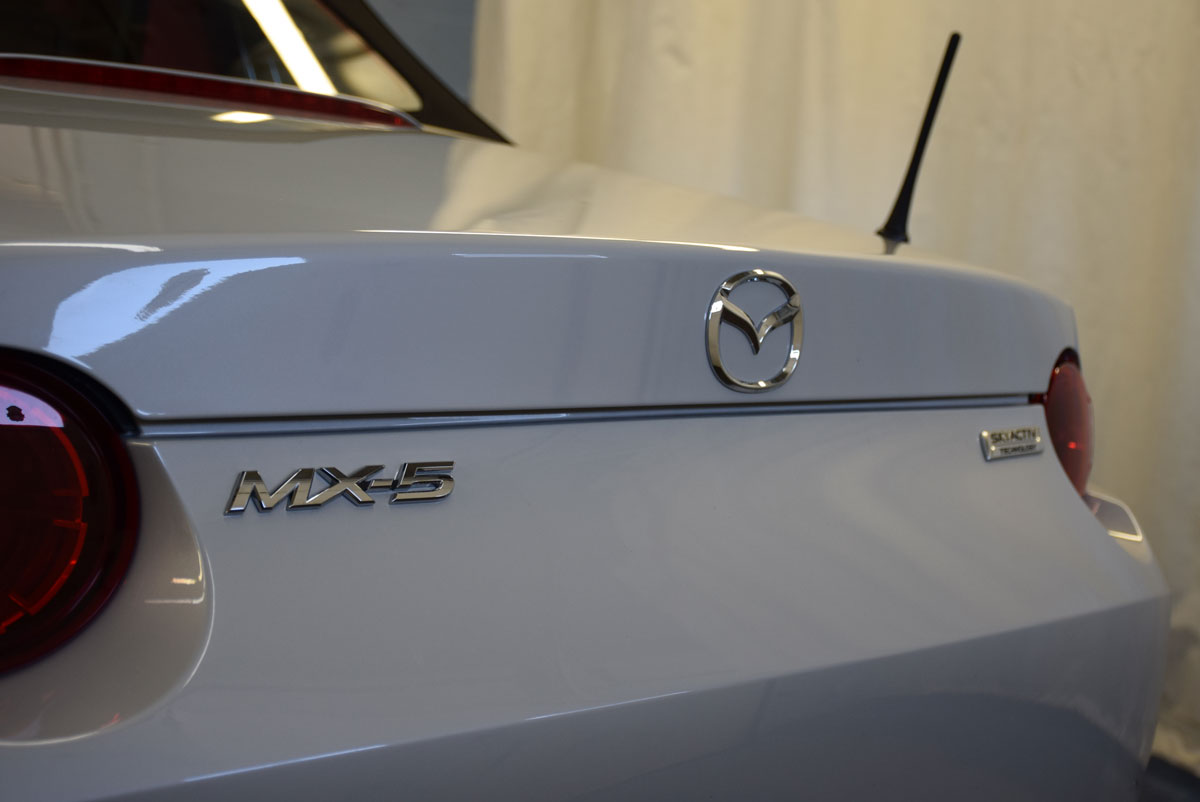
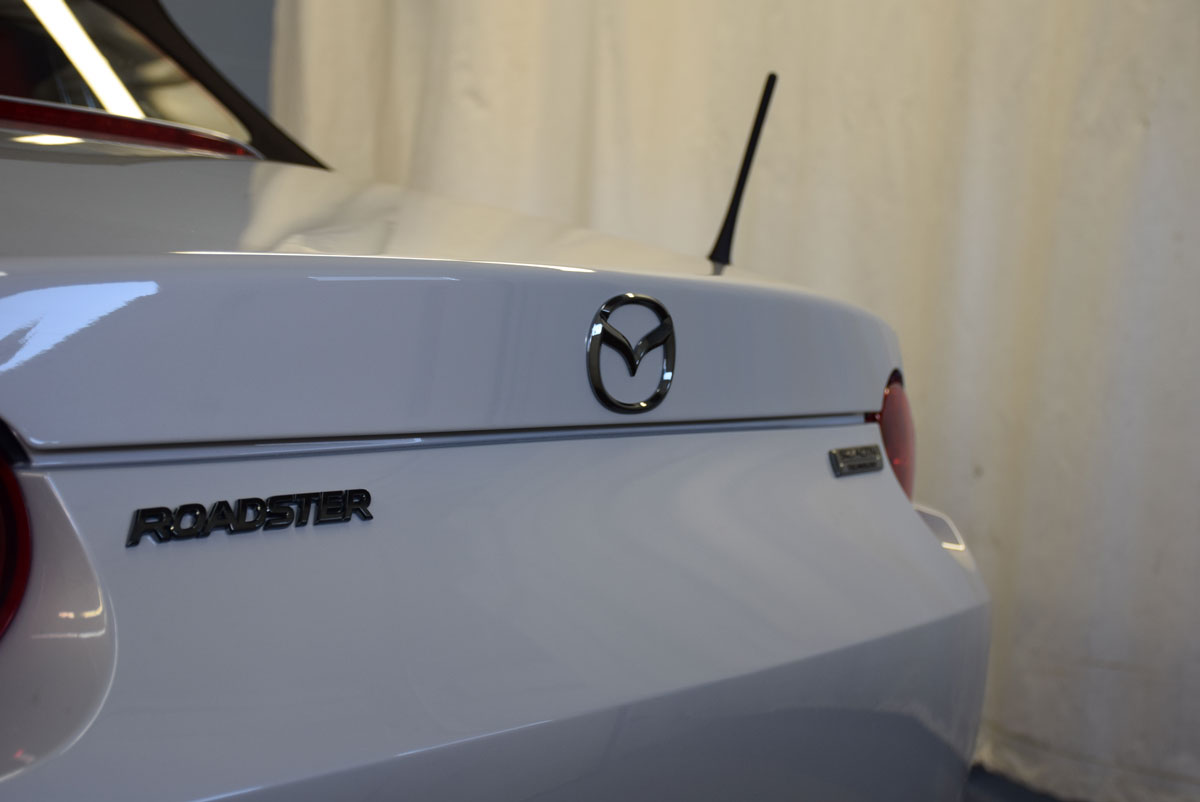
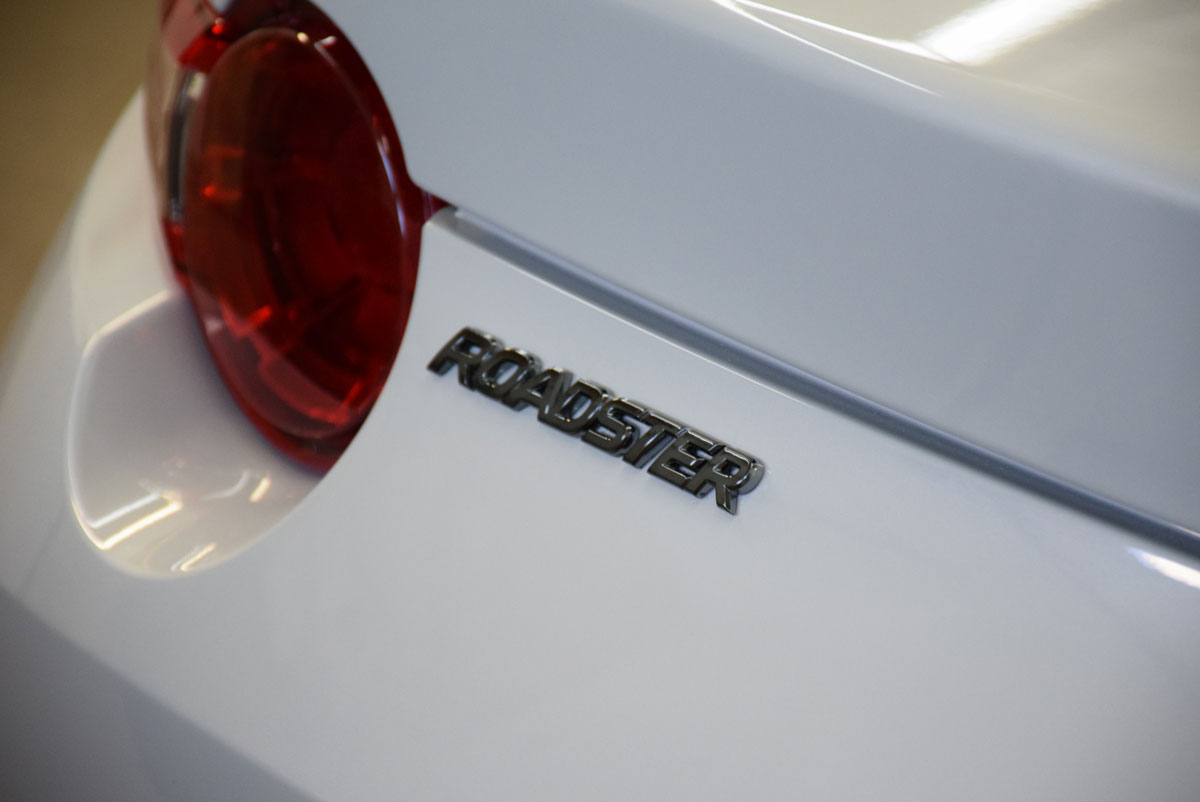
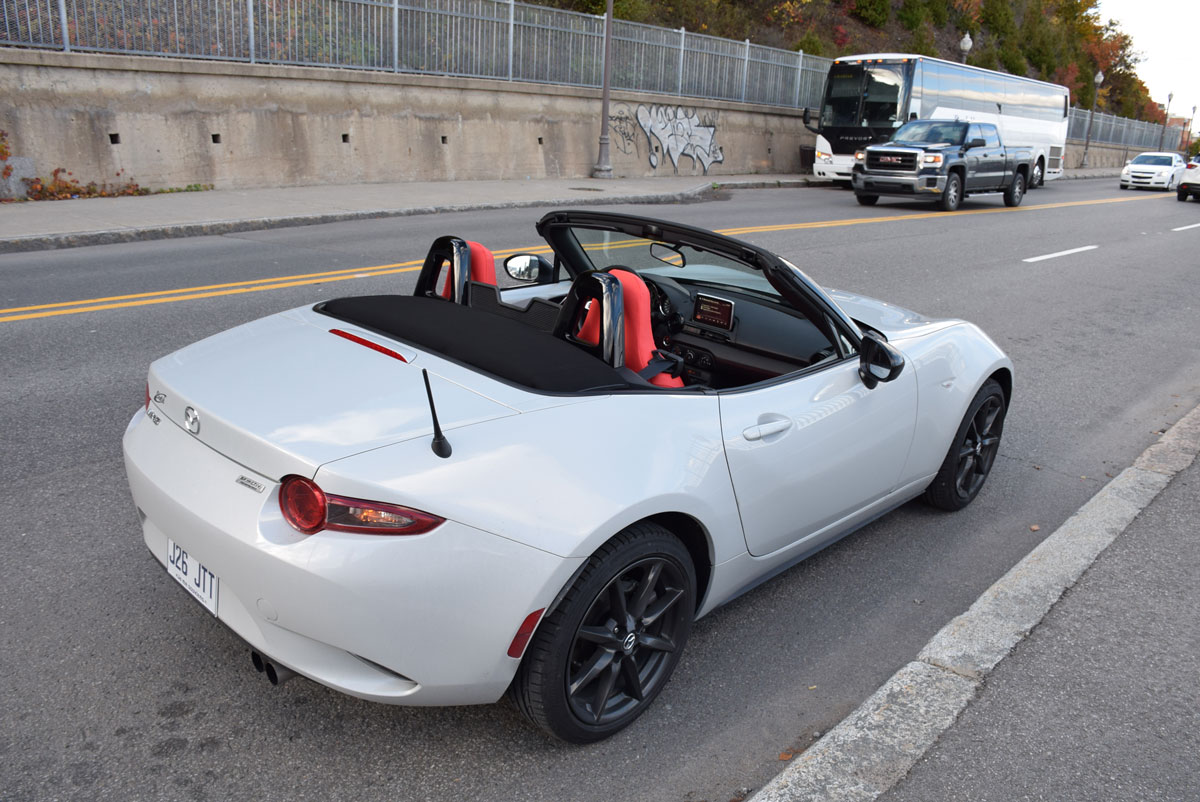
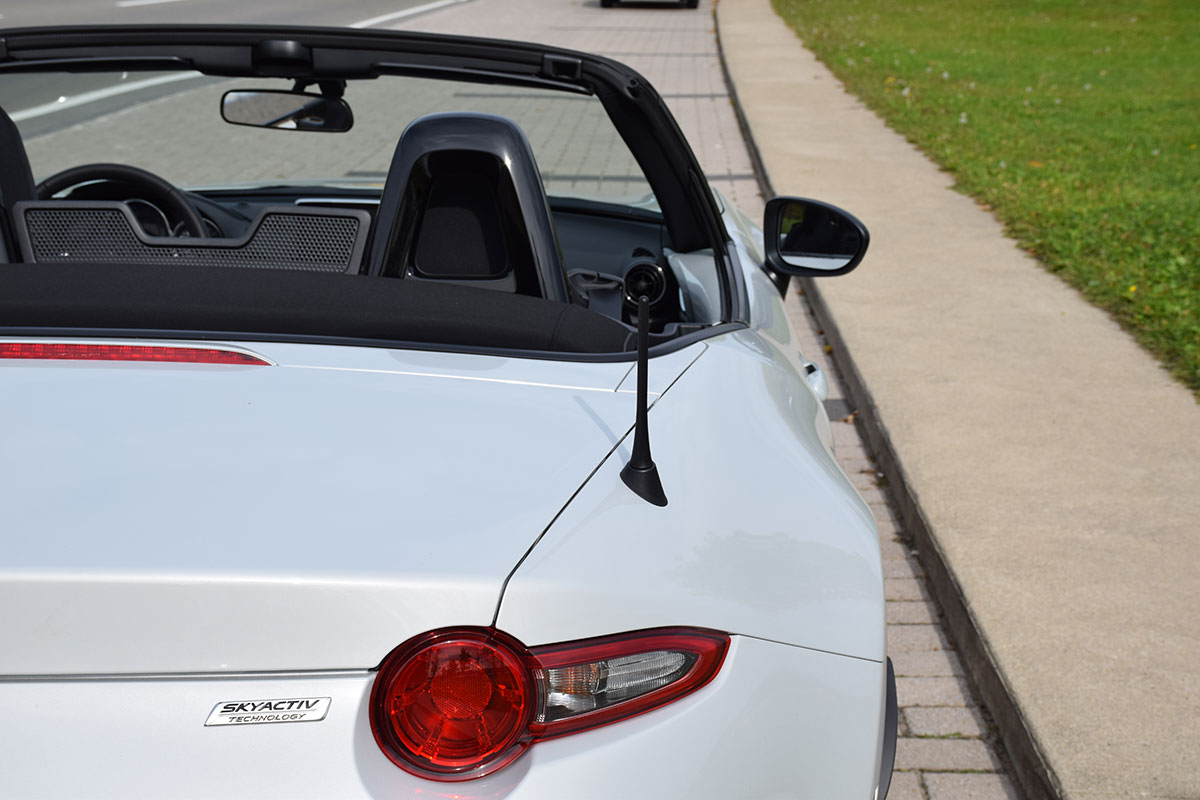
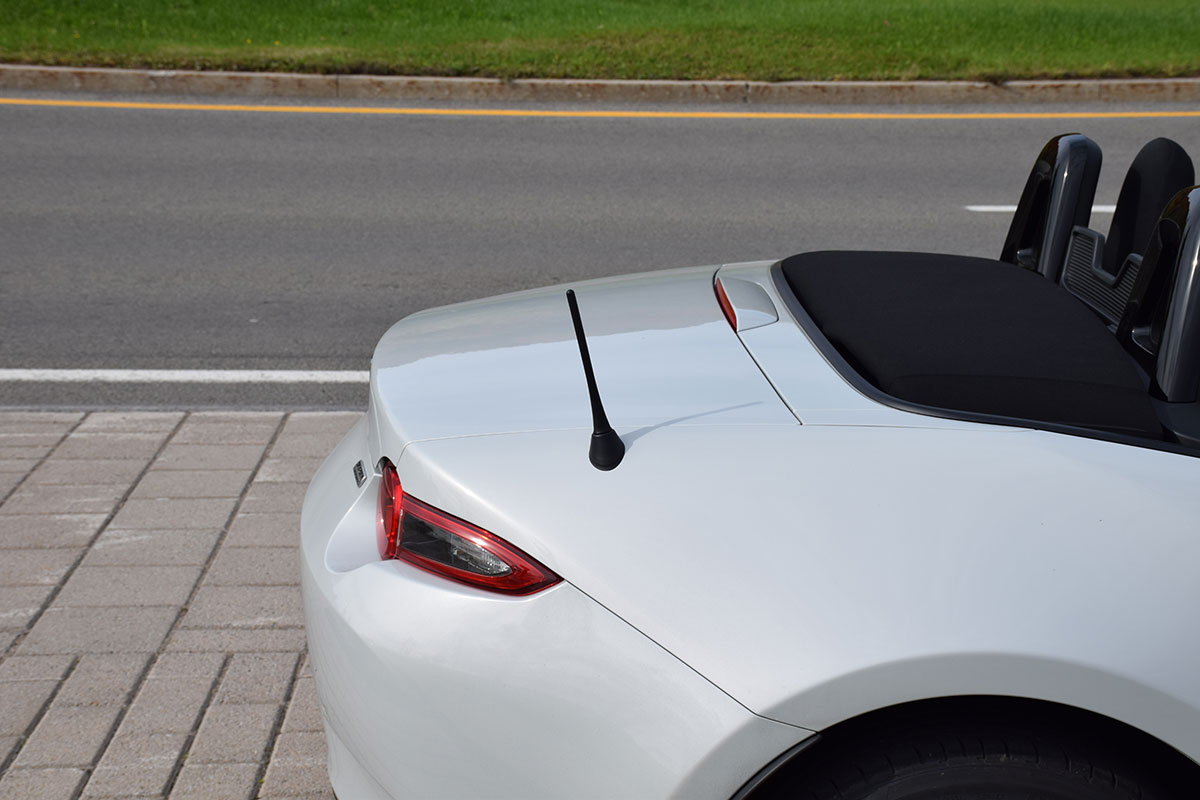
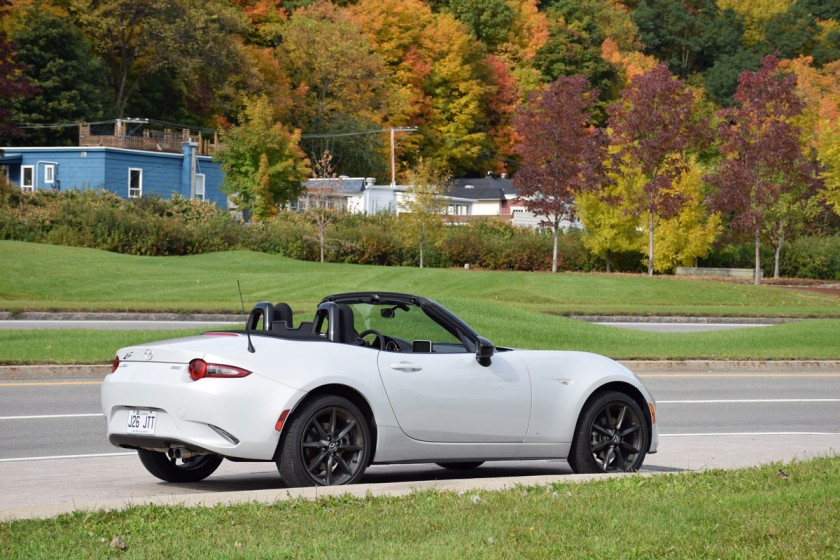
Rear View: nd_007 nd_008 nd_009
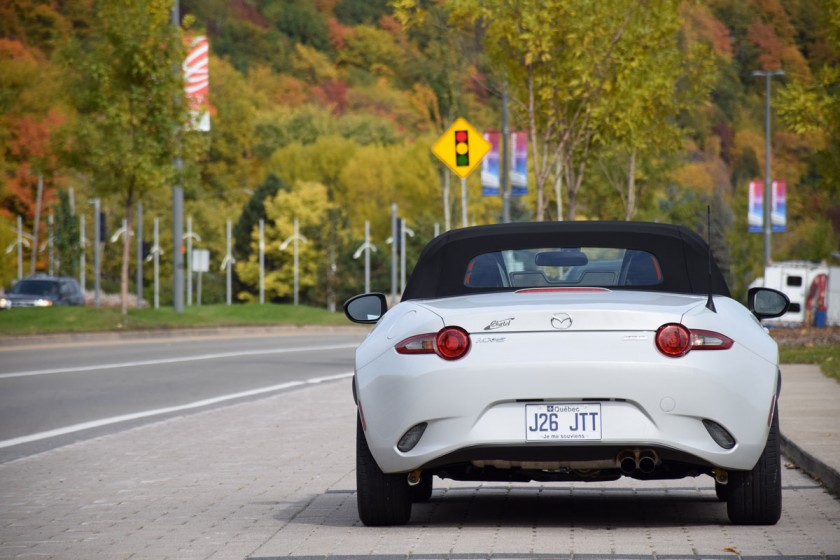
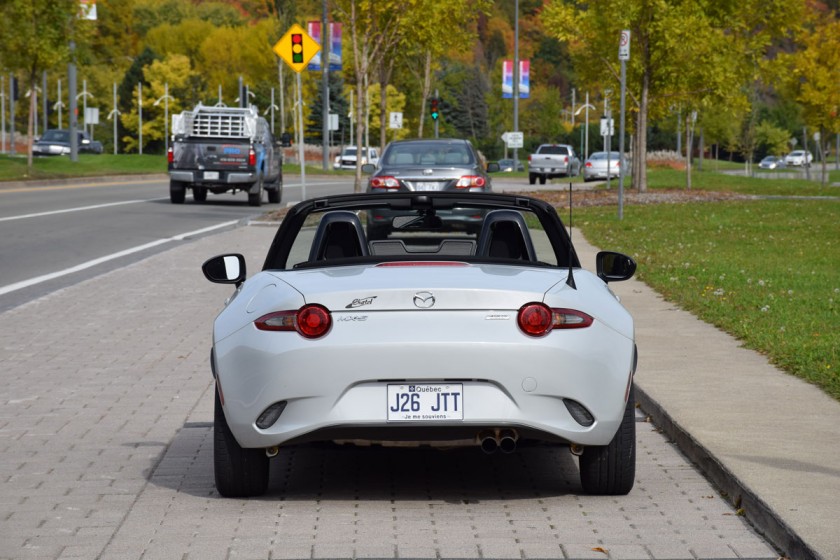
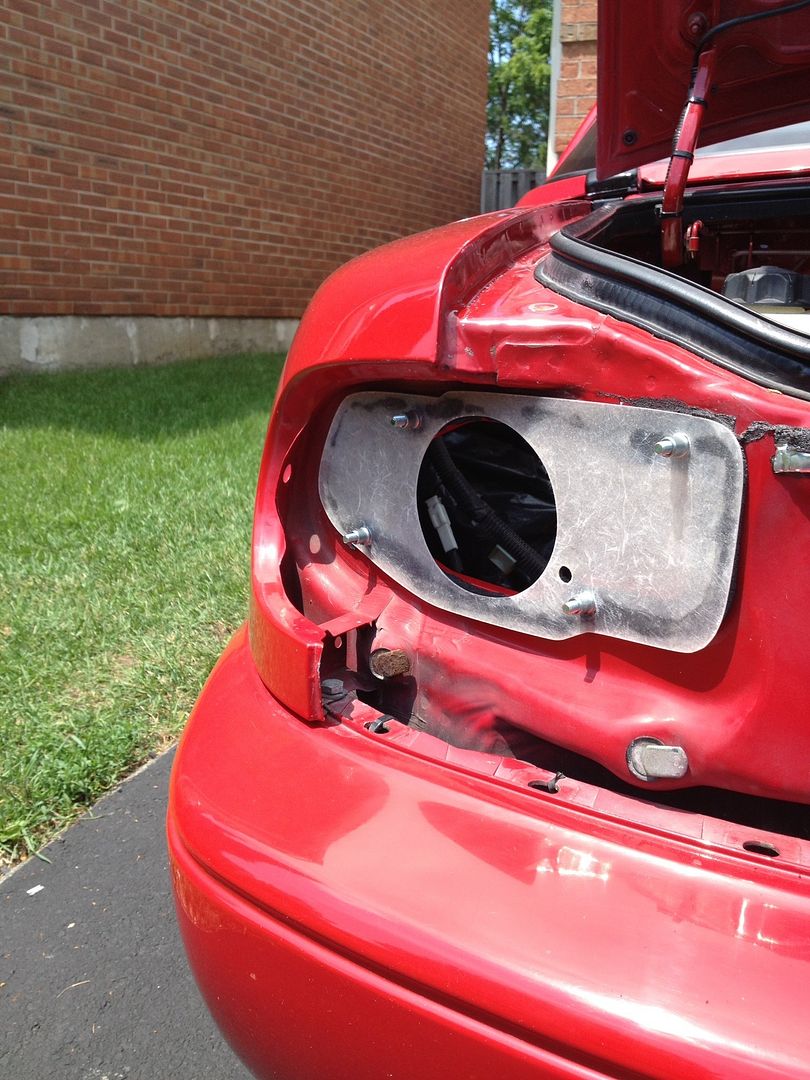
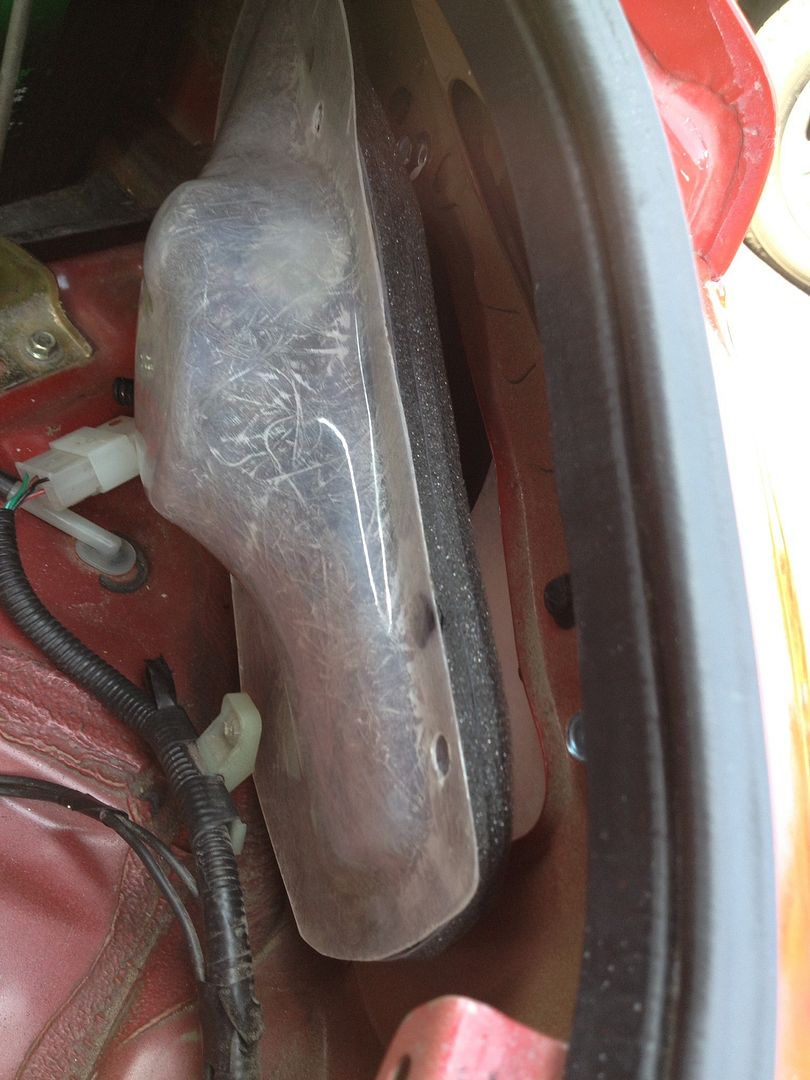
(Mazda really cleaned up the lines, but as of now, I think the rear of the car does not match the “aggressiveness” of the front end)
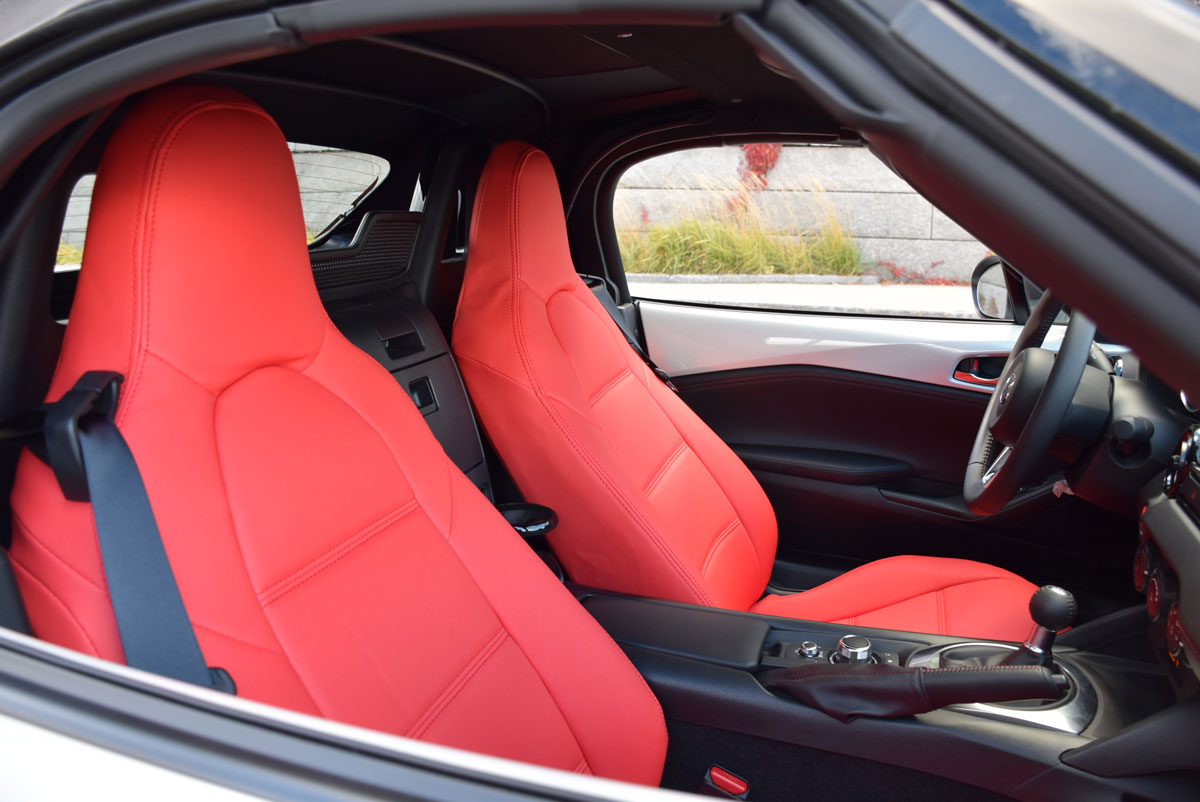
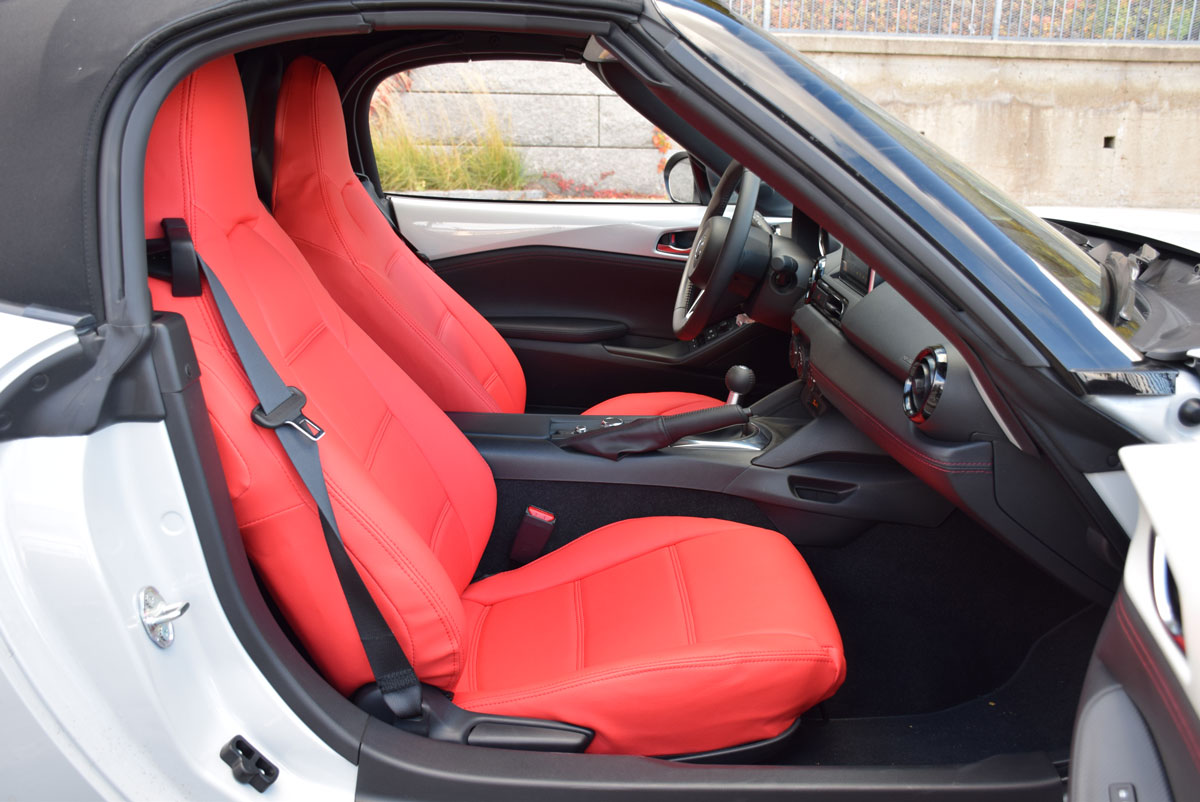
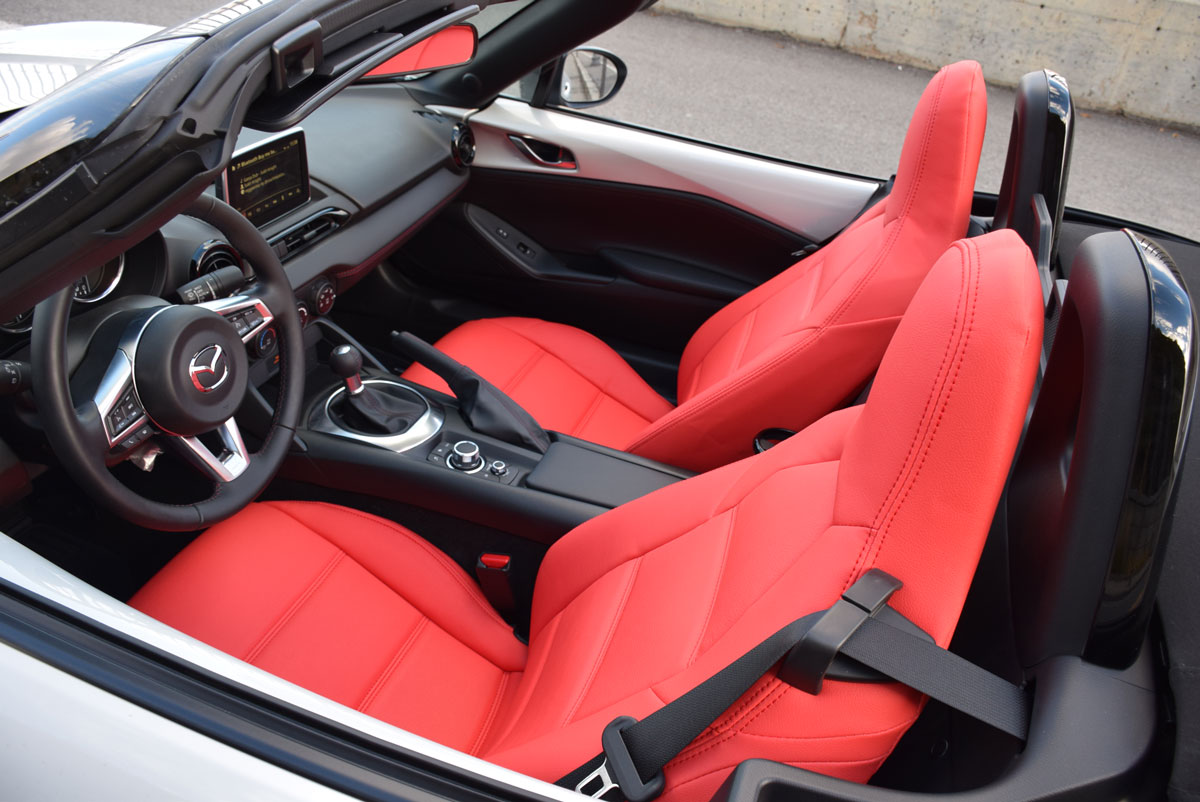
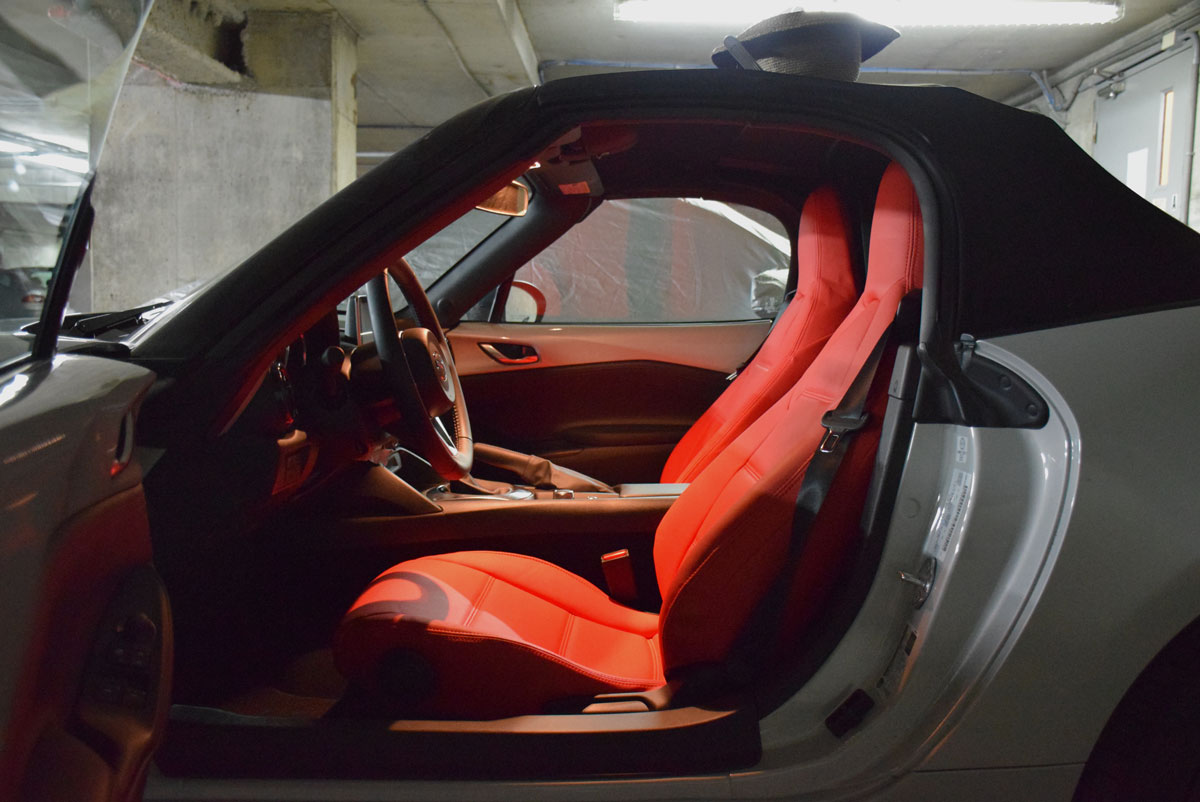
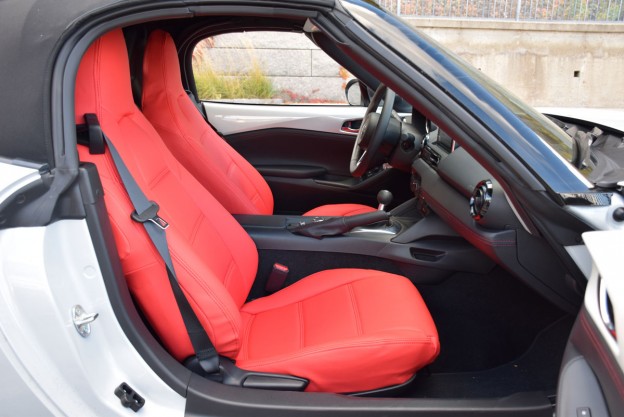
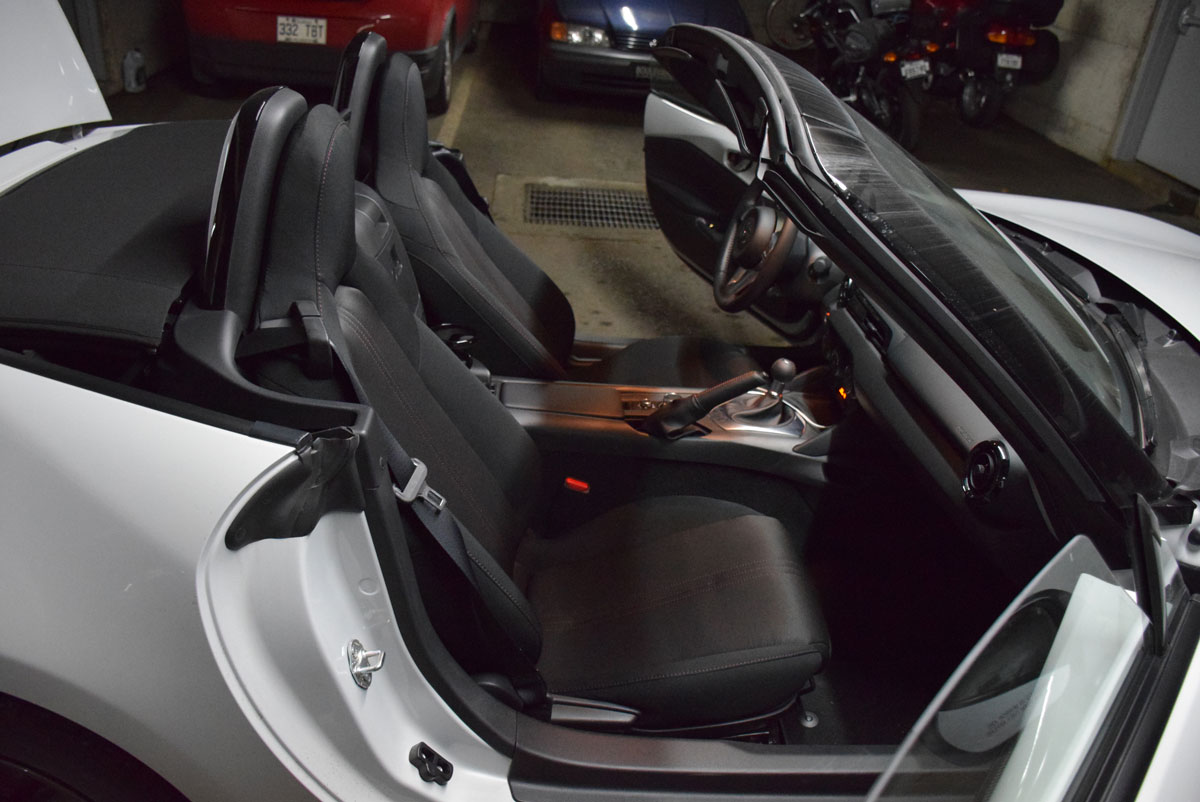
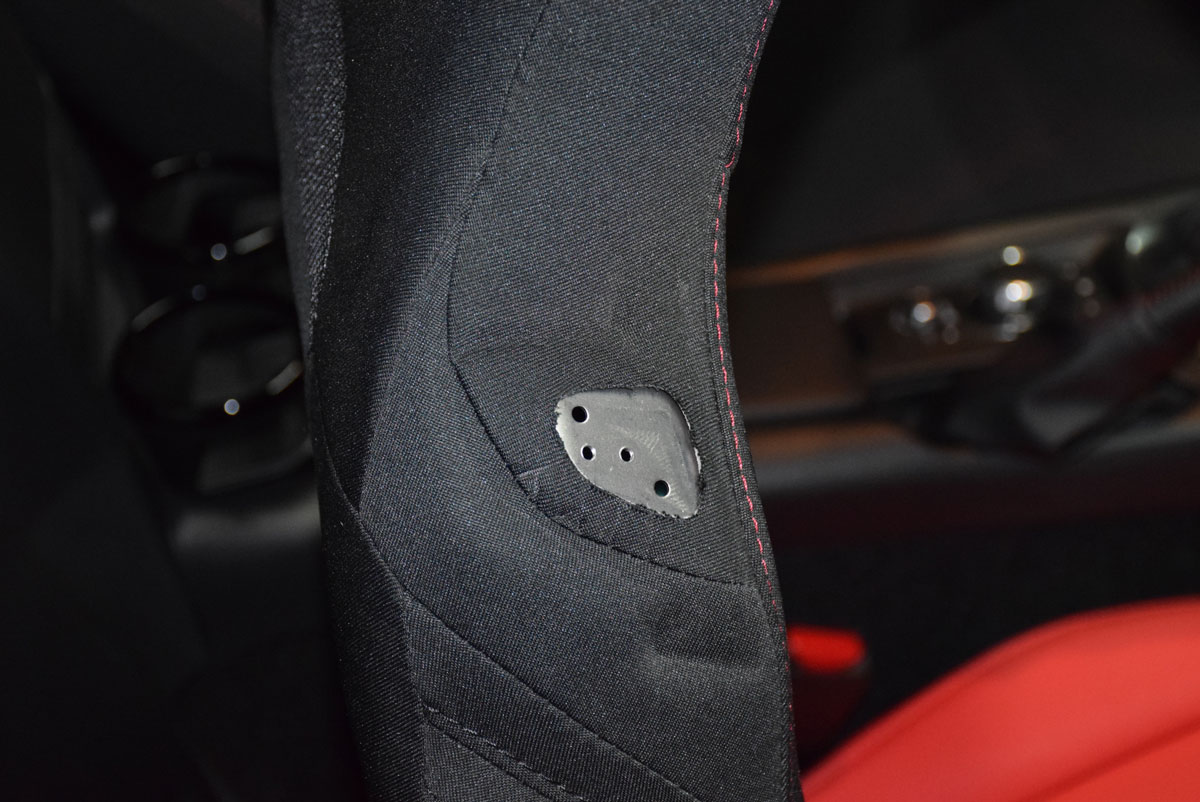
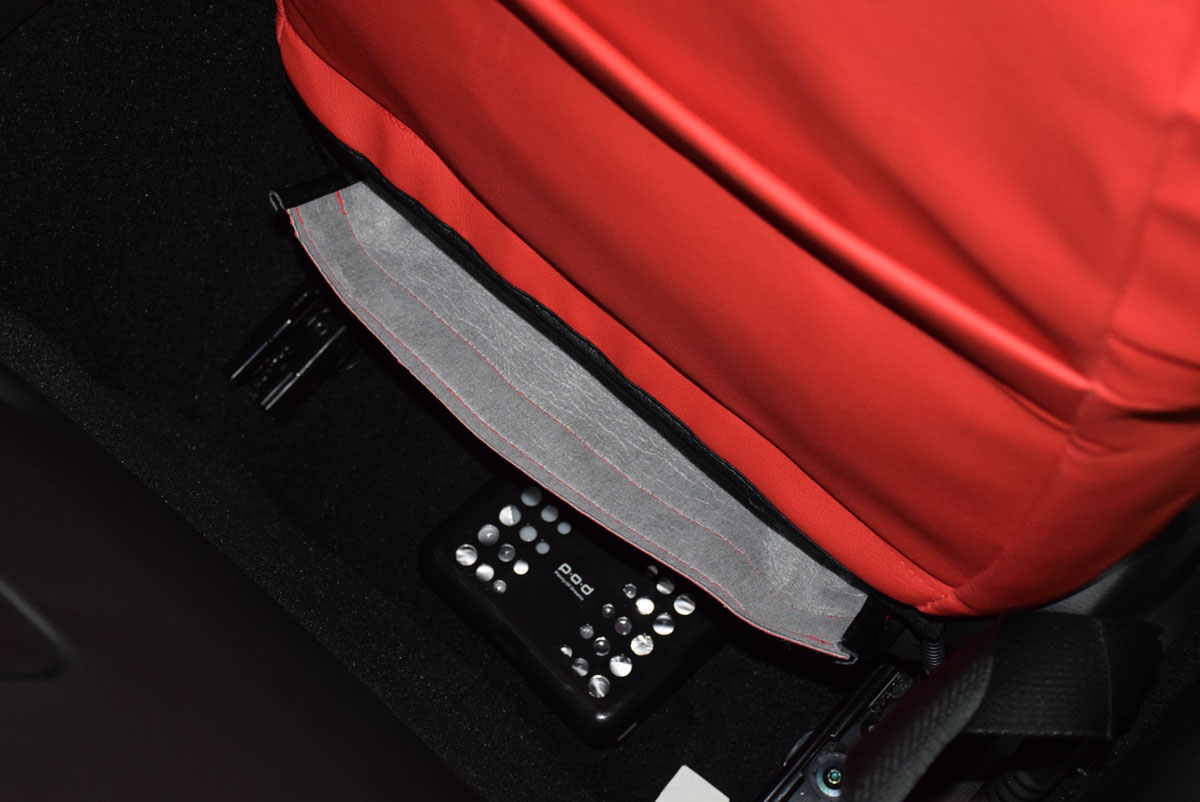
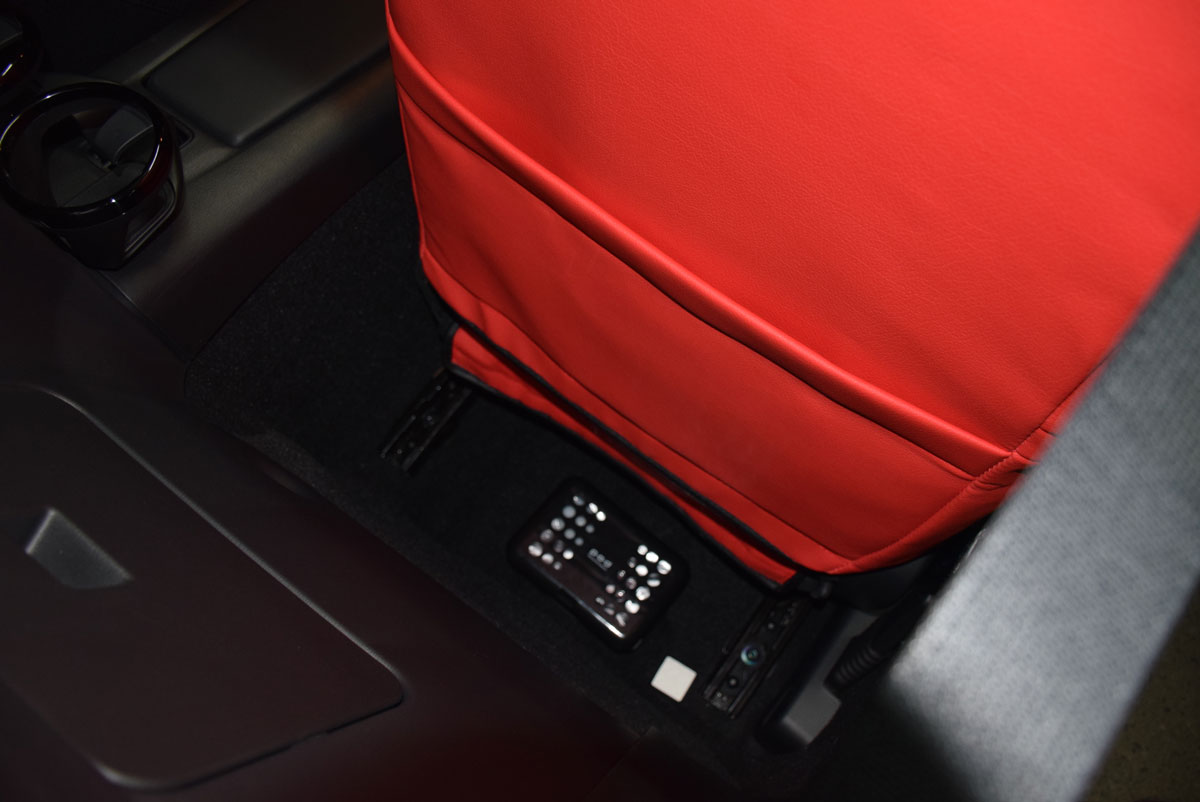
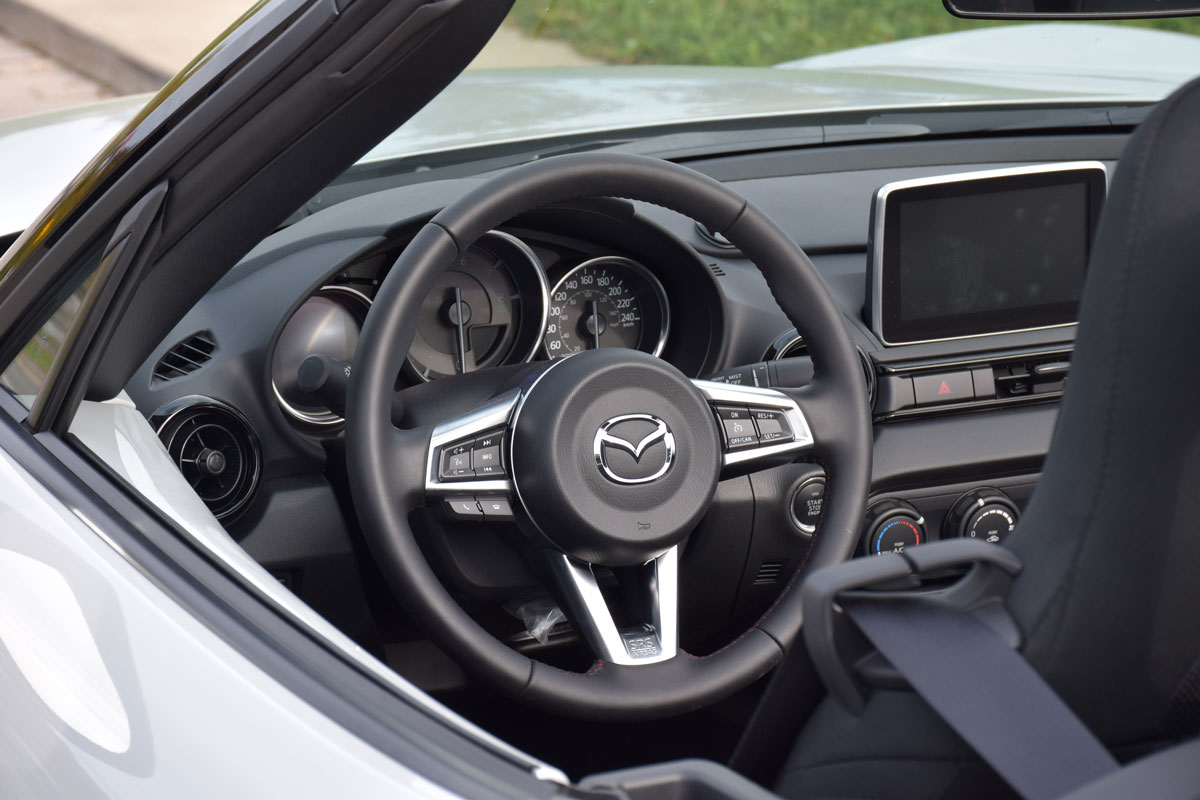
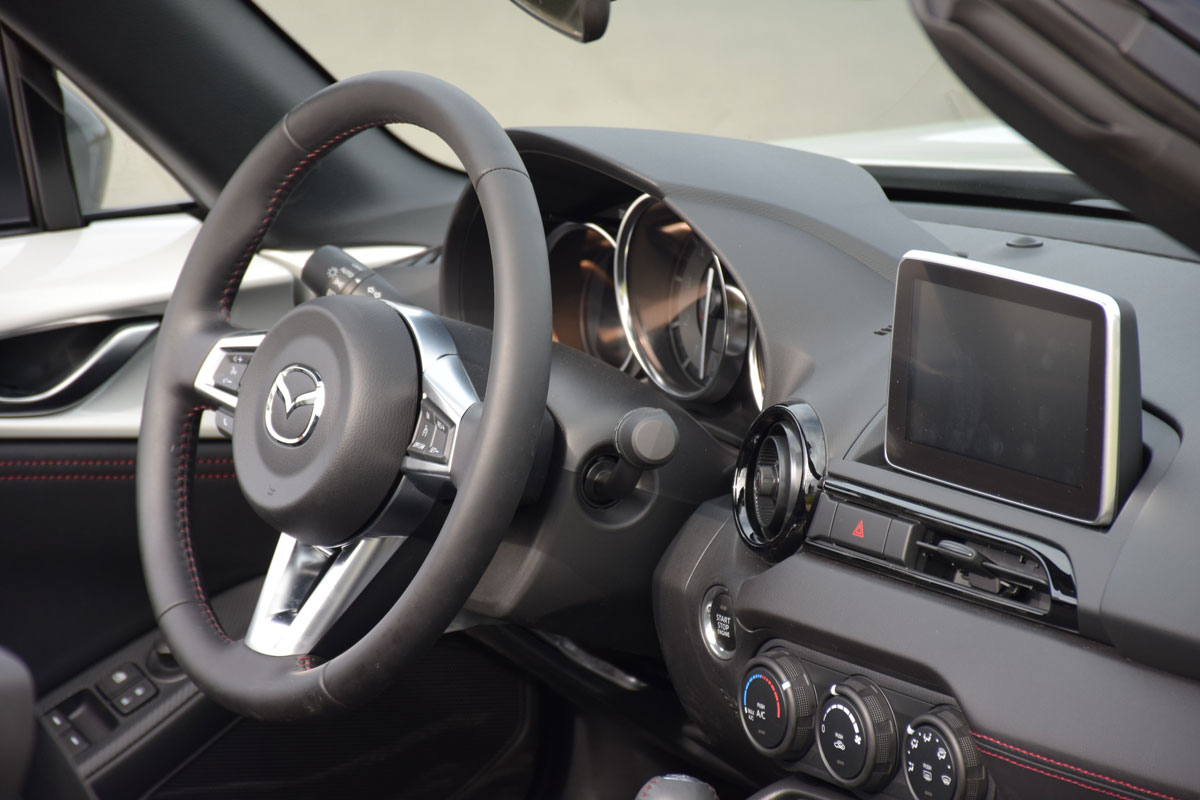
Interior: nd_010 nd_013 nd_011 nd_014 nd_012
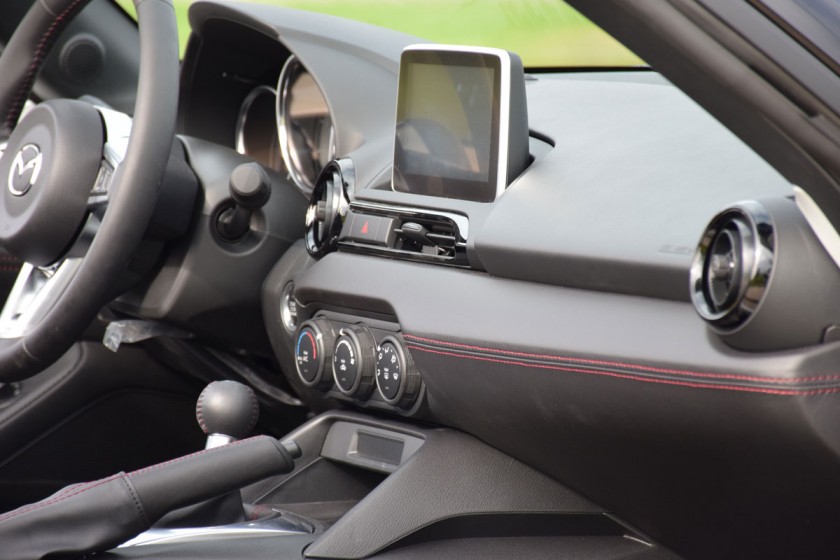
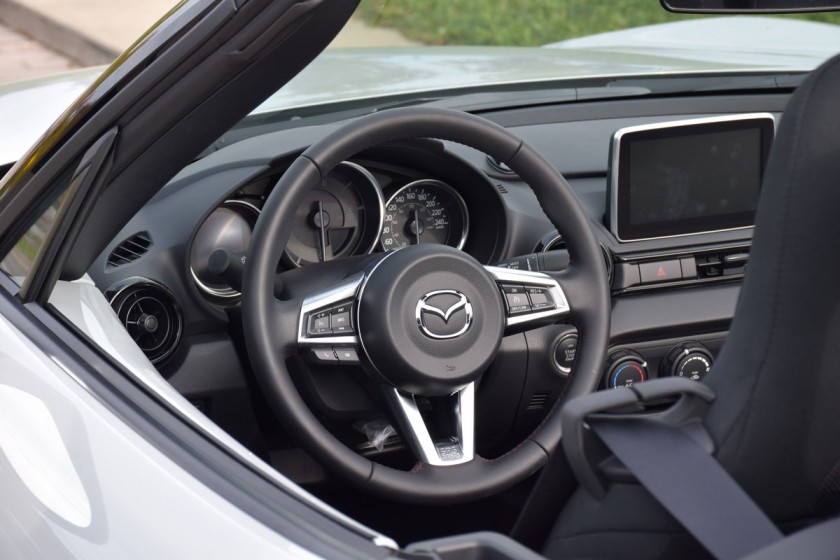
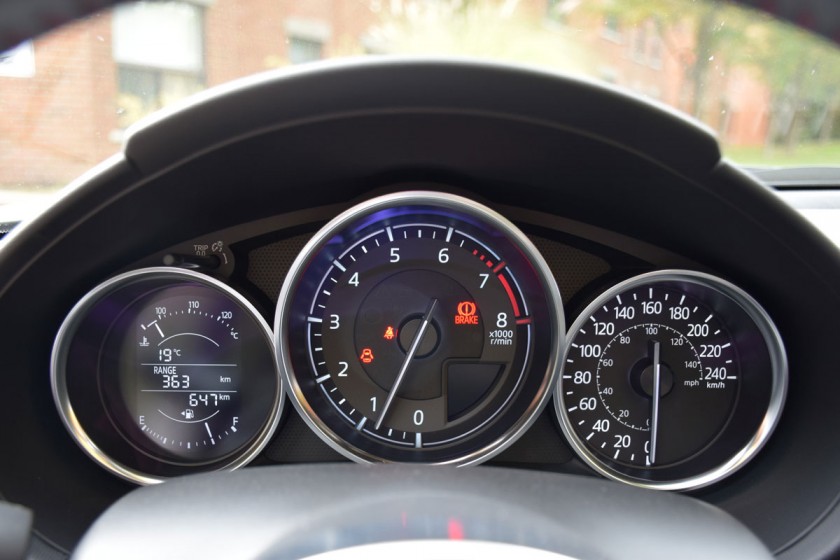
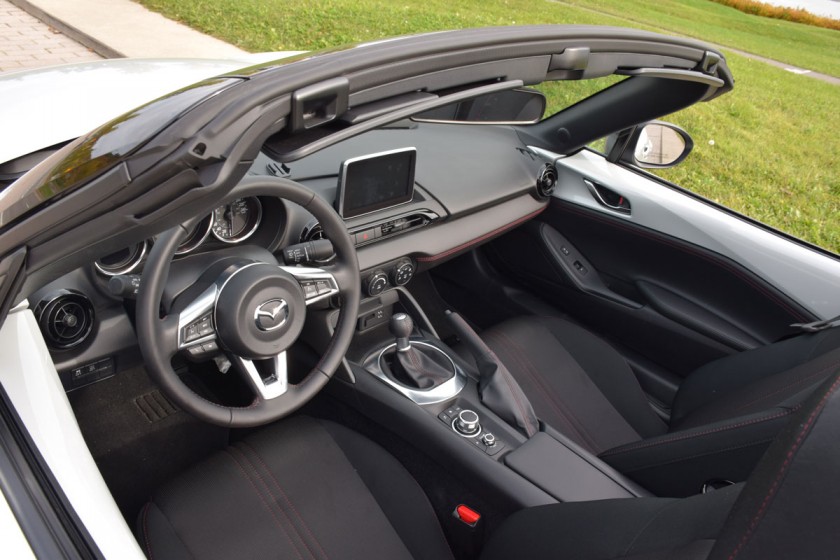
(As you can see, the whole interior is very clean, console is minimalistic and everything is super easy to reach. They did an awesome job with the red stitching accents and leather wrapped “crash pad”.)
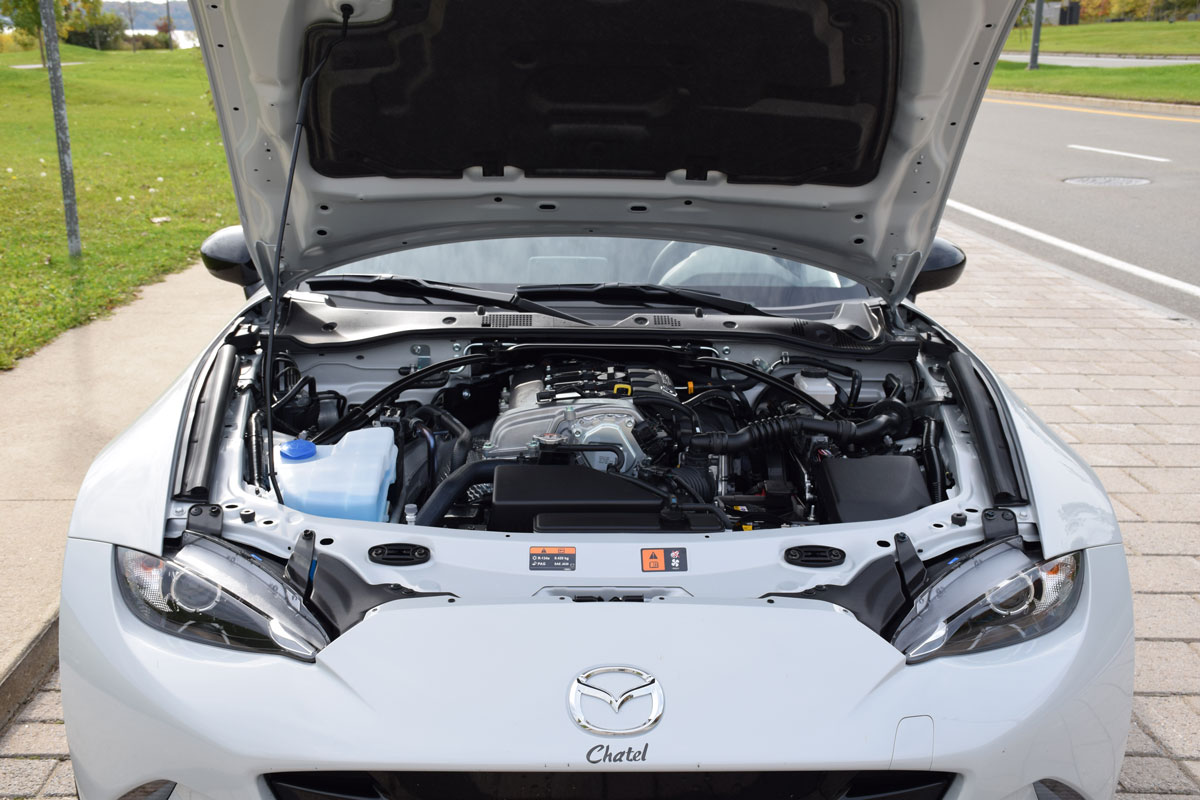
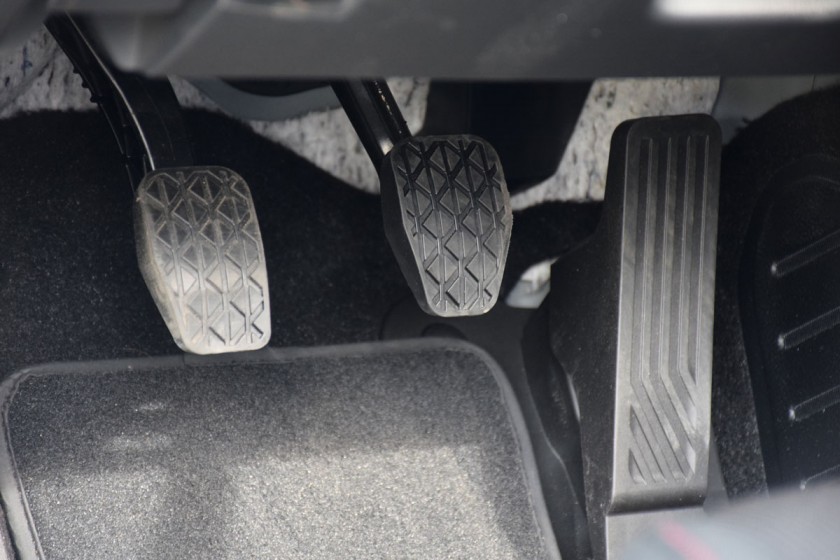
Engine Bay:
nd_019
(Pretty neat and not that cluttered, actually.)

Options:
Since I bought a non-base model (GS), I’ll show what was included with it: nd_015
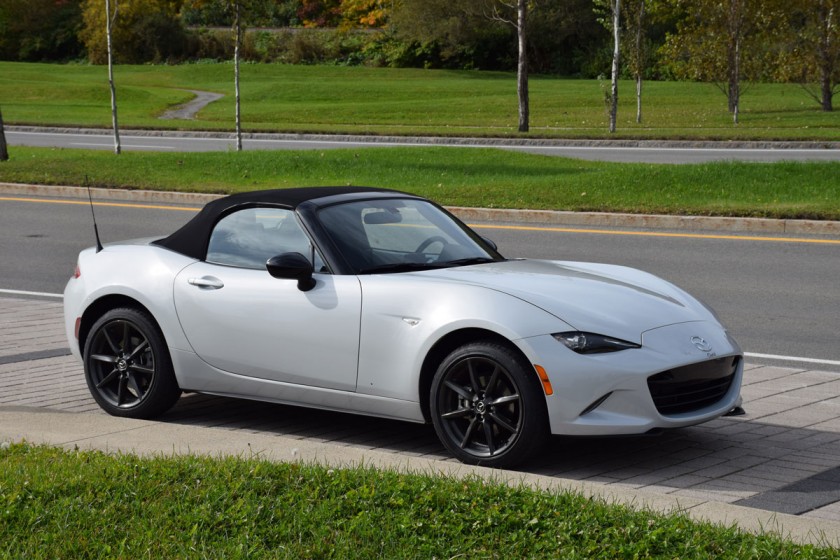
(17” Gunmetal Wheels & Black Side Mirrors) nd_016(Touchscreen Infotainment, Leather Wrapped Steering Wheel & Red Stitching Accents) nd_017
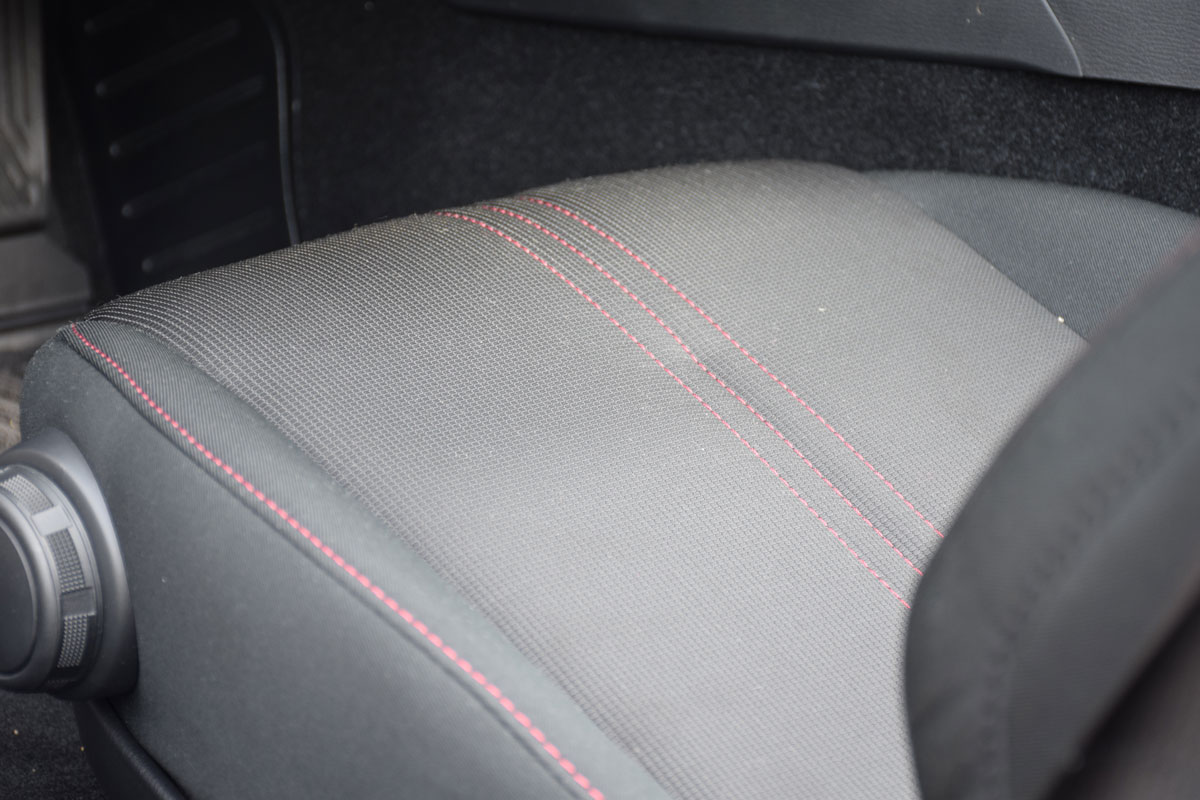
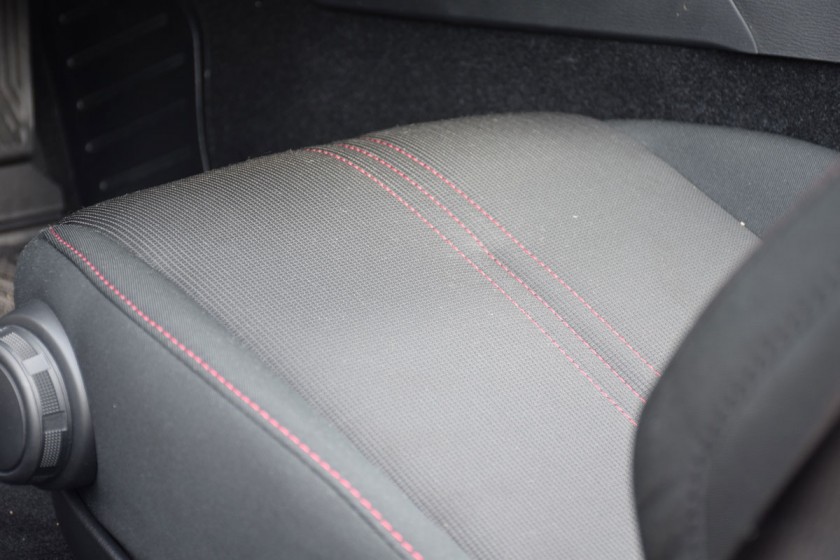
(Red Stitching on the fabric seats) nd_018
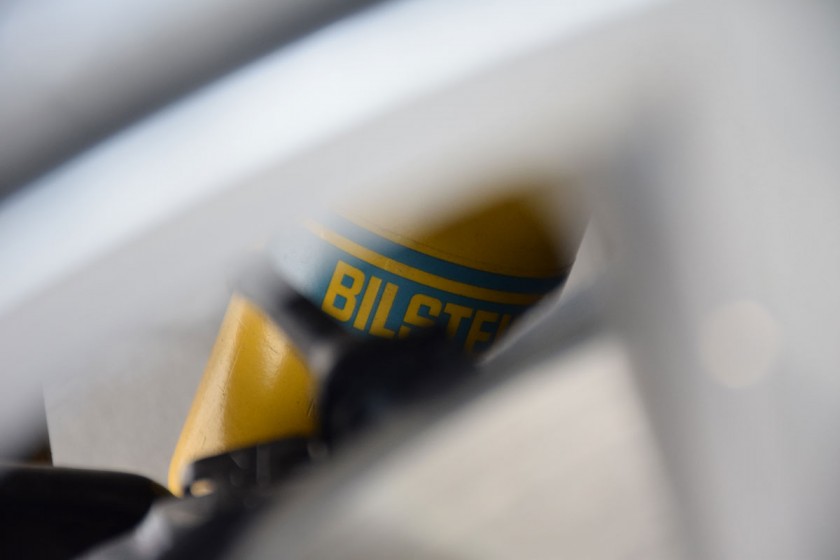
(Bilstein Suspension & Sport Springs) nd_020
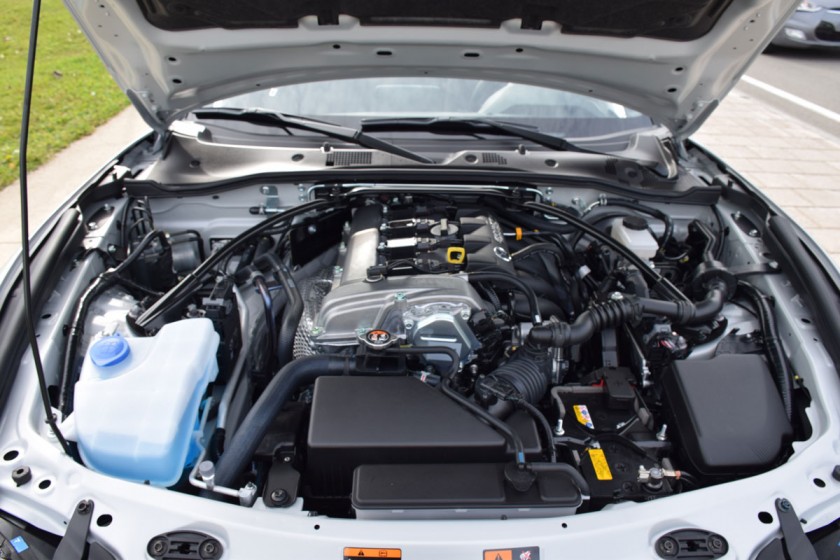
(Mazda Noise Enhancer (pipe coming from the intake) & OEM Front Strut Bar)

This shows pretty much what is the base of my project. I think it’s worth getting the GS over GX model simply because of all the leather accents, infotainment & LSD. The upgrades might just bring the cost to the same and you’d still be missing leather accents.

The Project REV9 Clubman
As with many folks, I don’t live anywhere nearby a race track. I don’t plan on building this car for the track, but mainly as a better version of what Mazda created. I am aiming for ~200 hp at the engine and lighter overall car than OEM. The project is to build a nice gentleman (classy) Roadster with many details that will make it better than the factory edition.

Car would still be able to do track days and perform, but that’s not the main purpose. It’s my pride and I want the best possible look without compromising quality over quantity.

Definition of Clubman : “One definition of “Clubman” is that of an amateur enthusiast, someone willing to partake in his sport without necessarily being a winner or serious contender, for the love of the sport. The founder of the Olympic Games, Baron Pierre de Coubertin said: “The most important thing in the Olympic Games is not winning but taking part: the essential thing in life is not conquering but fighting well.” (Ref; http://theclubman.com/blog/2014/4/7/what-is-a-clubman)

I want to build a car that my customers, friends and fans will recognize not as the fastest “form over function” winning car, but a car that will try, through selection of beautiful and functional items, to be an overall better car that still can compete against more “serious” racers.

Build Wishlist
Wheels : 17×8 +35 Ultra Lightweight & Forged
Brakes : 4pot Front Big Brake Kit
Suspension : Coilovers with tons of adjustability for street and track
Aerodynamics : Front lip, side skirts, rear diffuser, duck tail spoiler & hardtop
Engine : REV9 ECU tune, ram air intake, header & exhaust
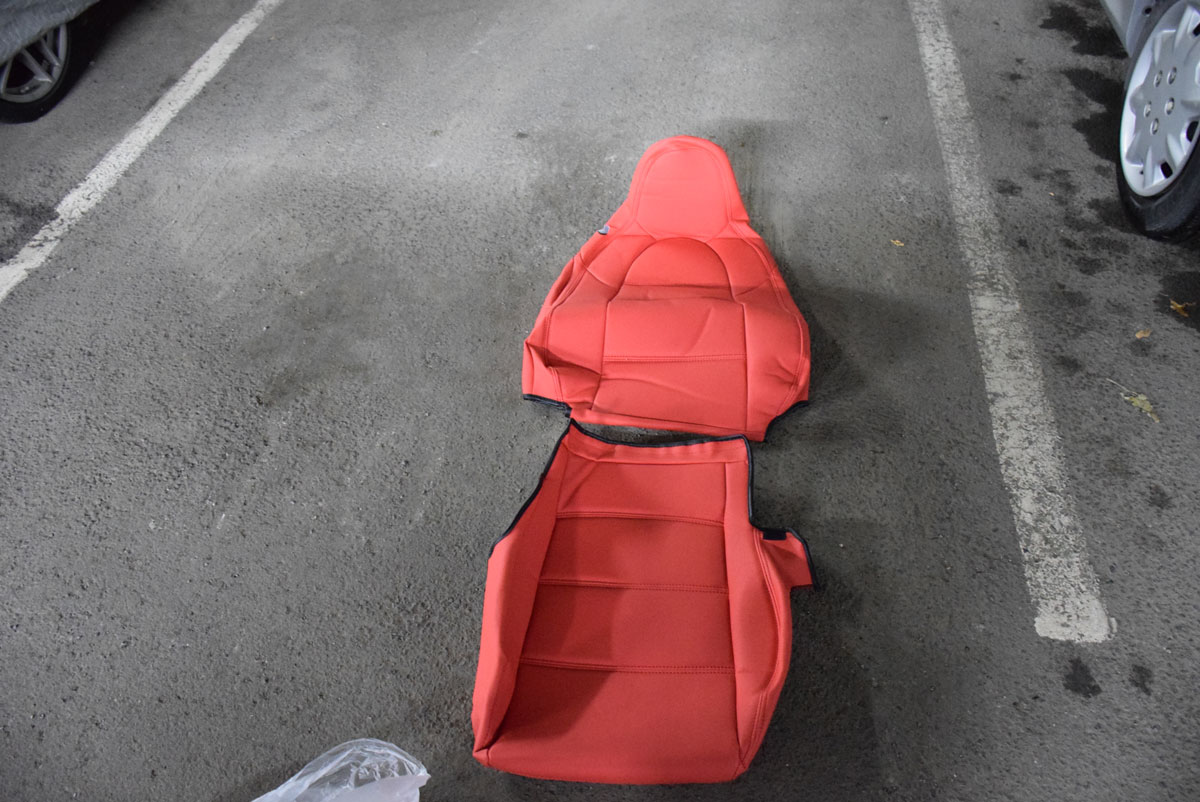
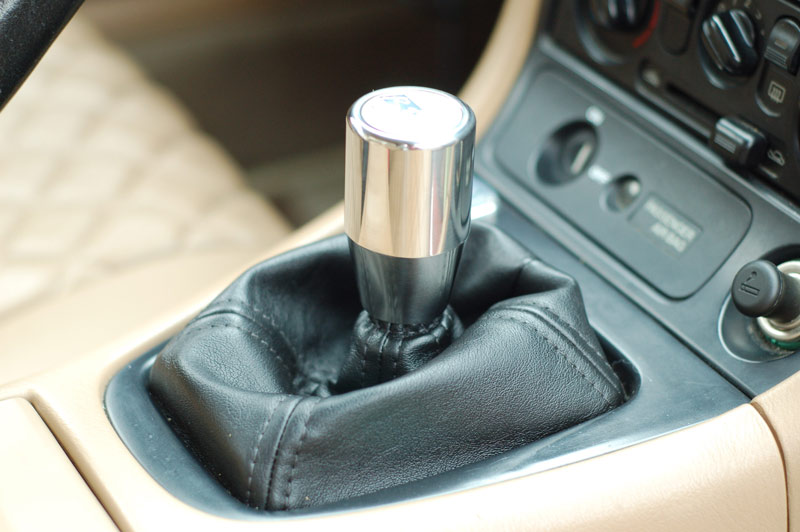
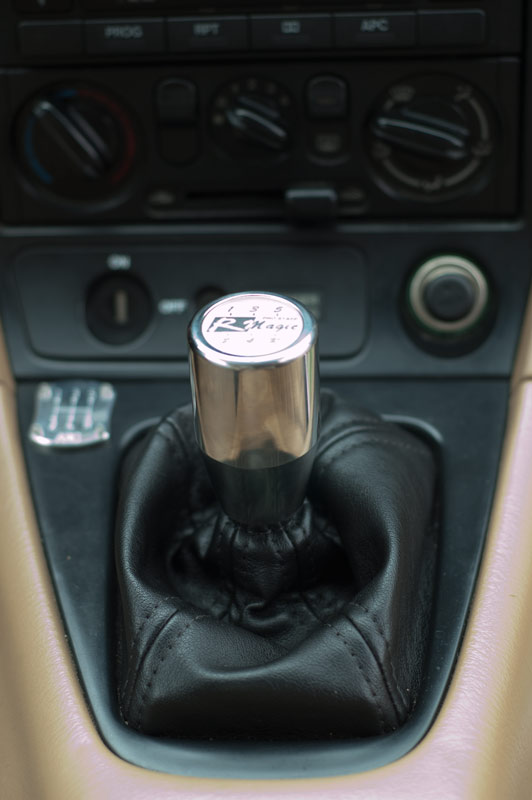
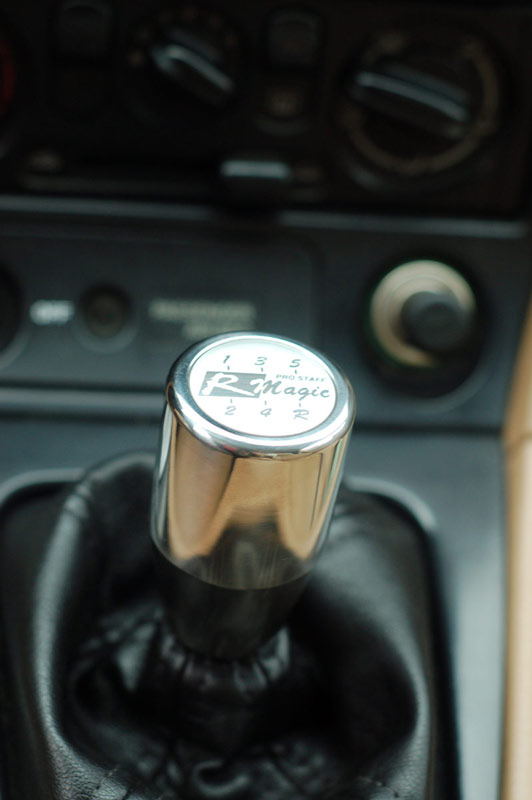
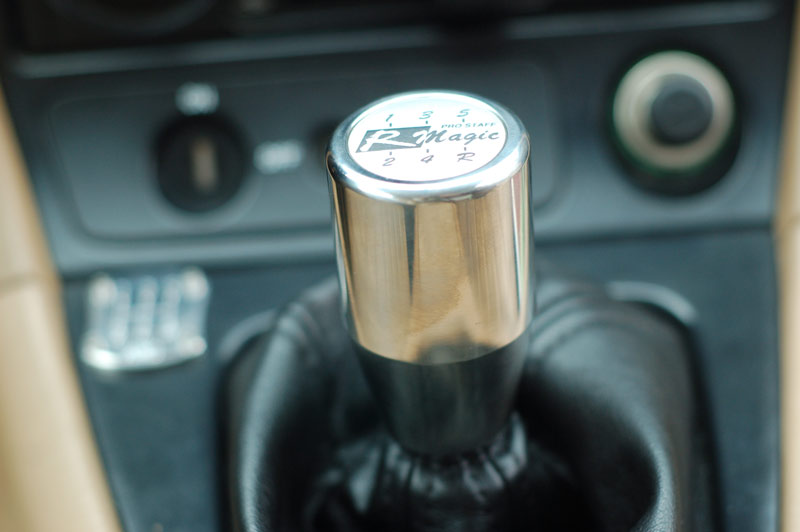
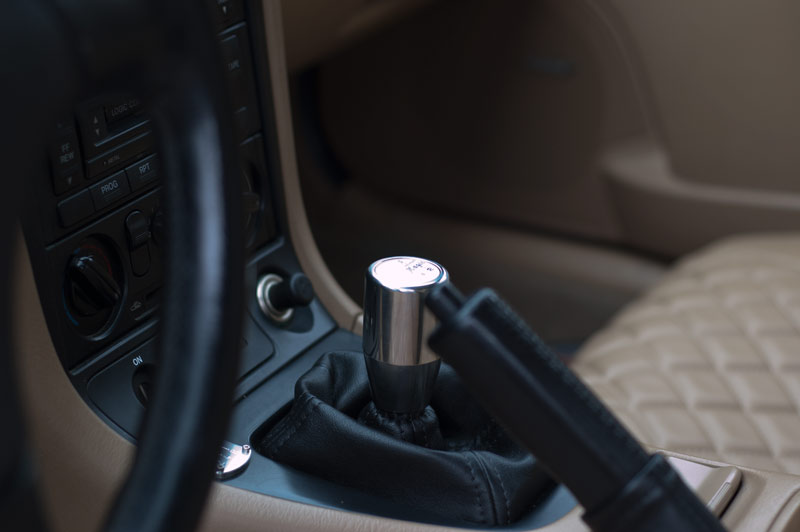
Interior : leather seats, upgraded steering wheel, weighted shift knob, checkered floor mats & metal accents
Chassis : sway bars, front + rear strut bar & some more chassis bracing
(Some items might appear or disappear, but it gives you an idea of what I am aiming for.)

Installing Garage Vary DIY Tail Lights

Hey everyone,

I figured out I could throw some small instructions on how to install the new Garage Vary DIY Tail Lights. It’s their new release that’s less expensive than the original kit, but maintains 100% the same look.

I’m sorry I don’t have a lot of pictures, but hopefully it’ll be good enough to help you and if you want to send me more pictures of the install, it’ll be super appreciated!

Step 1 : Disconnect your tail light
That’s pretty straight forward.

Step 2 : Remove your tail light
You need to remove the 4 bolts/washers holding it and then push on the back and it’ll fall.

Step 3 : Insert OEM bulbs into tail light cup
You need to remove your OEM light bulbs (and connector) from your OEM tail light (same as if you were changing the tail light bulb. Then, you insert it into the Garage Vary light cup. There is small wiring work needed as you will relocate the back lamp.

Step 4 : Transfer waterproofing material from OEM tail light to Garage Vary fiberglass adapter.
Just look at the pictures, you’ll need to cut a bit of material to fit, but it’s very easy, it just need to have the same shape as the FRP adapter provided with the kit.

Here you go!

Step 5 : Install fiberglass adapter into the chassis
(Just use same bolts as with tail lights).

Step 6 : Connect tail lights using OEM connectors that you previously spliced.

Step 7 : Install wiring protector
A wiring protector is included, you just need to put insulator on it and install it using the same bolts/washers as OEM tail lights.

Done, you’re all set!

Integral Kobe ND First Track Results

Hey everyone,

Integral Kobe has been testing intensively their ND for a few weeks and shared with us the results of their track testings. They do all tests in Central Circuit (https://en.wikipedia.org/wiki/Central_Circuit) as it’s close to the shop. 

First of all, let’s start with the stock vehicle (1.5L):

Here are the results from the stock car:

Then, he added High Performer Springs, Rays ZE40 Wheels (17×8 ; 6.8kg), ZII tires (215/40R17) & their N-Zero Exhaust (under development). Now, the new results:

The owner says that from his analysis, the tires & wheels helped for ~2 seconds, springs for ~2 seconds and exhaust for ~0.6 seconds. He believes better results will be possible with full coilover system!

This is all based on the 1.5L ND, so it’s good to see that these modifications really improve the lap times by A LOT compared to stock.

For those who don’t know, they own one of the fastest NC in Japan (2.3L with ~220hp) and he actually holds the record for the fastest cornering speed in its class in West of Japan. That’s mostly because of the aero parts they develop as well as their suspension components. Most of their parts are available at REV9 Autosport.

R-Magic Heavyweight Shift Knob Review

I’ve been using the Nardi Evolution Shift Knob for 6 months and decided I needed some change. R-Magic came to me with their Heavyweight Shift Knob. I never used weighted shift knobs and wanted to give it a try.

DSC_8270

I also never used a metal shift knob. Let’s say that it’s less comfortable than leather (you feel the heat or cold), but it looks so great and once the temperature of it changes to the one of your body, it’s awesome.

DSC_8276

The shift knob is a great addition to the NB interior and feels just right. Height and size is perfect for me.

DSC_8268

The shift knob cap that comes with it makes the whole thing look very high quality with a brushed aluminum look with the shift pattern of either 5MT (pictured) or 6MT.

DSC_8277

It’s a really classy looking item that suits into the car, evenif there are no other silver accessories.

DSC_8287

One subtle and very inexpensive addition that makes me want to see it every time I enter my vehicle.

Karuizawa Roadster Meeting 2014 (Barchetta & ZOOM)

Today’s a very short post as I don’t have much pictures of both vehicles, unfortunately. We’ve met Barchetta who’s working on mostly high end products that are very limited editions and ZOOM who’s always here to create some new, functional items.

Barchetta

KONICA MINOLTA DIGITAL CAMERABarchetta came with their cool NC (one of the first tuners who started developing parts for it). It’s very flashy with orange bumper dam, mirrors and wheel lips! It also has a custom air duct in the front bumper.

ZOOM

KONICA MINOLTA DIGITAL CAMERAZOOM came with their legendary Elan shop car. It’s such a cool looking car, very retro inspired. The yellow roll bar makes it even cooler.

KONICA MINOLTA DIGITAL CAMERAThey also showed us some of their ball shift knobs which will be available soon at our web store as well as their EUNOS badges and their very popular Cellphone Holder.


Karuizawa Roadster Meeting 2014 (Jet Stream)

A few weeks have passed since our last post. Had to take some vacations 😉 Now, I deserve a full post for Jet Stream as they have brought many AWESOME cars and really deserve this exposure. I met the owner of the company last January and he is awesome and always looking at creating new cool items. He recently launched his side business called DHR (Dark Horse Racing) to build parts for racing purpose that are track tested.

Jet Stream

14 2014-05-25 05.16.18_2
As usual, when going to Karuizawa, we travel with Jet Stream. A nice convoy of NA, NB and NC that all represent the company very well.

KONICA MINOLTA DIGITAL CAMERAThe NC interior parts are under development. It looks real nice. Jet Stream is still not satisfied with the overall look, so it’s not available to purchase yet.

KONICA MINOLTA DIGITAL CAMERAHere’s the car that everyone talks about. It’s a track prepped car with all Jet Stream aero (GT200 kit) and undisclosed engine modifications. It has a DHR Headlight Lid to bring more air into the engine bay. Talk about racing and style.

KONICA MINOLTA DIGITAL CAMERAThis is the owner’s personal car. It’s rocking their NC3 front lip and DHR Front Bumper Intake Duct. The owner tells us that he can’t stop looking at his car as he finds it so beautifully done. I totally agree with him.

KONICA MINOLTA DIGITAL CAMERAThis is DHR NC intake system. A very popular part in the Japanese racing crowd. Proven to give better acceleration, many other shops use it and love it. It’s going to be available soon at REV9.

14 2014-05-25 18.19.22_2This is the NA that’s working 16″ Work Meister S1 and some Jet Stream aero. It’s not one of their shop cars, but a customer car that represents them.

KONICA MINOLTA DIGITAL CAMERAThey also showed us a recent customer install of their front lip onto a NC2. Gotta love hot it changes the look.

KONICA MINOLTA DIGITAL CAMERATo finish, here’s a last shot of their customer’s NB race car. Enjoy!


Karuizawa Roadster Meeting 2014 (JoyFast & RS Factory Stage)

Here’s another blog post for our annual coverage of Karuizawa Roadster Meeting. This time, I’m posting from Republican Republic, so I’m not sure if everything will appear correctly, but I’m doing my best. First shop we’re showing is JoyFast which is very involved into racing and creates some very nice Roadster-specific parts. Second shop is RS Factory Stage who happen to develop many interesting parts for all NA, NB and NC Roadsters and recently developped a NB Rear Lip in collaboration with REV9 Autosport 🙂

JoyFast

KONICA MINOLTA DIGITAL CAMERAJoyFast latest shop car (NC3) rocking some awesome RAYS TE37 and many aero additions (front spat, rear flares) to make sure it’s legal off the line.

KONICA MINOLTA DIGITAL CAMERA

It also has a very nice Jet Stream (DHR) Front Bumper Air Duct that allows air to go directly into the engine bay so it stays cooler when going at high speed.

KONICA MINOLTA DIGITAL CAMERA

You can also see their newly released Oil Catch Tank made especially for the Roadster.

RS Factory Stage

KONICA MINOLTA DIGITAL CAMERA

RS Factory Stage came with their nice NC1 that is running their NC1 to NC3 conversion kit with some cool vinyl on the front bumper and doors. It also has some ducts on the hood which does not seem to be released yet as their products. Can’t wait to see what product they will come with next.


Karuizawa Roadster Meeting 2014 (NOPRO & Jet’s)

To continue our Karuizawa’s 2014 Roadster Meeting coverage, we’ll show you 2 companies that have awesome race cars. NOPRO has developped some awesome widebody NA, NB and NC. They are showing their yellow shop car which belongs to Mr. Nogami’s son. As for Jet’s, they came with a NB that’s equipped with Jet Stream GT200 Widebody Kit and a NC that runs their own aero parts!

NOPRO

KONICA MINOLTA DIGITAL CAMERANOPRO shop car is featuring their original hood, front bumper and rear spoiler which can all be ordered @ REV9.

Jet’s

KONICA MINOLTA DIGITAL CAMERAHere’s Jet’s (Integral Kobe) NC3 featuring their very new aero. This front lip is made of carbon fiber and really follows the lines of the vehicle.

KONICA MINOLTA DIGITAL CAMERAThey recently introduced us to their very aggressive fenders and fins that they just released for NC3.

KONICA MINOLTA DIGITAL CAMERAAnother angle also showing RAYS’ new ZE40 wheels!

KONICA MINOLTA DIGITAL CAMERAThe rear bumper accents, fins, spoiler and diffuser really complete the look of this car.

Now, let’s take a look at the awesome looking NB with Jet Stream GT200 kit!

KONICA MINOLTA DIGITAL CAMERAThe car has full GT200 kit by Jet Stream, Garage Vary Eyelids, Rays TE37v Wheels and much more awesome looking parts.