Hey everyone,
I figured out I could throw some small instructions on how to install the new Garage Vary DIY Tail Lights. It’s their new release that’s less expensive than the original kit, but maintains 100% the same look.
I’m sorry I don’t have a lot of pictures, but hopefully it’ll be good enough to help you and if you want to send me more pictures of the install, it’ll be super appreciated!
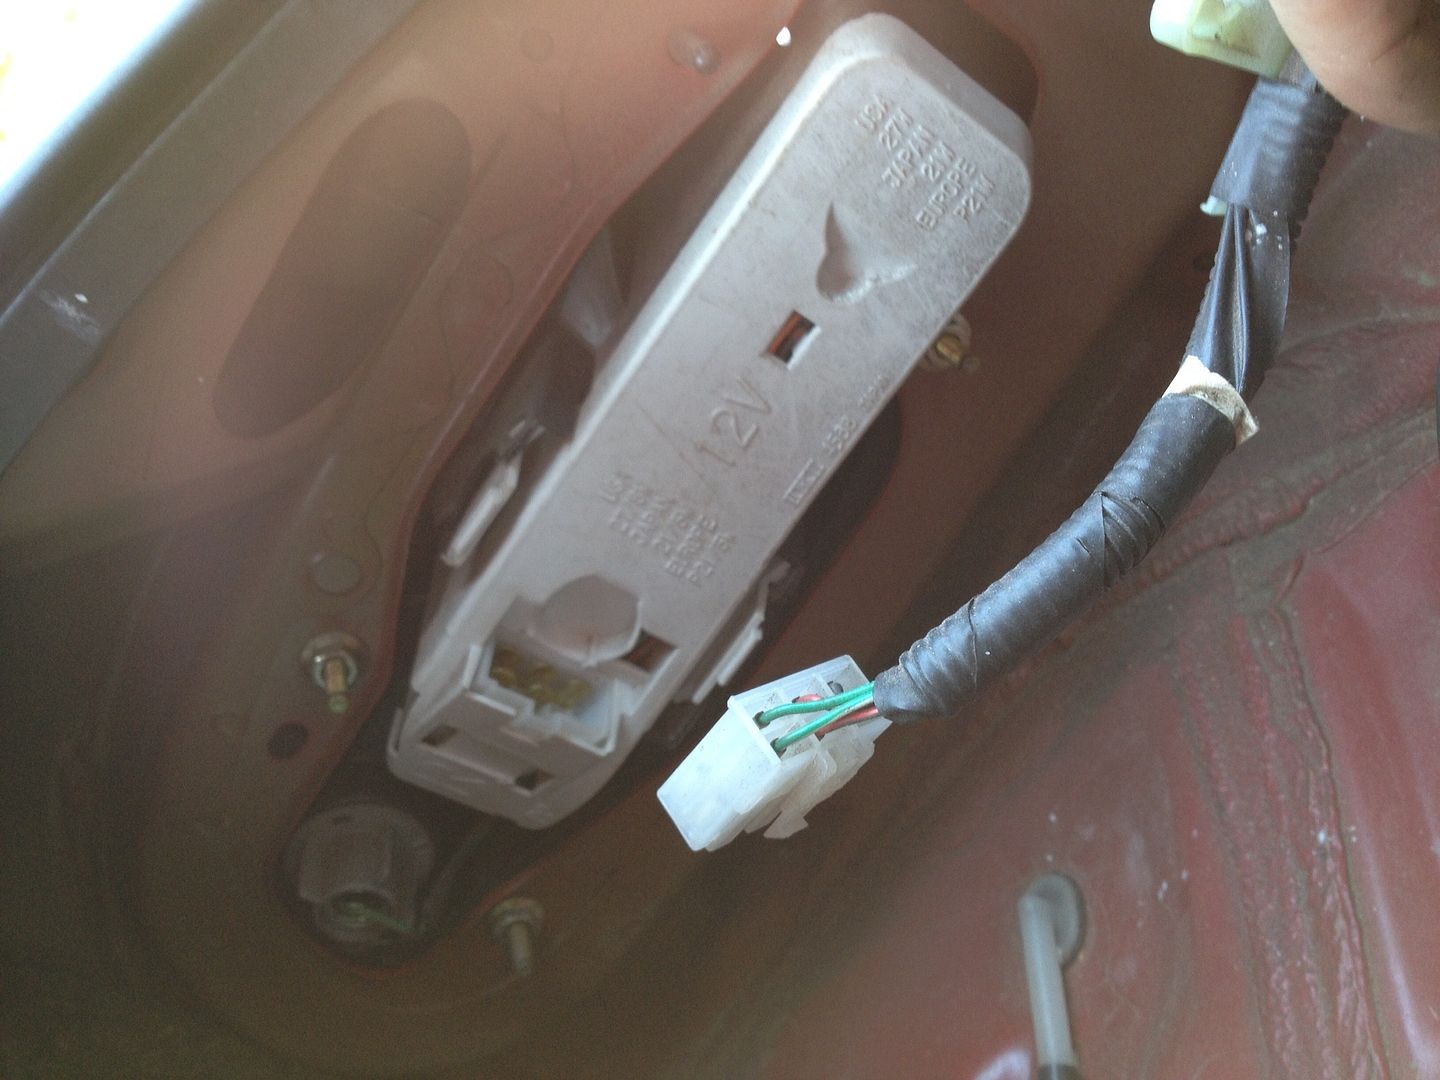
Step 1 : Disconnect your tail light
That’s pretty straight forward.

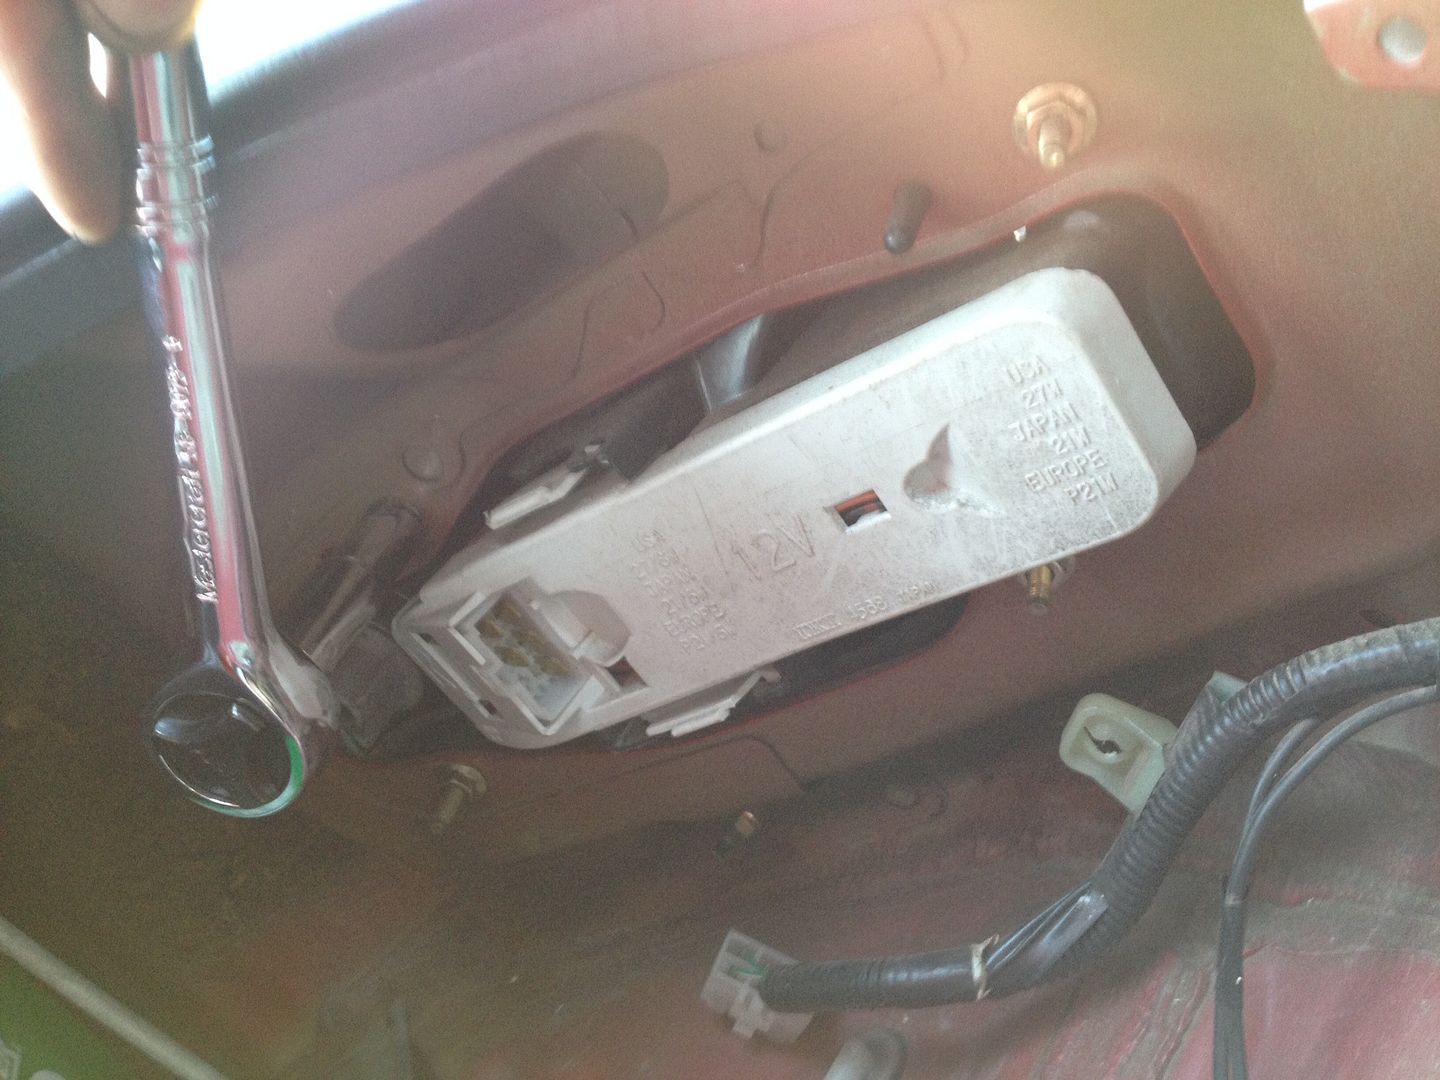
Step 2 : Remove your tail light
You need to remove the 4 bolts/washers holding it and then push on the back and it’ll fall.

Step 3 : Insert OEM bulbs into tail light cup
You need to remove your OEM light bulbs (and connector) from your OEM tail light (same as if you were changing the tail light bulb. Then, you insert it into the Garage Vary light cup. There is small wiring work needed as you will relocate the back lamp.

Step 4 : Transfer waterproofing material from OEM tail light to Garage Vary fiberglass adapter.
Just look at the pictures, you’ll need to cut a bit of material to fit, but it’s very easy, it just need to have the same shape as the FRP adapter provided with the kit.


Here you go!

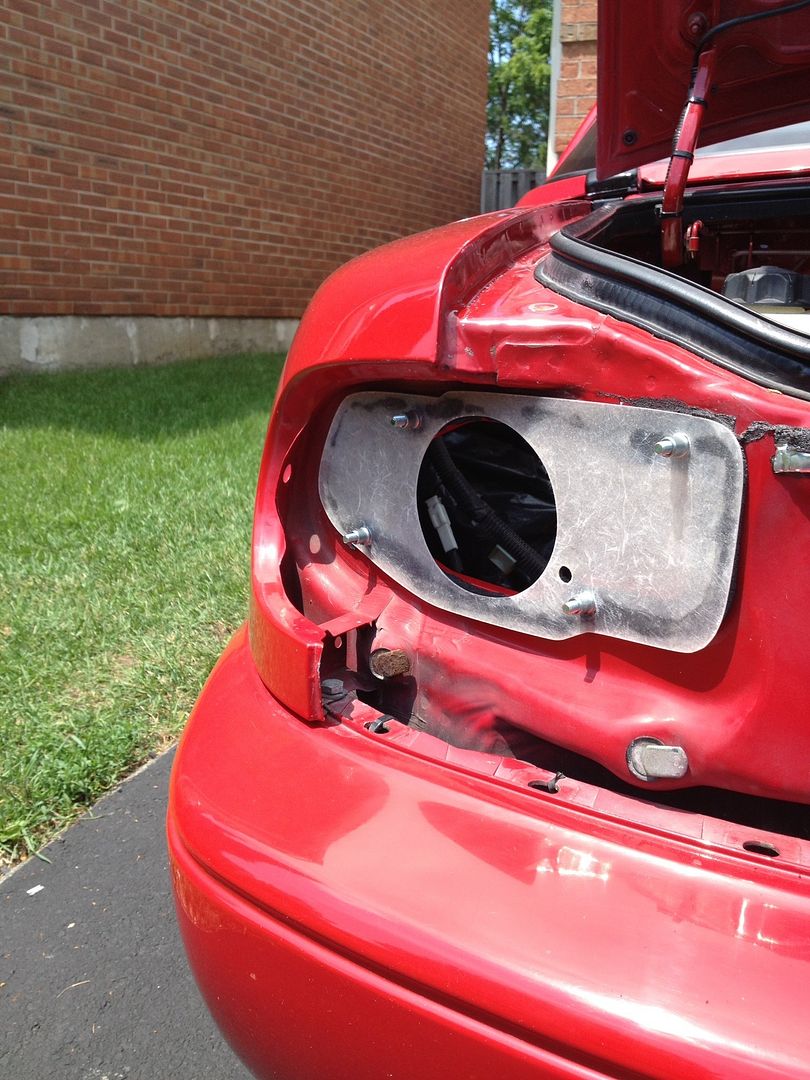
Step 5 : Install fiberglass adapter into the chassis
(Just use same bolts as with tail lights).


Step 6 : Connect tail lights using OEM connectors that you previously spliced.

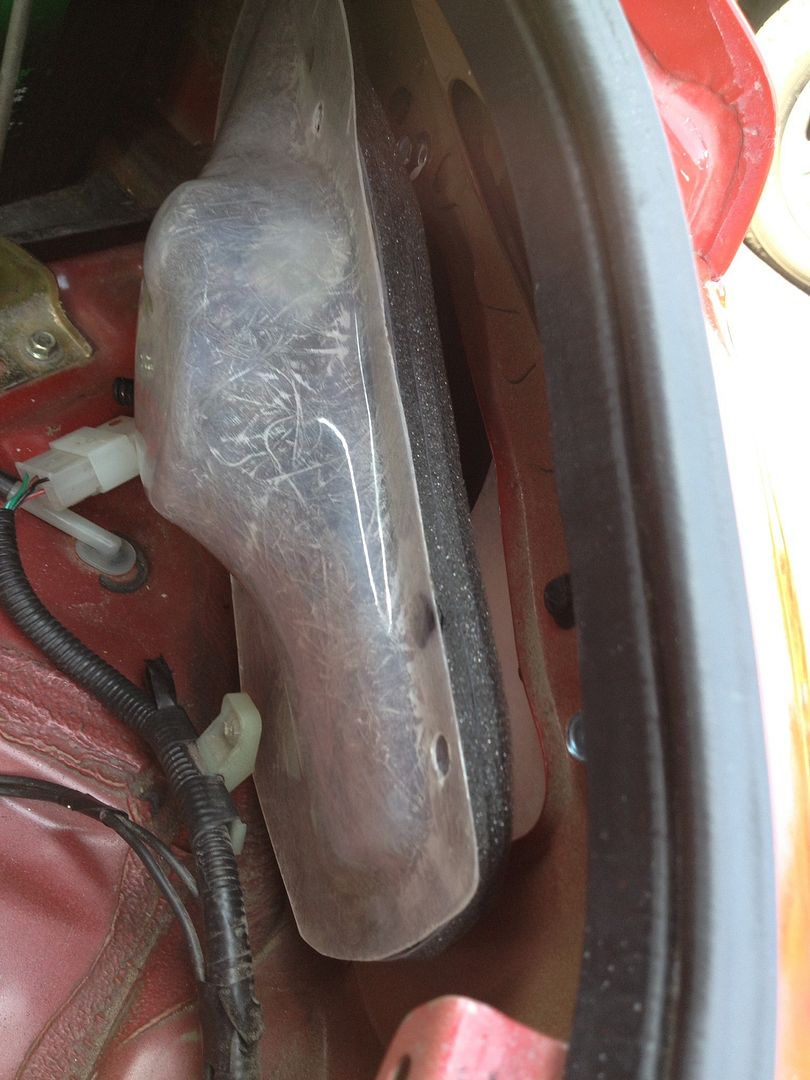
Step 7 : Install wiring protector
A wiring protector is included, you just need to put insulator on it and install it using the same bolts/washers as OEM tail lights.


Done, you’re all set!
